Request Change is an option reviewers and approvers have when completing Request Feedback and Request Approval tasks, and is not a separate widget. This option allows a reviewer or approver to create a new task for another user or group that must be completed before the original review or approval task.
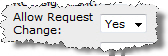
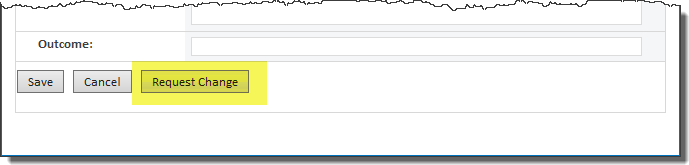
NOTE: The Request Change option is available if the Allow Request Change property for the Request Feedback or Request Approval widget is set to Yes, as shown below. If this property is set to Yes, a Request Change button is displayed at the bottom of the feedback or approval task form.
To create a Request Change task for another user or group, edit a Request Feedback or Request Approval task assigned to you:
| Step | Action | Result |
| 1. | Click the Request Change button at the bottom of the review or approval task form. | 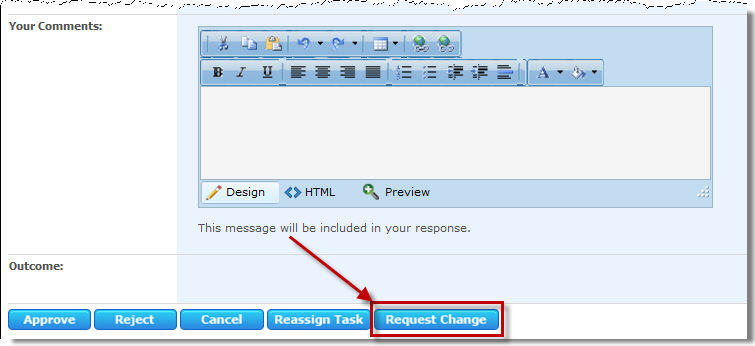 |
| 2. | Enter a single user or group in the Assign Task To box, enter a due date in the Due Date* box (if the task needs one), and enter a Description for the task. | * The earliest Due Date is always used. For example, if the reviewer or approver assigns a Due Date that is earlier than the Due Date in the original task, the workflow uses the new Due Date. However, if the reviewer or approver assigns a Due Date that is later than the Due Date in the original task, then the workflow uses the Due Date in the original task. 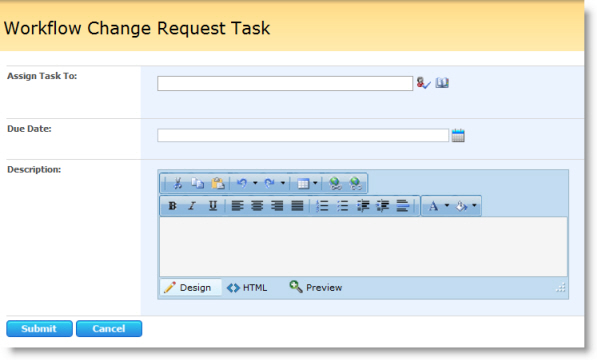 |
| 3. | Click Submit to assign the Request Change task. |
After you click Submit in the Request Change form, several things happen:
|


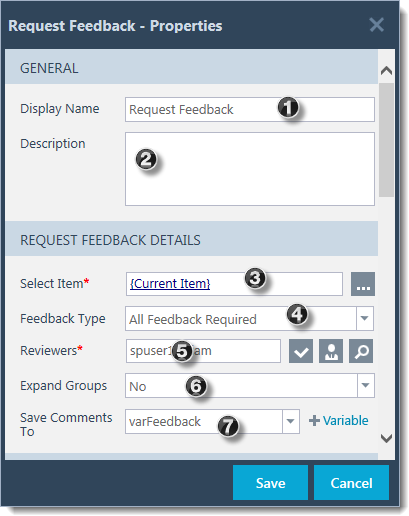 The Request Feedback widget assigns one or more users or groups a task to review an item in a list or library. Assigned feedback tasks are completed using a Workflow Conductor task form.
 Widget Limitation: If the Approver property is a lookup to another SharePoint column, the following SharePoint column type and data format limitations apply for the lookup value:
 If you need to choose a different item, click the ellipsis icon (
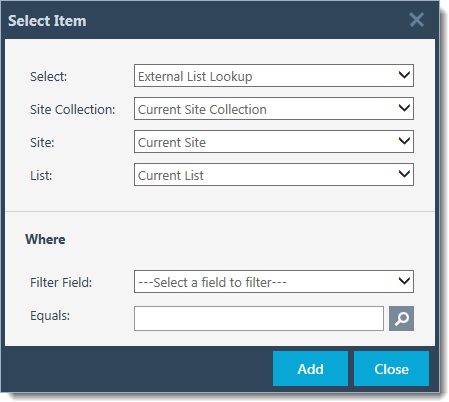
  ) to open the Select Item dialog and choose External List Lookup from the Select choices. Identify the item by choosing the Site Collection, Site, List and appropriate filter criteria. When finished with your selections, click Add to save your selections and close the Select Item dialog. Otherwise, click Close to close the dialog without saving any changes.
 . Separate multiple users with a semicolon (;).
 to search for a SharePoint or Active Directory user or group in the User Lookup form.
 in the User Lookup form.
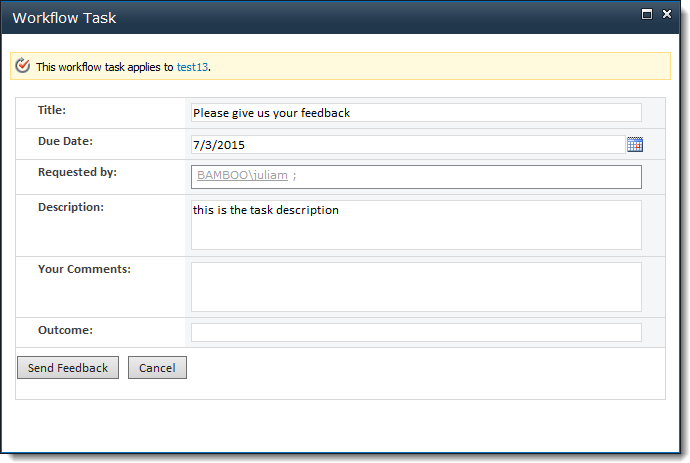 You can view task comments in the completed task.
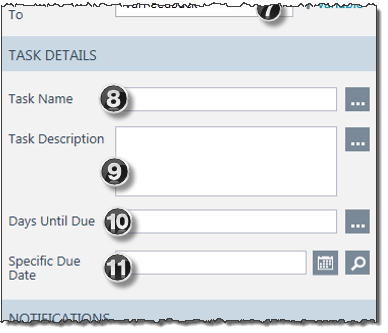 Continuing to look at more of the widget’s properties, the screenshot here shows the Task Details of the widget properties:
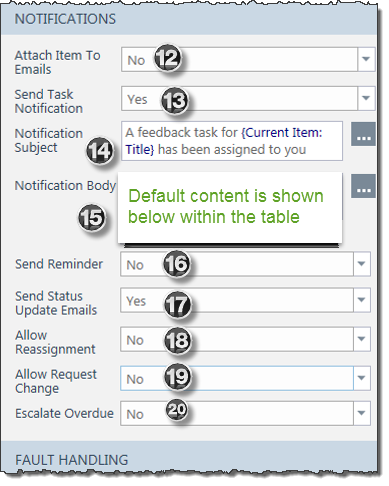 The next section of the widget properties covers the Notifications section:
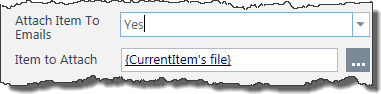 It is possible to attach an electronic file to the email notifications (this option was added in WFC R3.5). When this option is set to Yes, the Item to Attach property appears.
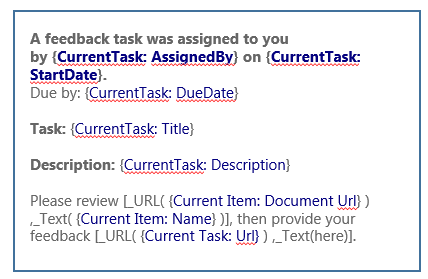 The default notification body contains a few tokens that may be of interest to you. Every item shown in blue is a lookup that looks up the actual data in the list.
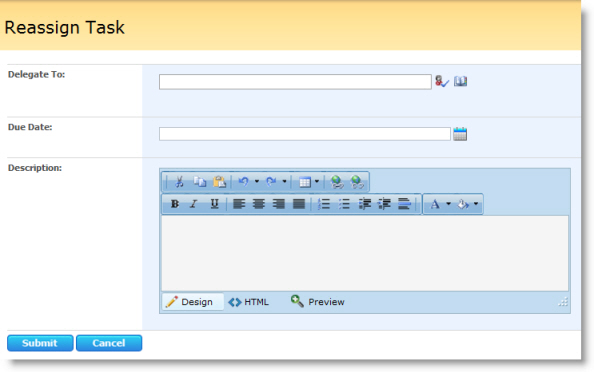
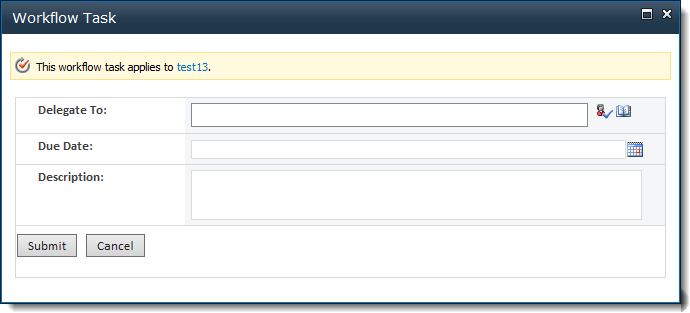 When a task assignee clicks Reassign Task, a new task form appears (See below). The original task assignee enters a person to delegate the task to (Delegate To), a Due Date for the delegated task, a Description, and then clicks Submit. Another task is created for the workflow instance and the status of the original task is set to Completed.
 When a task assignee clicks the Request Change button on the task form, a form for a new task appears.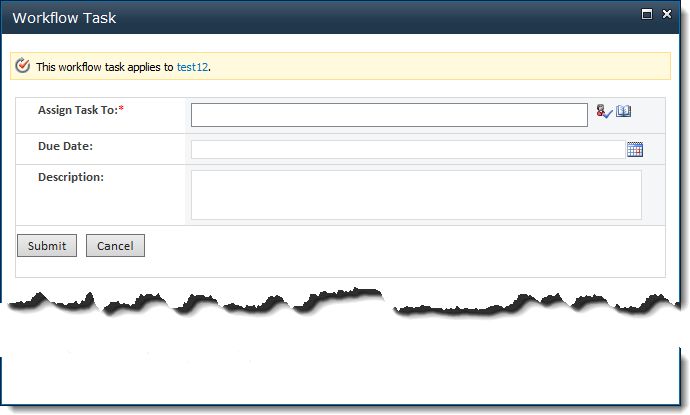
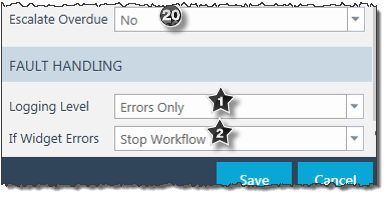 Workflow designers have the option to override the logging level configured for widgets and specify a new logging level for all widgets for that workflow instance as described below:
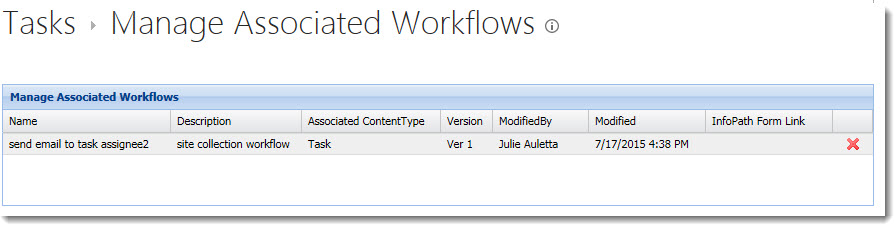
 Deleting a workflow is different than deleting a workflow template. Please see
  ).
).
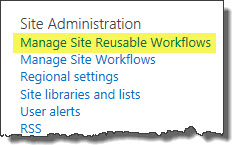 In the Site Administration section, click Manage Site Reusable Workflows.
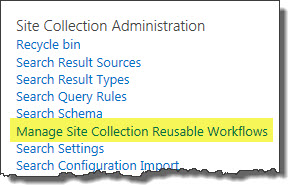 In the Site Collection Administration section, click Manage Site Collection Reusable Workflows.
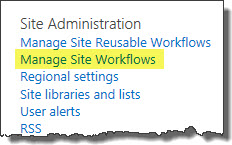 In the Site Administration section, click Manage Site Workflows.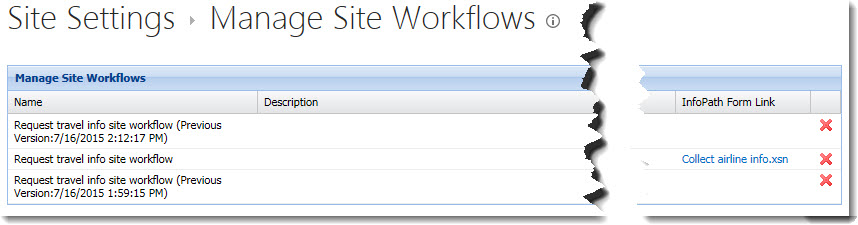
 ).
).

 :
:  Widget Limitations
 ), click the Lookup User icon (
 ) to search for a user in the User Lookup form, or enter a lookup to a user using the Add Lookup button (
 ) in the User Lookup form.
 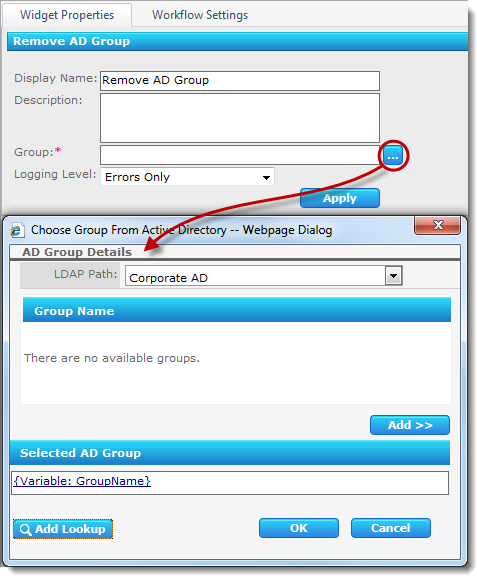 The Remove AD Group widget removes a group from a specified Active Directory location. The widget has the following features and options:
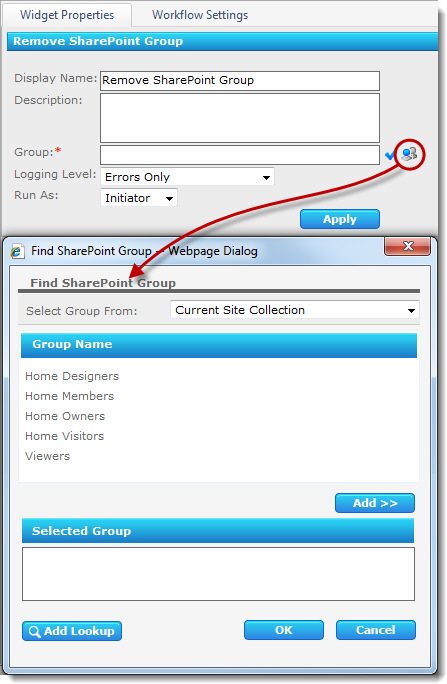 The widget has the following features and options:
 ) to search for a SharePoint group.
  ).
).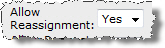 Reassign Task is an option reviewers and approvers have when completing Request Feedback and Request Approval tasks, and is not a separate widget. This option allows a reviewer or approver to delegate the original review, approval, or data collection task to another user. The Reassign Task option is available if the Allow Reassignment property for the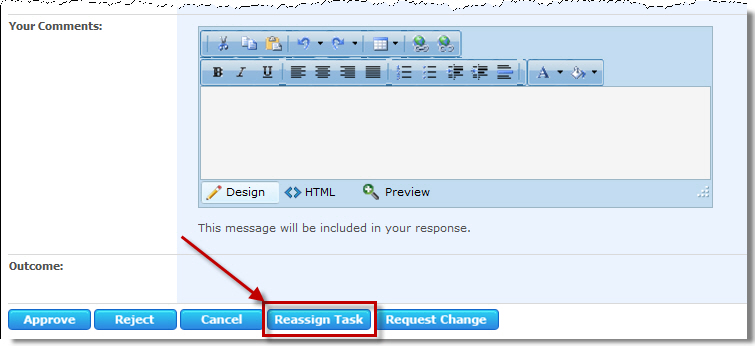

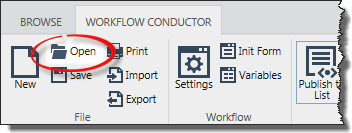 To open a workflow template from the template gallery, click the Open icon in the Conductor Studio ribbon.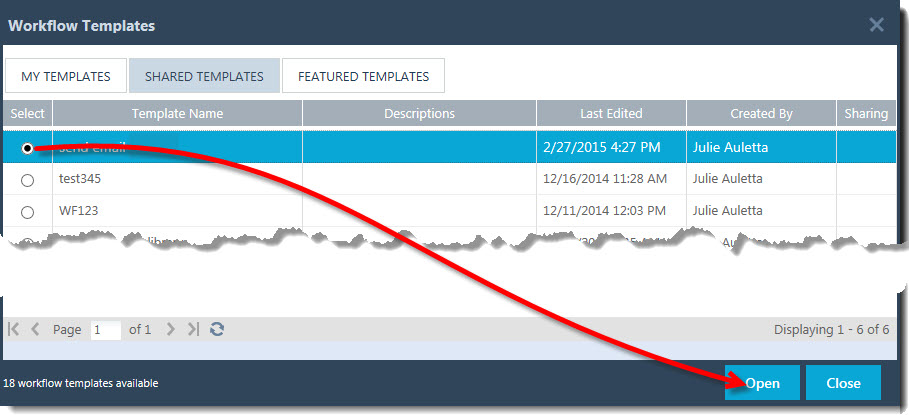
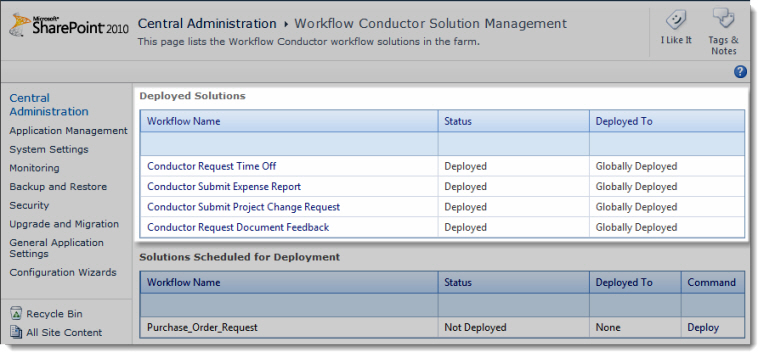
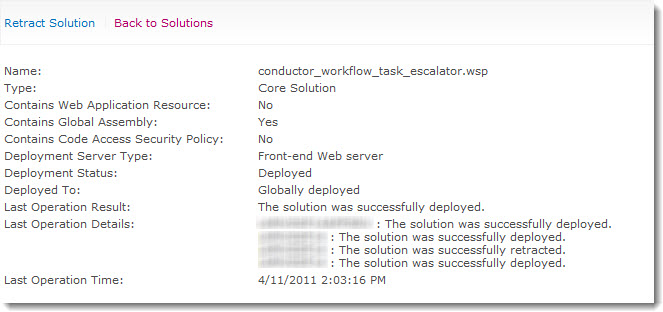 Clicking a Workflow Name displays details about the solution.
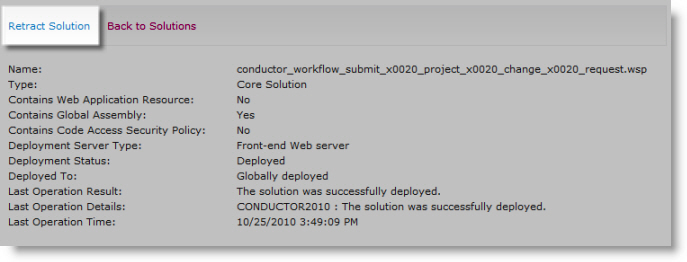 In the Solution Properties page, click Retract Solution.
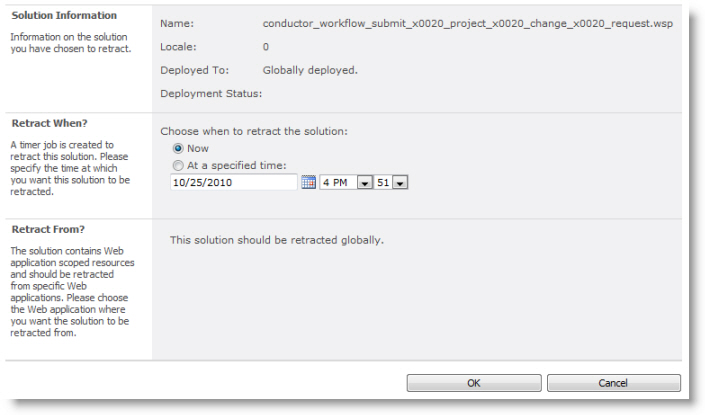 Enter a date and time to schedule the retraction and click OK.
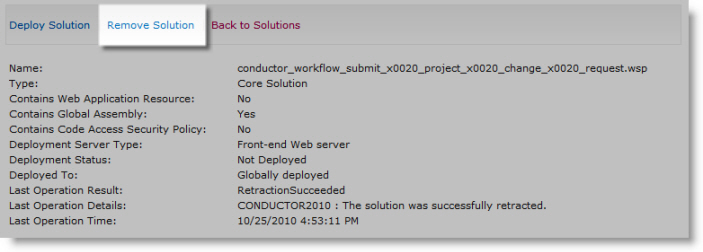 To completely remove the workflow solution from the farm, click its name again and click Remove Solution.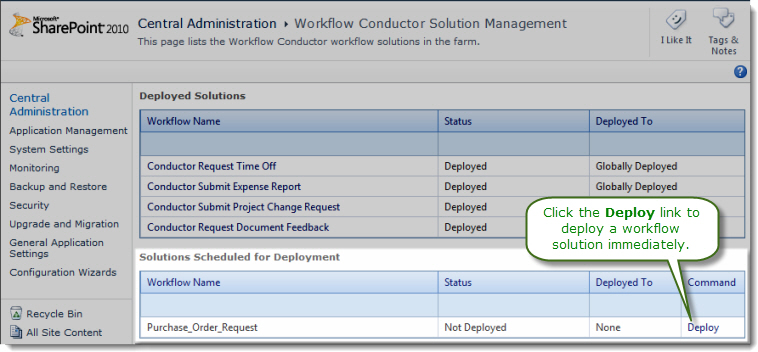
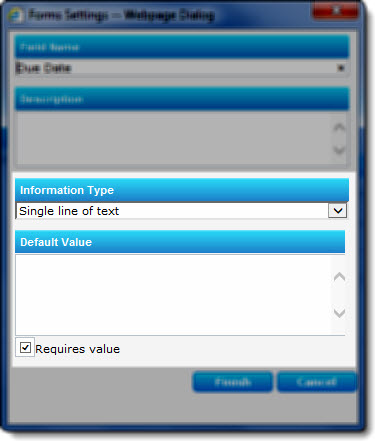
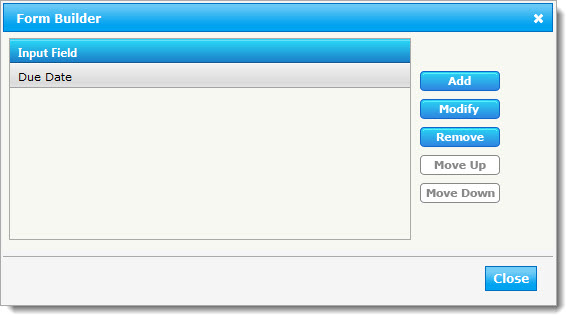
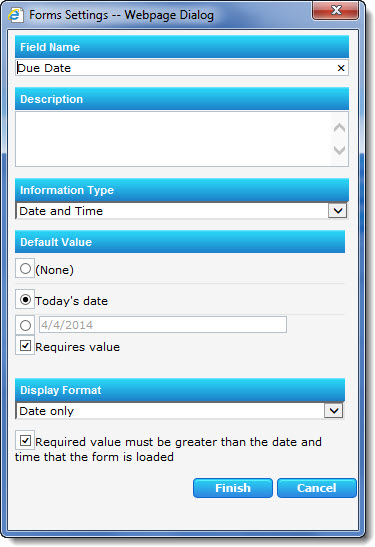
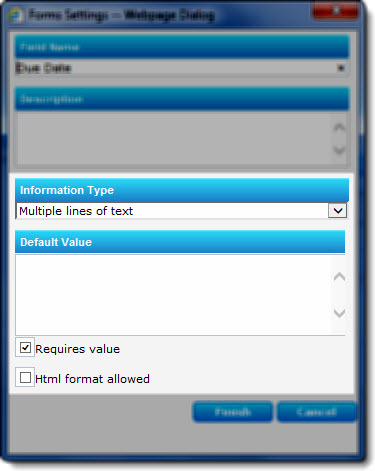 Enter a default value, if desired, and check Requires value if you need this field to have a value before the workflow continues.
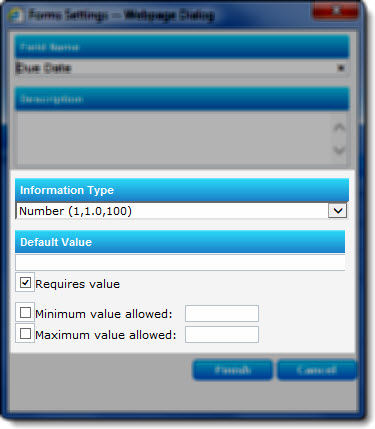 Specify the following for the Number field:
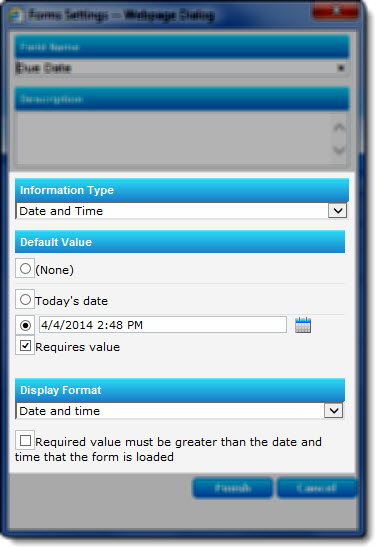 Specify the following for the Date field:
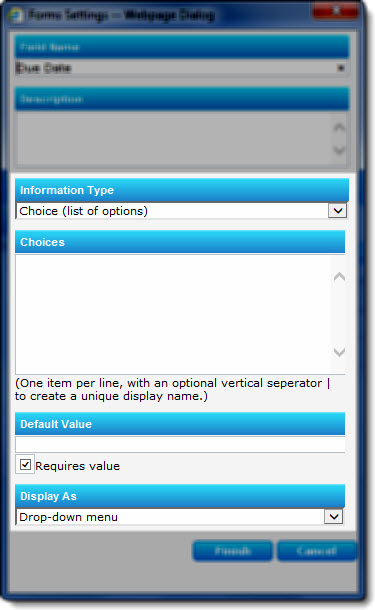 Specify the following for the Choice field:
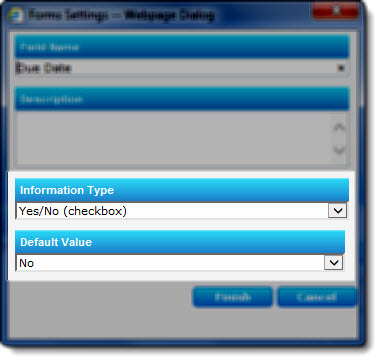 Enter a default value, if desired.
 Workflow Conductor widgets are the modular building blocks used to create workflows in Workflow Conductor Studio. Some widgets define the flow, or path, of a workflow, and others perform specific actions, such as sending an e-mail, updating the properties of an item, or creating a task.
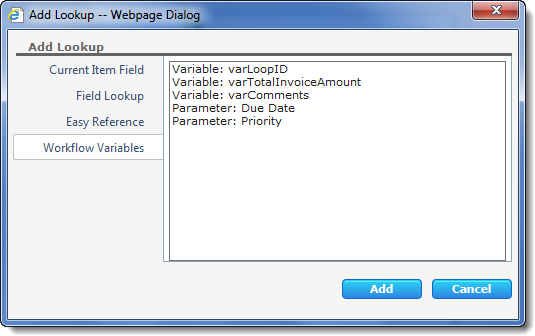 The Workflow Variables lookup list contains Variables and Parameters related to the workflow. Parameters are fields that you add to a workflow initialization form.
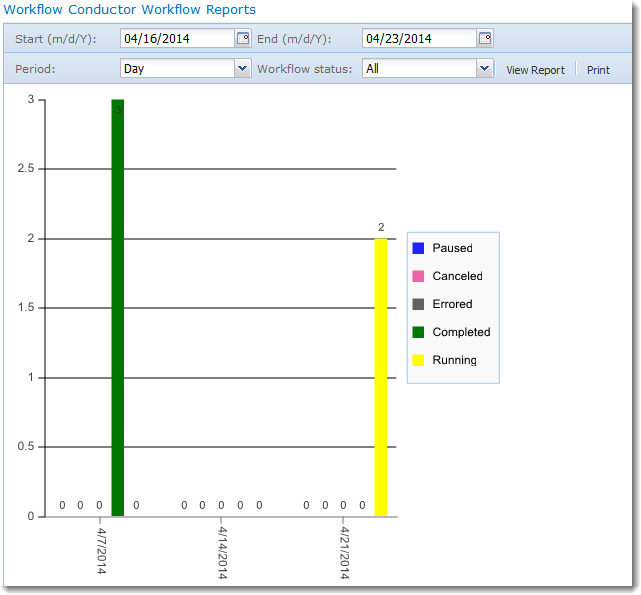 The Workflow Reports Web Part allows you to create reports about workflows in the current site or site collection. The report is displayed graphically, with a summary text-based list below the chart.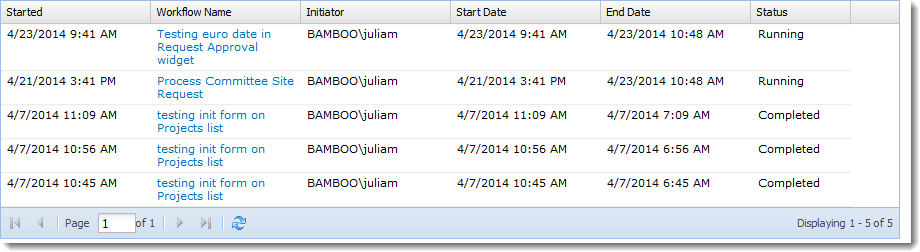
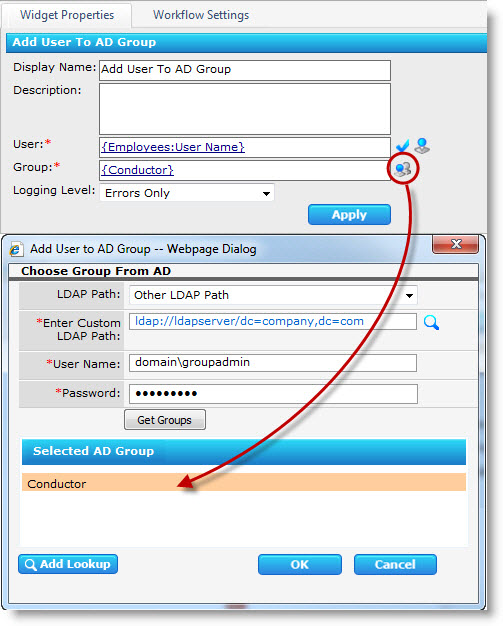 The Add User to AD Group widget shown here is configured to add a new employee to a group “Conductor”.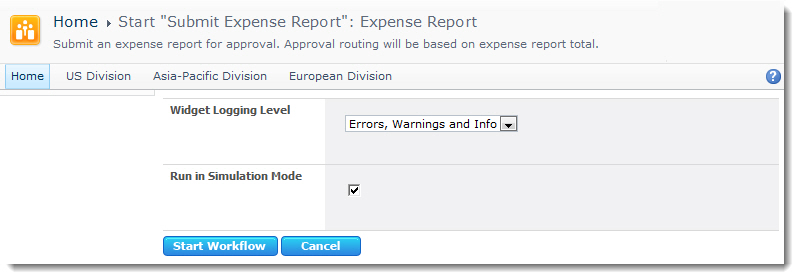

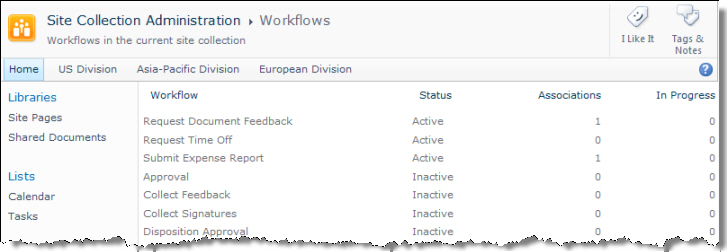
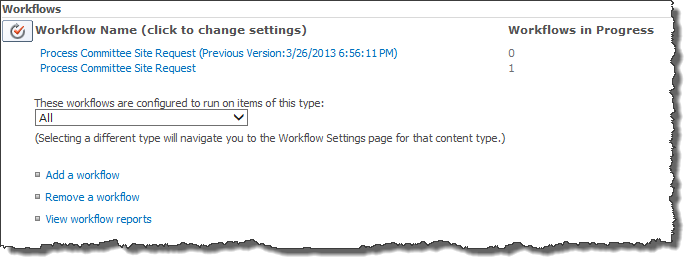
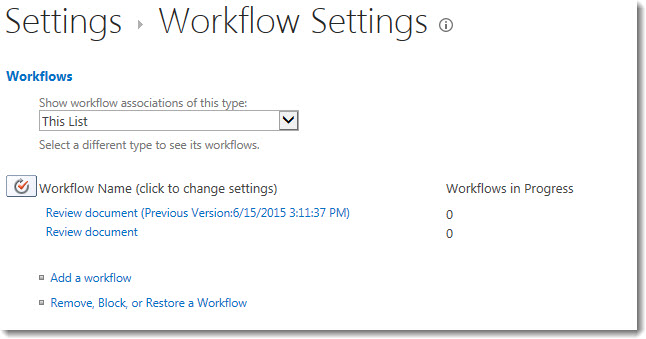 The Workflow Settings page shows active and disabled workflows for the selected content type.
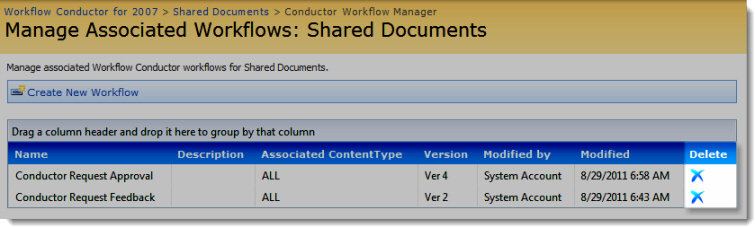
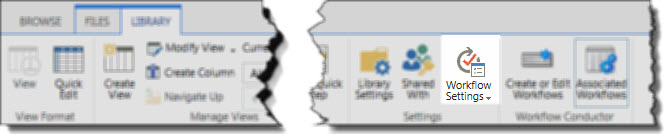
 If you are using Workflow Conductor, you can also access the Associated Workflows page from the list/library ribbon and learn more.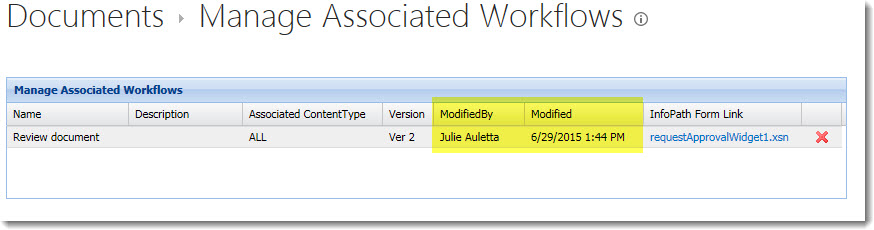
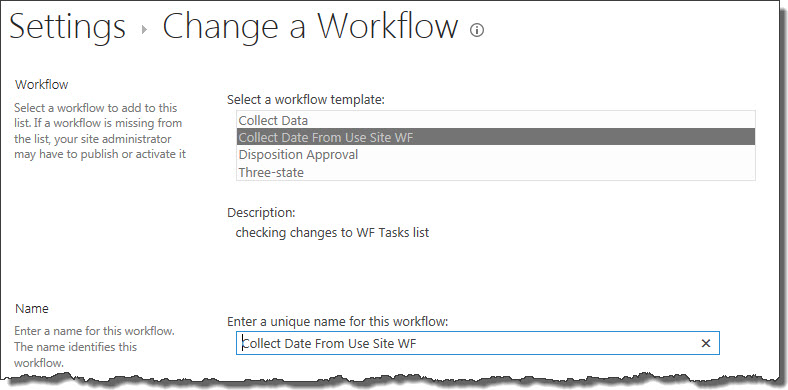

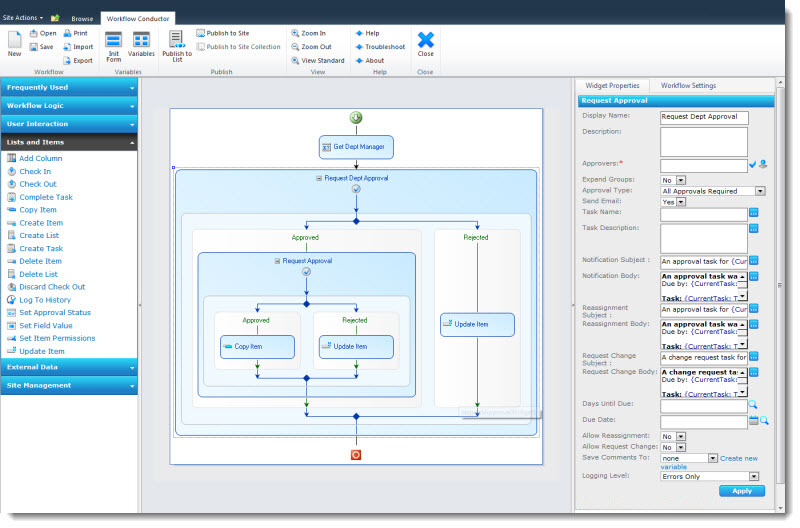 Workflow Conductor allows Designers and Administrators to easily create custom workflows using a simple drag-and-drop interface. We call that interface Workflow Conductor Studio, or Conductor Studio for short. It is a browser-based design interface that runs within SharePoint and can be accessed directly from a list or library. For more information about using Conductor Studio, visit the following sections:
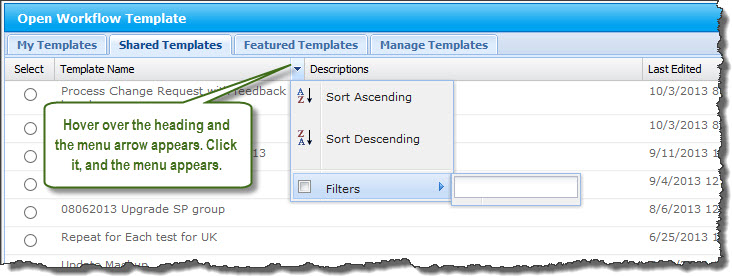 In the Template Gallery, hover over the heading of the column that shows the information you want to sort or filter on. A menu arrow (
 ) will appear. Click it to see the menu.
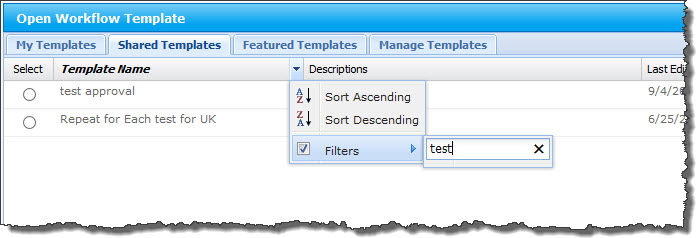 To filter the list, hover over Filters to see the text entry box. Enter filter text in the box. The list will be filtered to only those templates that have the text anywhere in the column. For example, the screen shot shows how to filter the list to show only the templates with the word “test” anywhere in the Template Name. As you enter the filter string, the list is filtered dynamically.
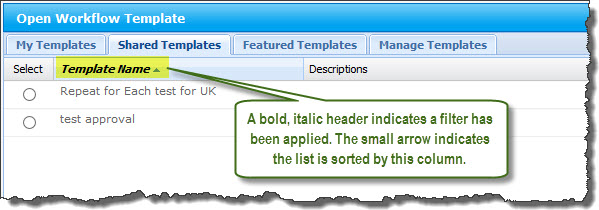 The font of the header will change to indicate a filter is applied to the list using that column. A small arrow (
 ) will appear to indicate the list is sorted by that column. The arrow will point up or down, depending on the sort order selected.
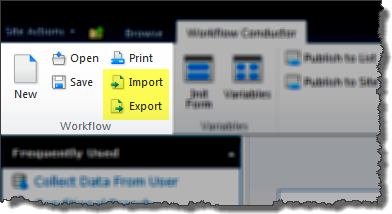 To export the current workflow template, select Export from the Workflow area of the menu in the Workflow Conductor Studio.
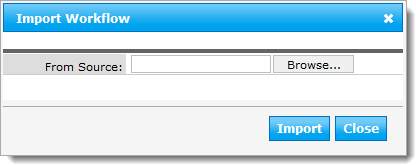 In the dialog box that appears, browse for the *.xoml file to import and then click Import.
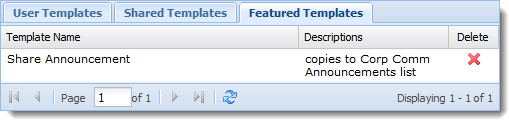
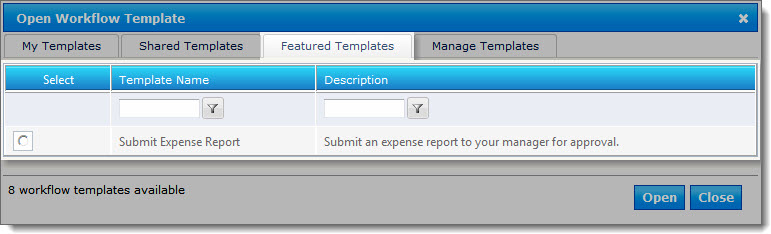 Any designer can share a workflow template. However, you may want to highlight specific templates as those that are commonly used, approved for use by all designers, or maybe just good examples for other designers. The template gallery includes a Featured Templates area for this purpose.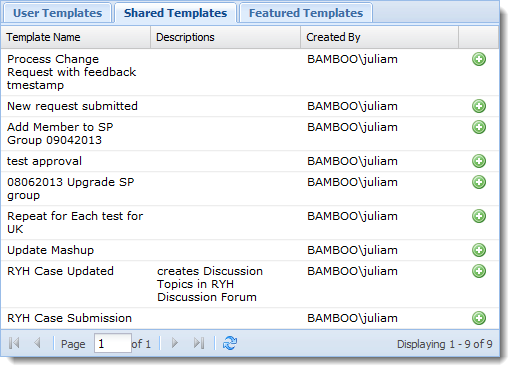
 ) for the specific template.
 ).
).
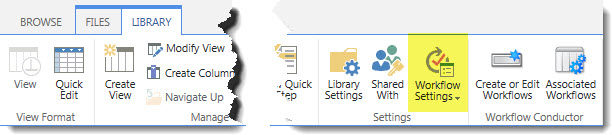 From the List Ribbon, click Workflow Settings.
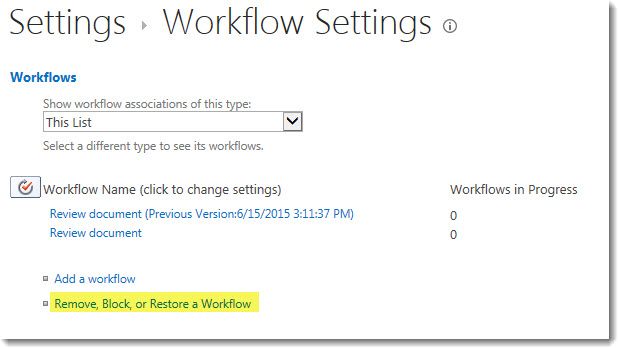 In the Workflow Settings page for the list, click Remove, Block, or Restore a workflow.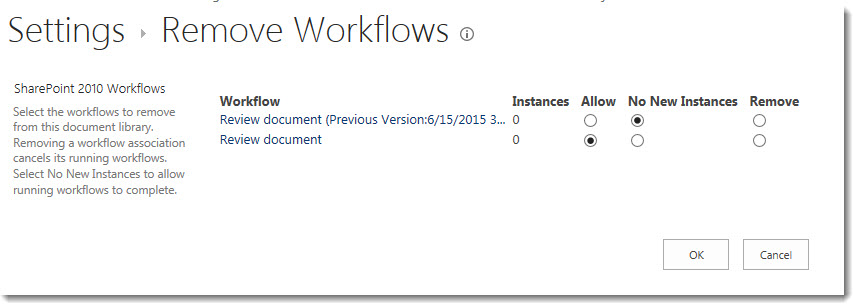
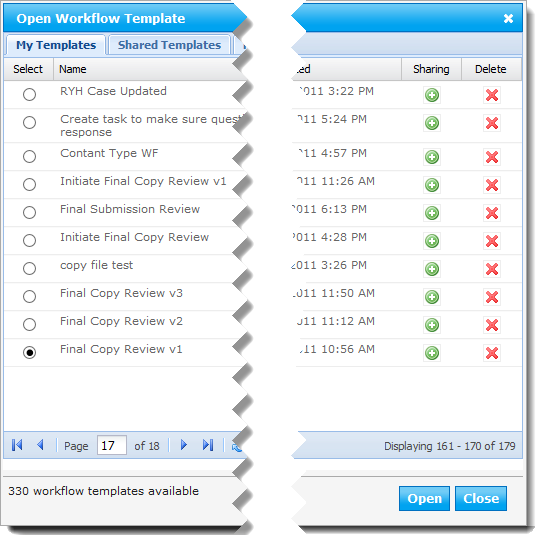 To delete a workflow template from Workflow Conductor Studio, open the template gallery and locate the copy of the template you want to delete.
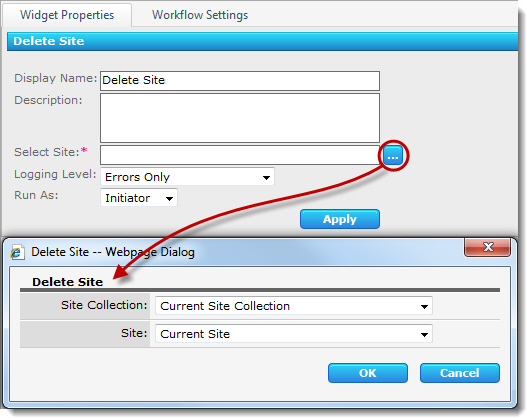 The Delete Site widget permanently deletes a SharePoint site from the site collection. The widget includes the following options and features: