How to uninstall Bamboo.core.v1.wsp from your SharePoint farm
APPLIES TO:
- Bamboo Farm deployed products that use Telerik. See Bamboo products that use Telerik for a list.
- SharePoint Foundation 2010 and SharePoint Server 2010 have Bamboo.core.wsp and Bamboo.core.v1.wsp.
- SharePoint 2007 has Bamboo.core.wsp
SYMPTOM:
Errors occur and you can not access your sites after manually retracting and removing bamboo.core.v1.wsp or Bamboo.core.wsp from your SharePoint farm.
CAUSE:
If you need to remove all of your Bamboo products from the farm, and you run the installers that come with the products and select the option to “remove”, the bamboo.core.wsp and/or bamboo.core.v1.wsp is intentionally left behind.
This is because during installation and deployment, the bamboo.core.v1.wsp (or bamboo.core.wsp) solution puts specific versions of the Telerik.web.ui and Telerik.web.ui.Skins assemblies into the Global Assembly Cache (GAC). The associated bamboo.telerik.config.wsp solution programmatically adds Telerik-related entries into the web.config for the web application(s) selected during the install. These entries refer to specific versions of Telerik.web.ui* assemblies. Web.config files should not be modified manually.
When the product(s) and solutions are uninstalled, the changes to the web.config file regarding Telerik.web.ui are not removed. This is because there may be other SharePoint solutions from sources other than Bamboo that use this version of Telerik. For the same reason, the bamboo.core.v1.wsp (or bamboo.core.wsp) is left deployed because uninstalling it removes some specific versions of Telerik.web.ui* assemblies from the GAC.
If you remove bamboo.core.v1.wsp (either manually via Central Administration, PowerShell, or stsadm), then the Telerik.web.ui* assemblies will be removed from the GAC but the entries will remain in the web.config files. This may leave you unable to access your web pages.
If you are sure there are no other solutions that rely on Telerik on your farm, it will be OK to retract and remove the bamboo.core.v1.wsp (or bamboo.core.wsp) solution. However, you must be sure to also remove the Telerik entries from the various web.config files where they have been added.
RESOLUTIONS:
Leave the bamboo.core.v1.wsp deployed. Do not uninstall it.
OR
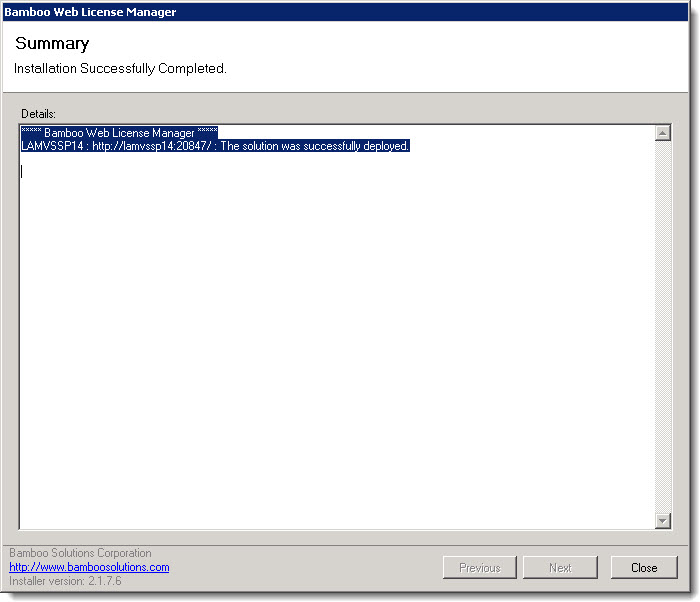
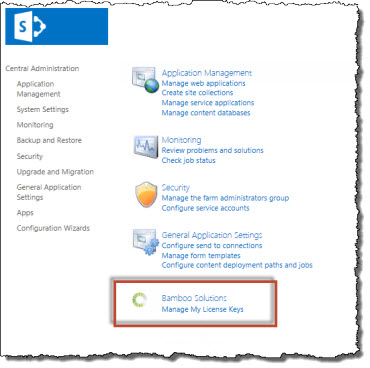
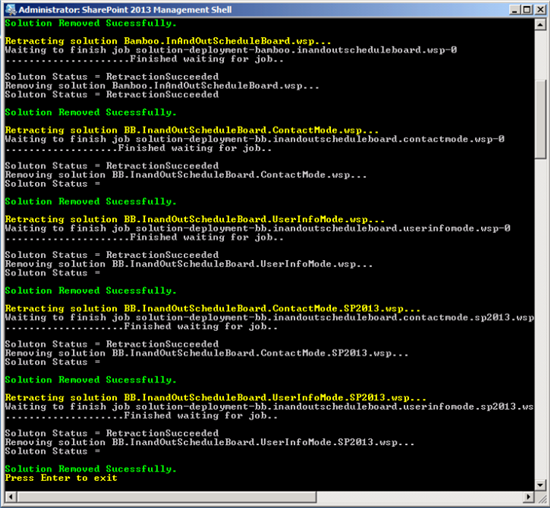
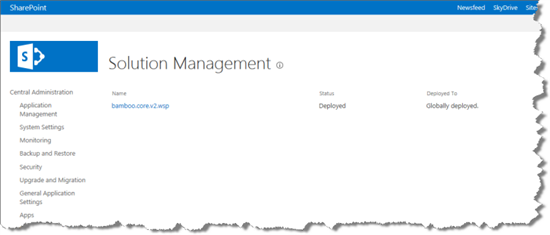
If you must remove the bamboo.core.v1.wsp (or bamboo.core.wsp), remove it by retracting and then removing the solution from the Manage Solutions page in Central Admin. See Uininstalling from SharePoint Central Administration for more information.
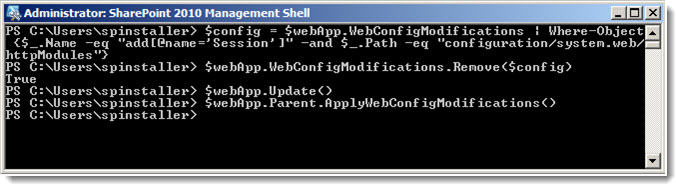
After it is successfully removed, please use PowerShell to remove the Telerik entries from the web application(s) web.config file. This will ensure that changes to the web.config are saved in the database. For more information, see How to Remove a web.config Modification Using PowerShell
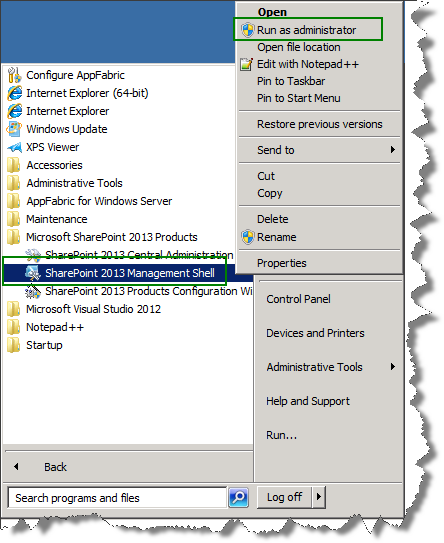
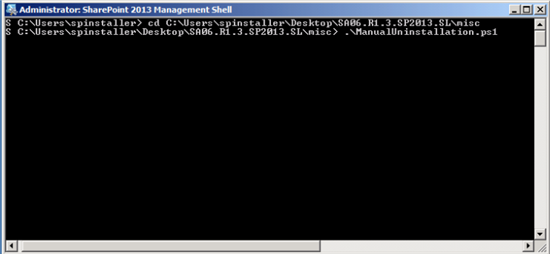
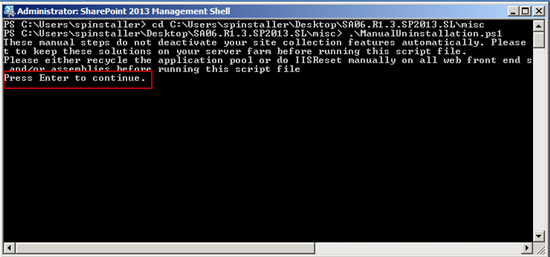
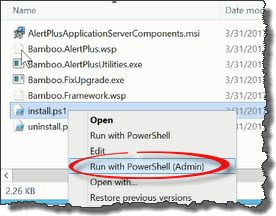 Run the Install.ps1 from a WFE server in PowerShell as an admin.
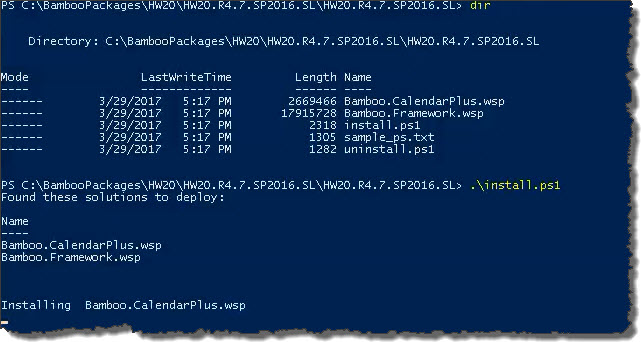 The script will look for WSPs in the install folder and list those found. It will install them in alpha order.
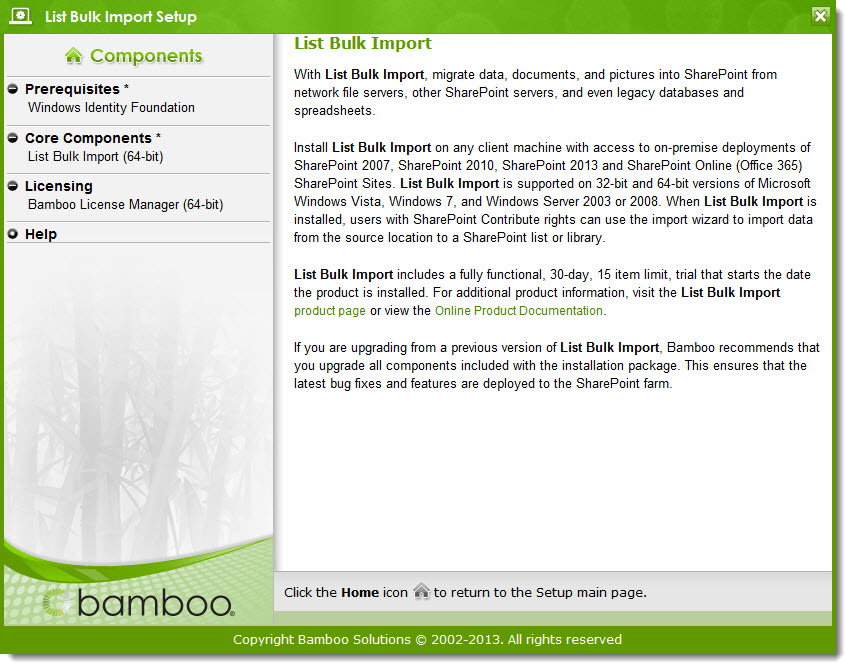

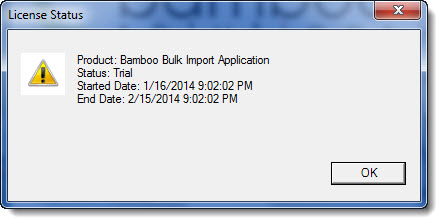
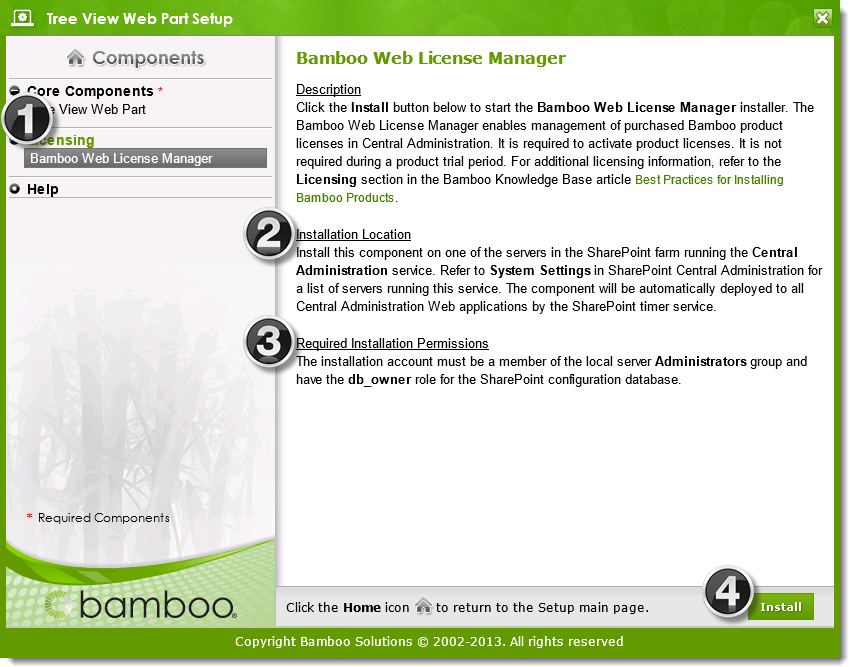
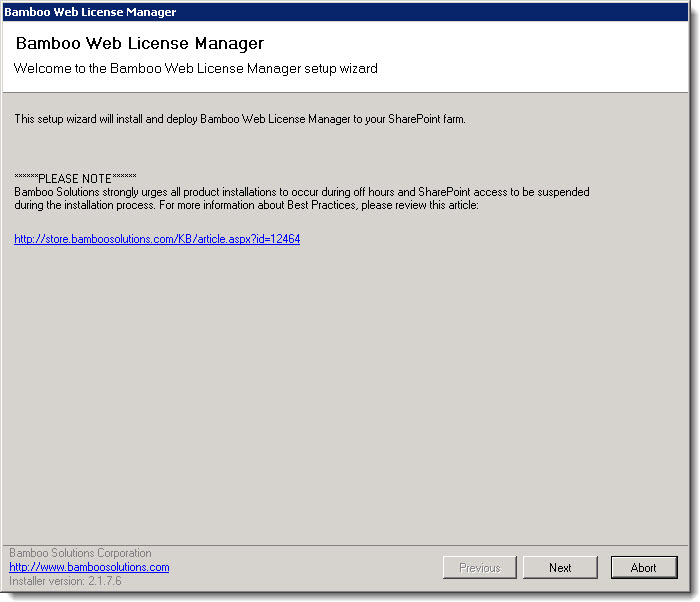
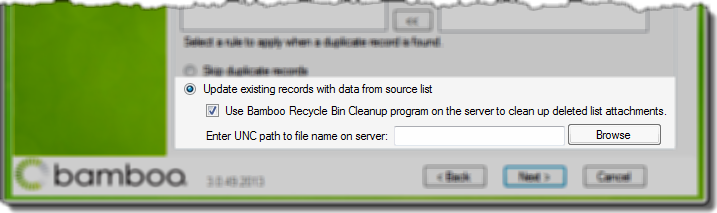
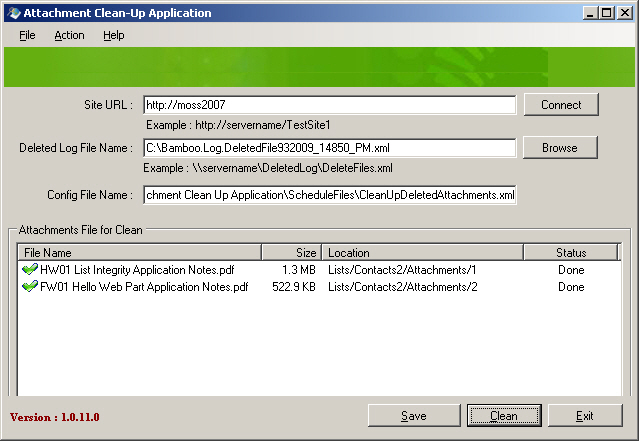
 In order to leverage this utility, you must run the import with the Use Bamboo Recycle Bin Cleanup program on the server to clean up deleted list attachments configuration (see screen shot). Otherwise, the attachment log file isn’t created and this utility won’t have the information it needs to run.
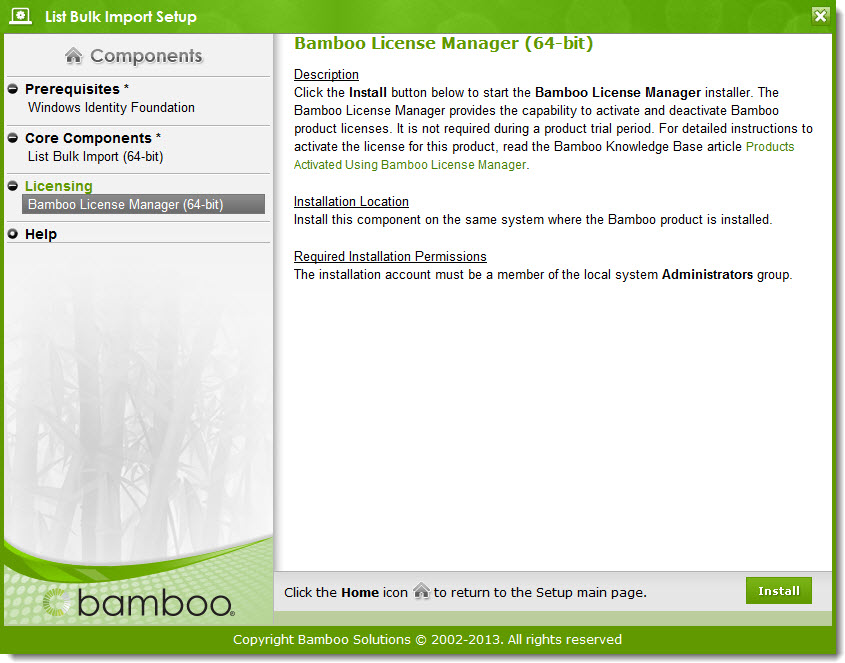
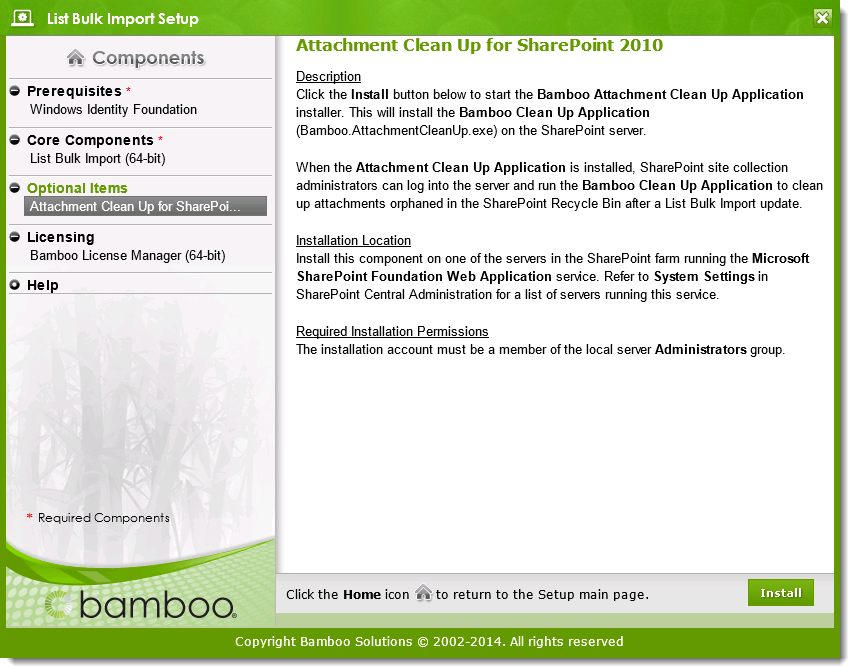 The application is installed from the List Bulk Import Setup program, shown here.
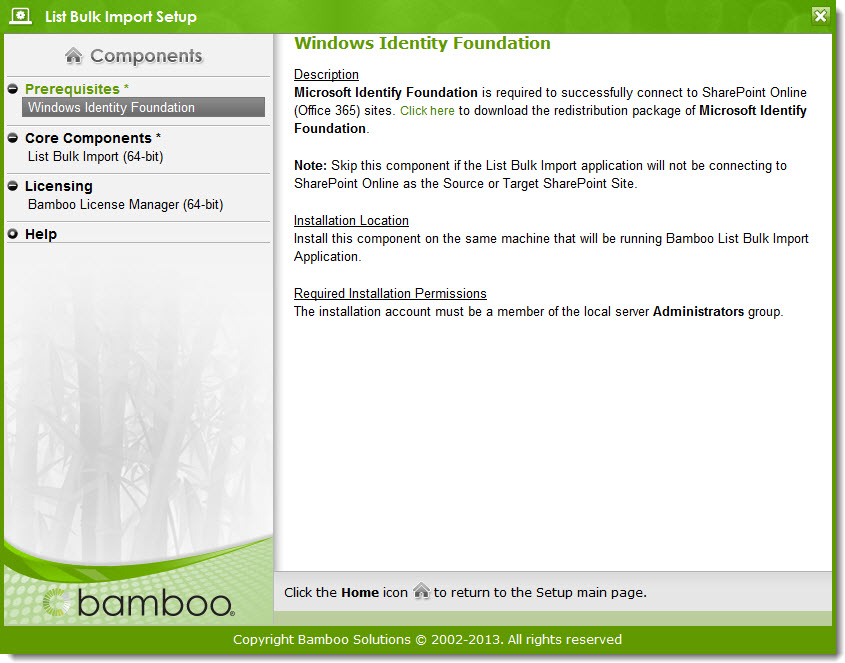
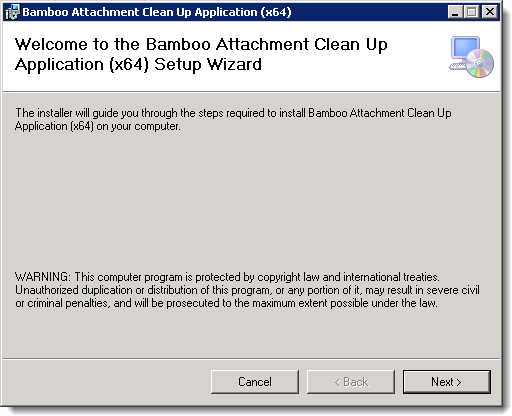 Highlight the Attachment Clean-up for SharePoint item in the Components list of the List Bulk Import Setup.
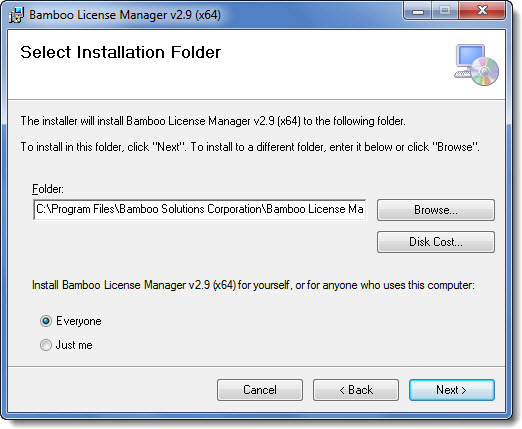
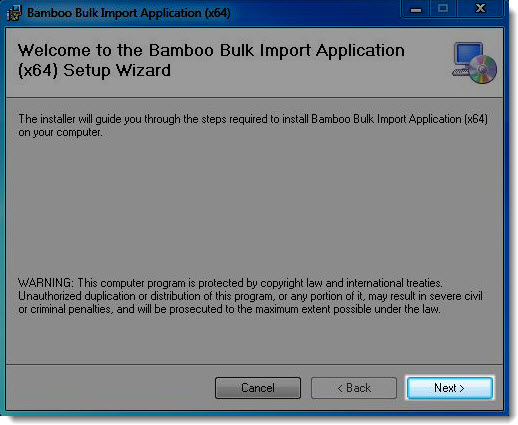
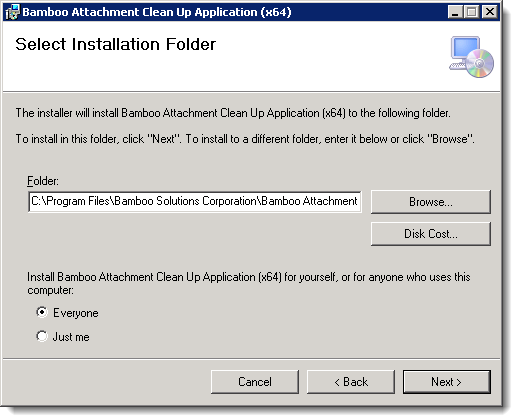 Identify the folder to install to and click Next >.
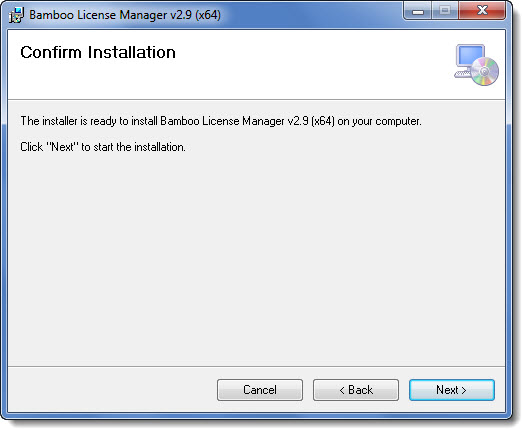
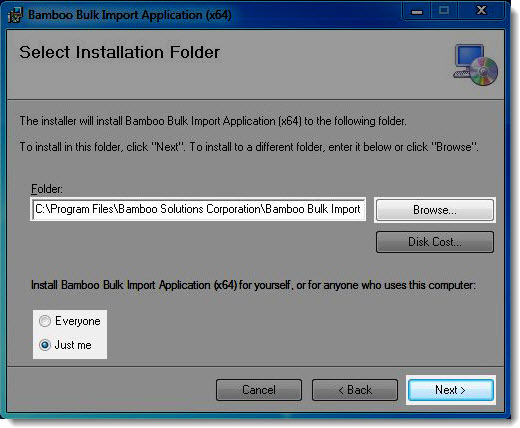
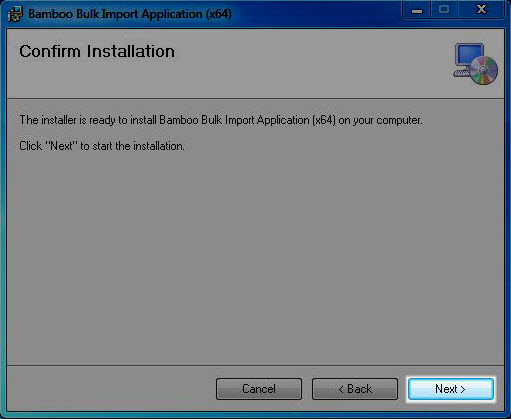
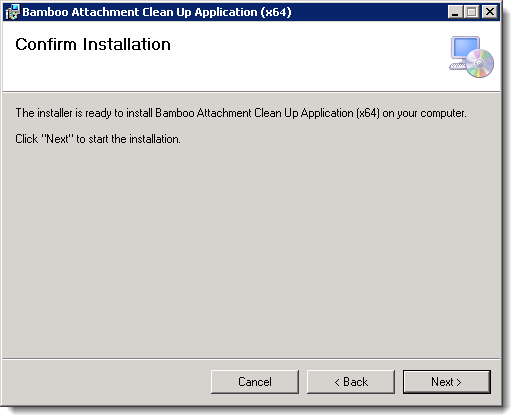 Confirm the location and click Next >. The installation will progress.
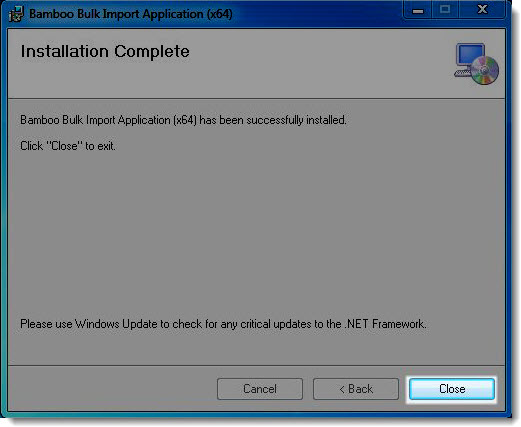
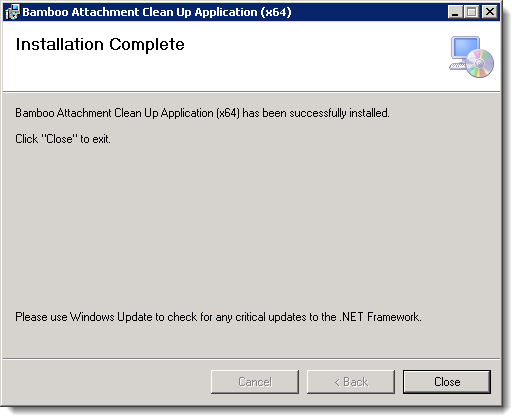 When the installation is complete, click Close to close the installation application.
 You should see an icon for the application on your Desktop when the installation completes.

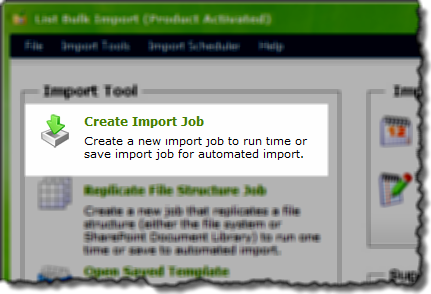
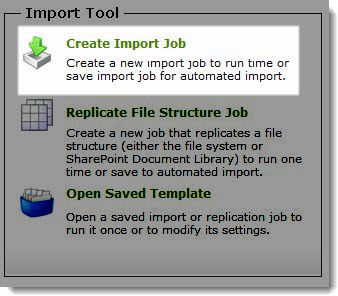 In the Import Tool section of the dashboard, select Create Import Job.
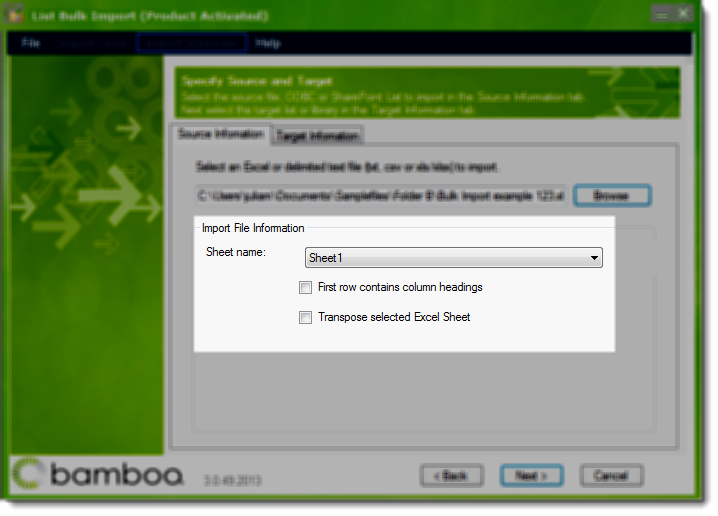
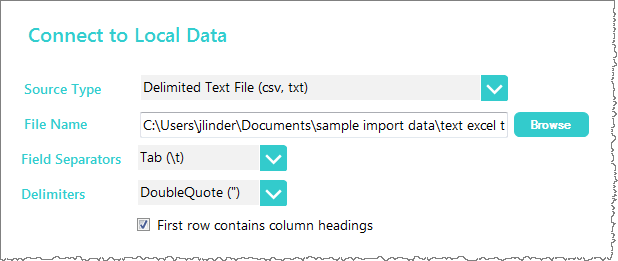
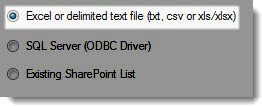 Select Excel or delimited text file and click Next.
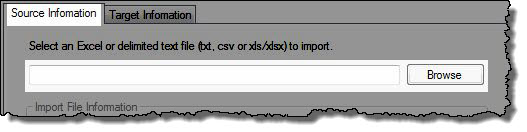
 In the Import Tool section of the dashboard, select Create Import Job.
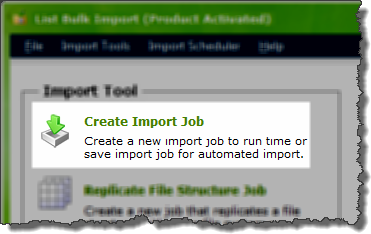 In the Import Tool section of the dashboard, click Create Import Job.
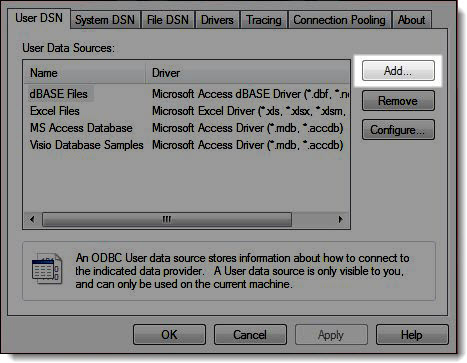
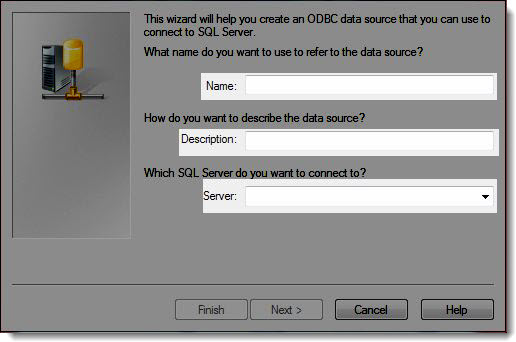
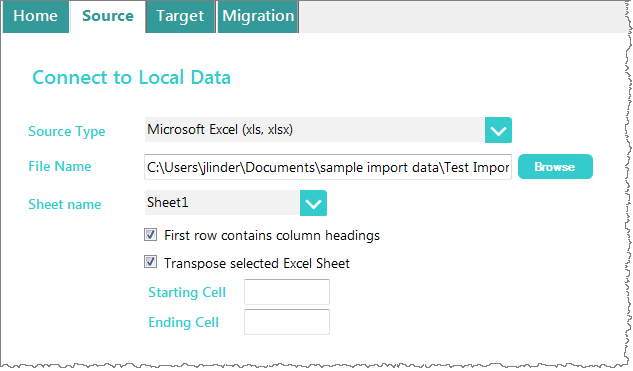
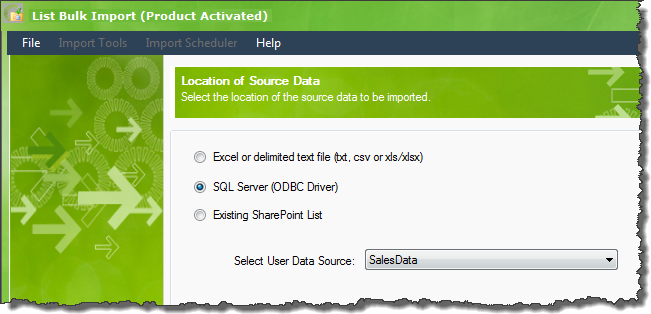 On the Location of Source Data page, choose SQL Server (ODBC Driver).
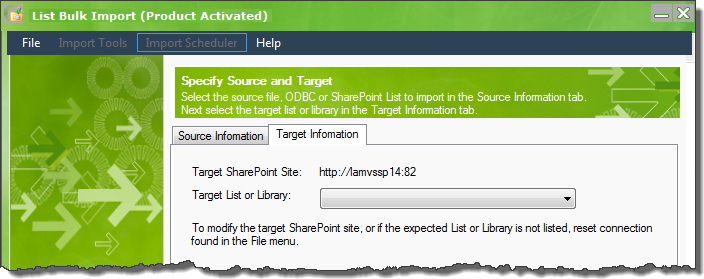
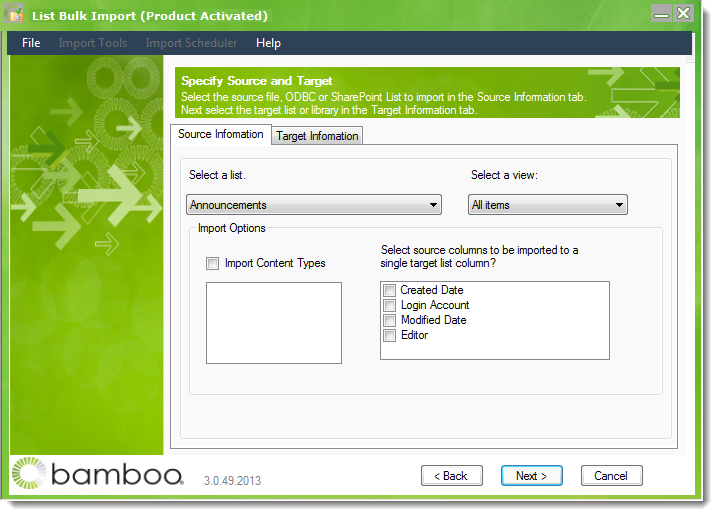
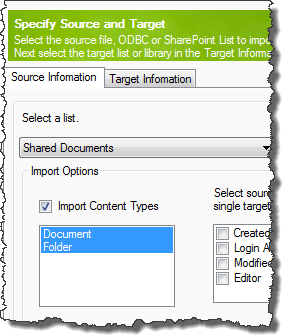
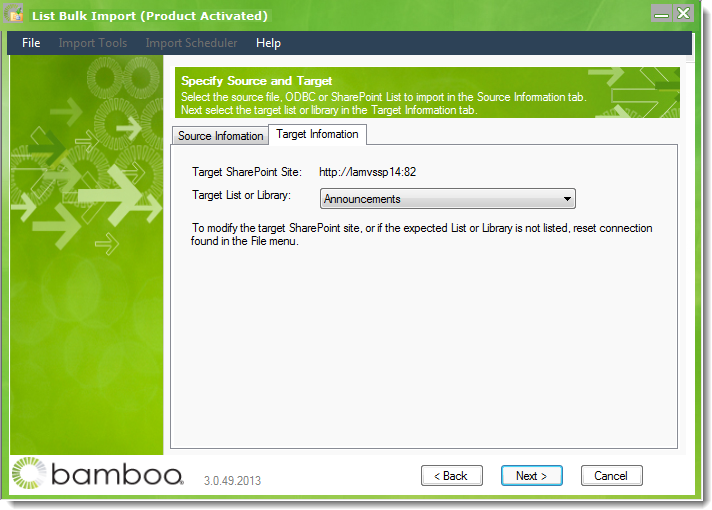
 On the Source Information tab of the Specify Source and Target page, select the Table or View that contains the data to be imported.
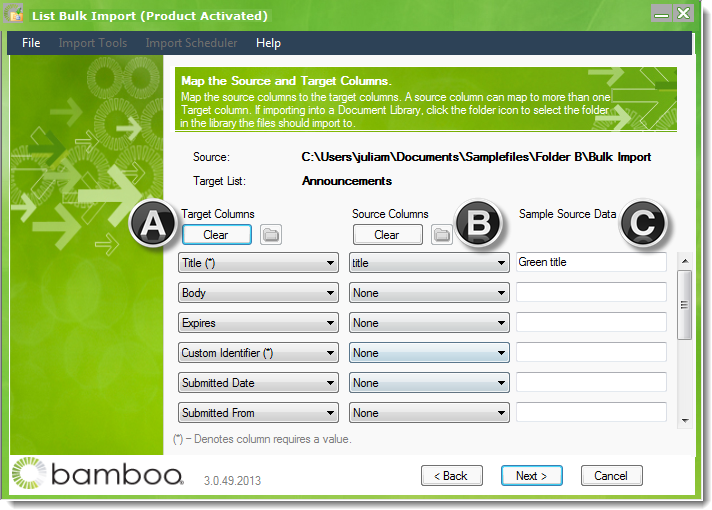
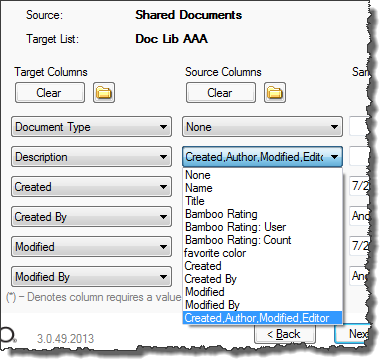
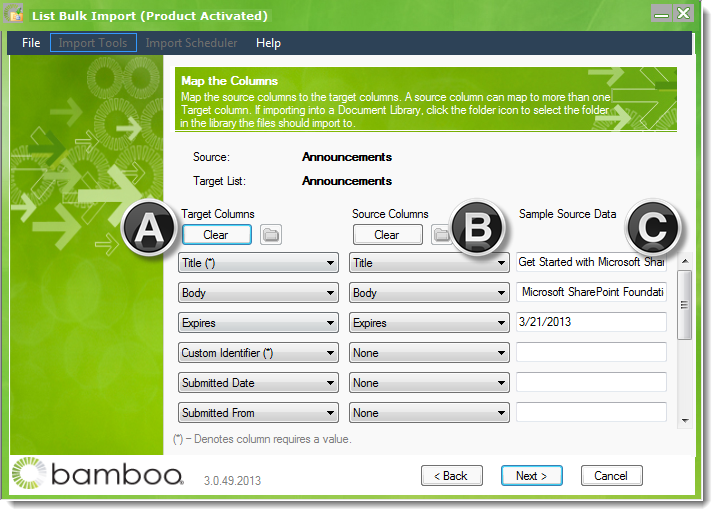
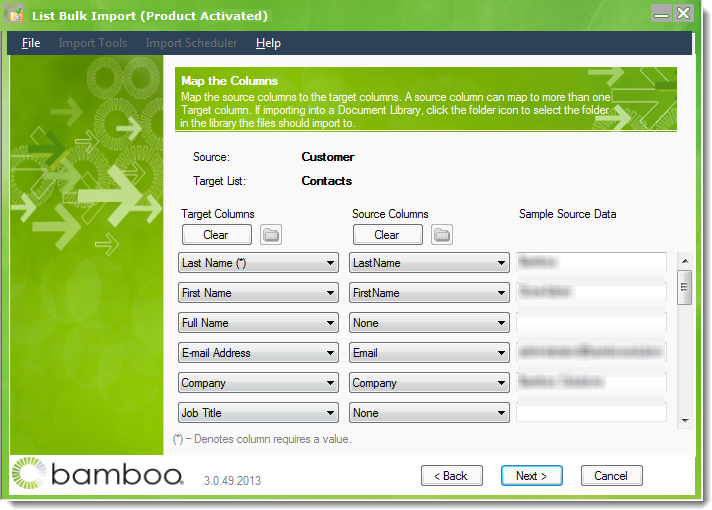 On the Map the Columns page, map columns from the SQL Table or View to the columns available in the selected SharePoint list.
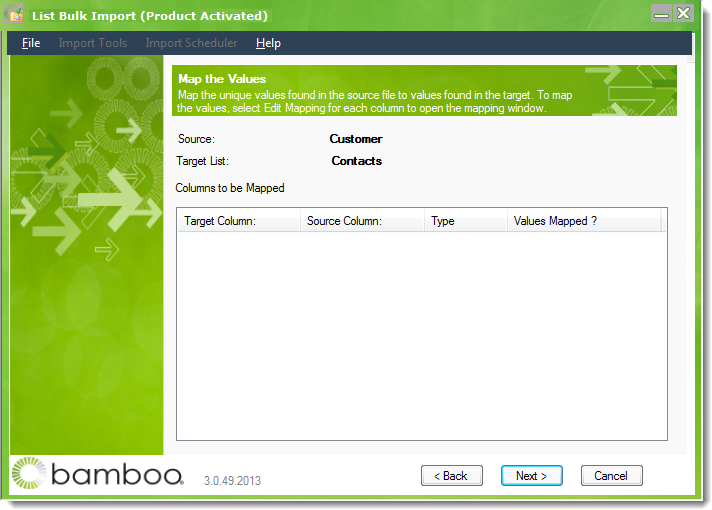 On the Map the Values page, map any choice or lookup column values. See
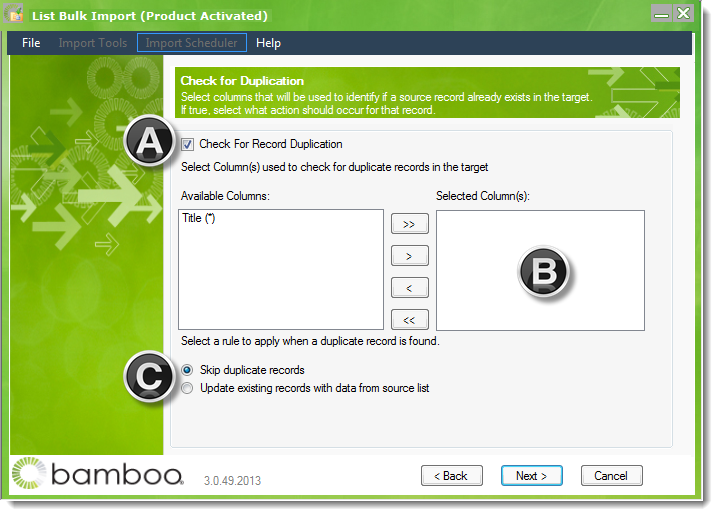
 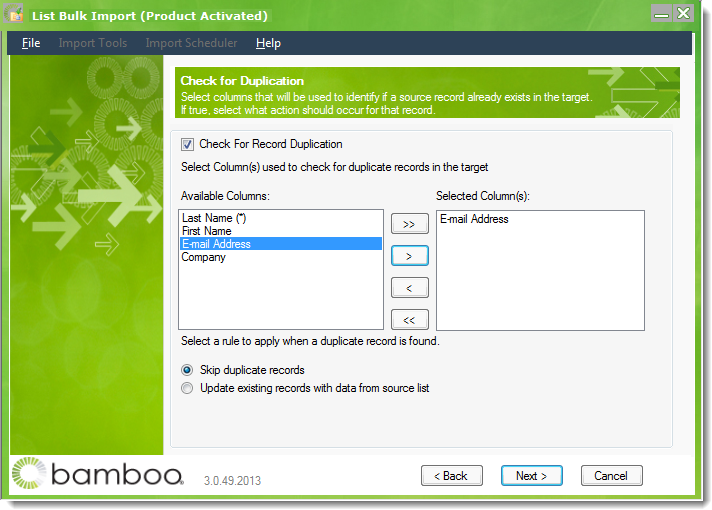 On the Check for Duplication page, decide if you want to check for duplicates. see
 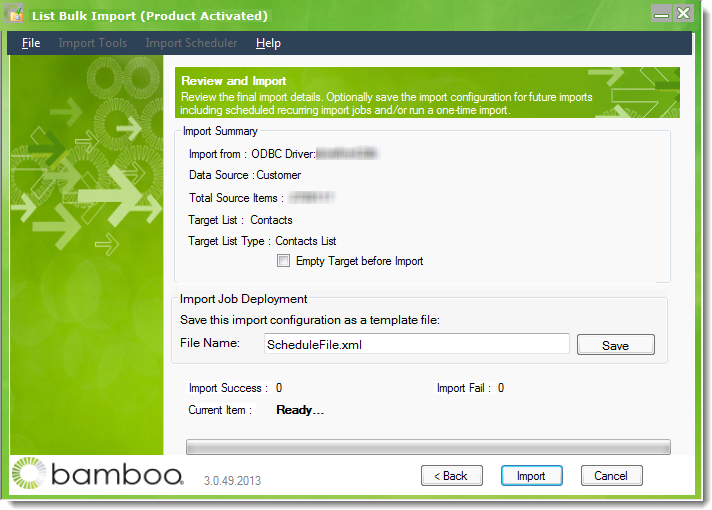 On the Review and Import page, review the import configuration.
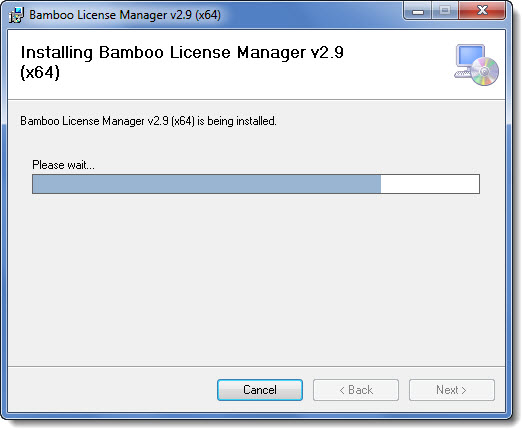
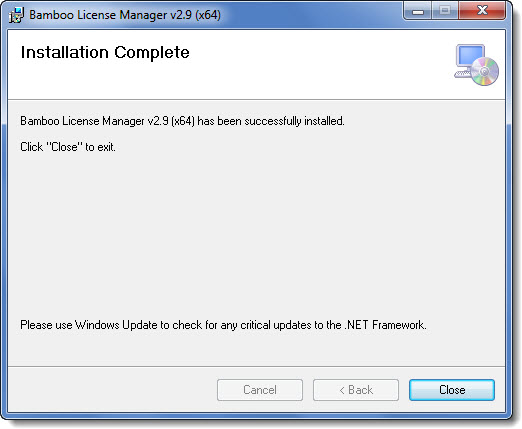
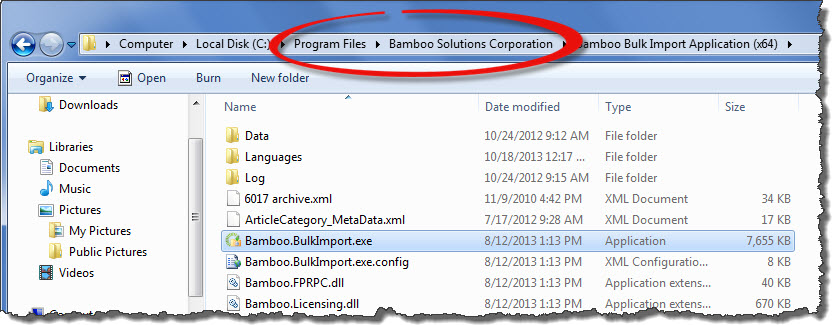
 Double-click the product EXE file to extract the contents of the product download.
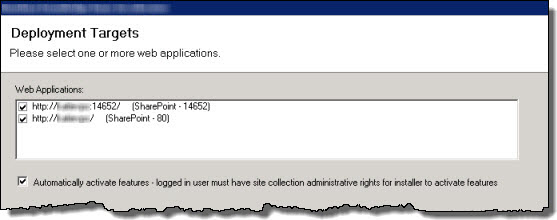


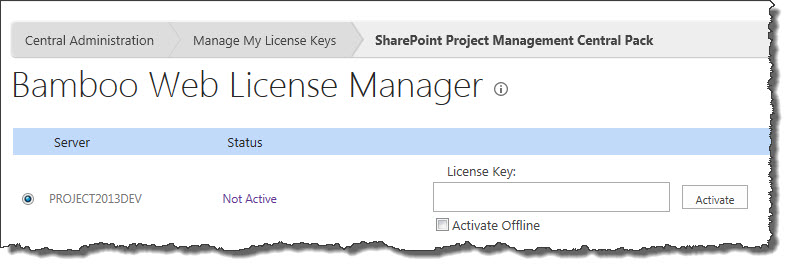
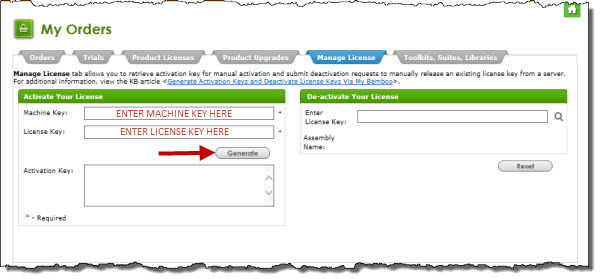
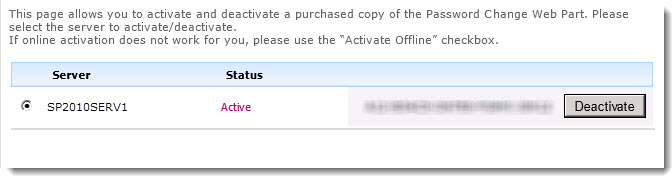
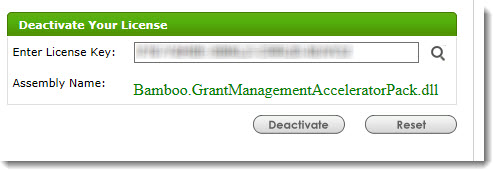
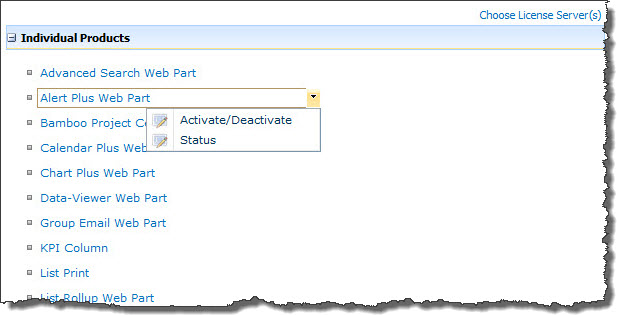
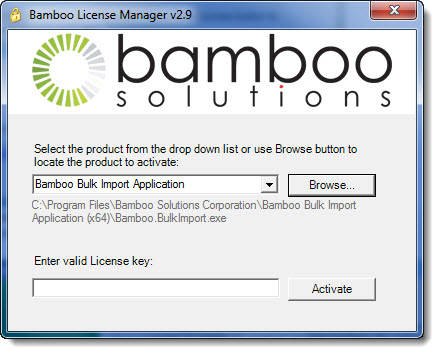
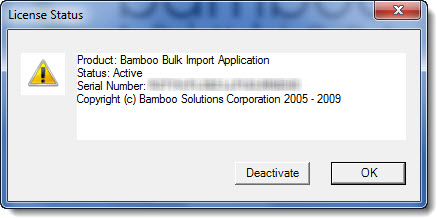
 ). The Assembly Name licensed with this key will be displayed. Ensure it is the product you expect and then click Deactivate.
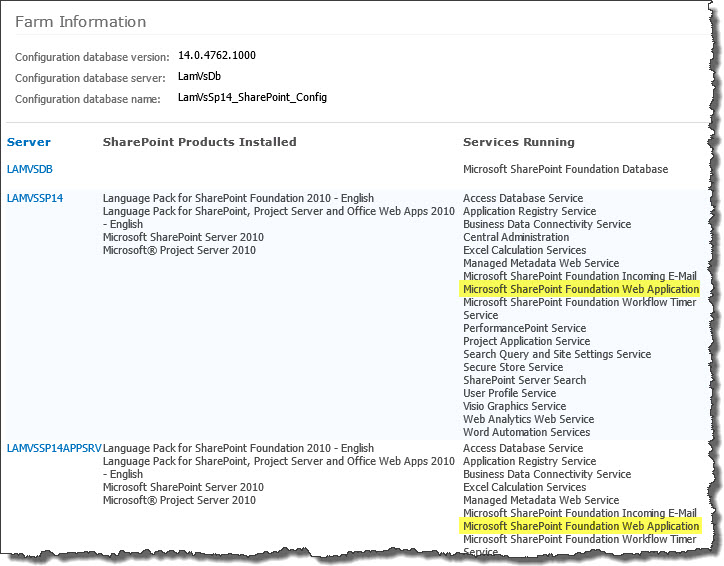 To determine which servers on the farm run these services, go to Central Administration > System Settings > and then Manage servers in this farm. If you are using WSSv3/MOSS, this page is accessed in Central Administration through Operations > Servers in Farm. In this example, there are two WFE servers on the farm.
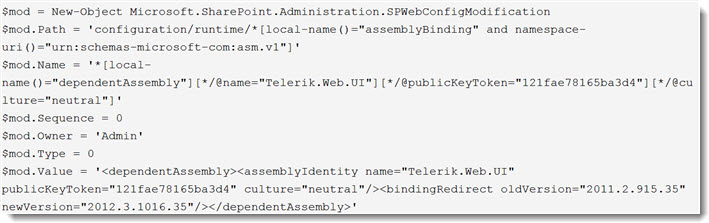


 Many companies use Active Directory Services to manage their users. With the addition of SharePoint, another user directory database has been introduced – the User Profile Database. But even with SharePoint features such as Single Sign On, and automatic importing of Active Directory profile information to SharePoint, the bulk of the workload to maintain user information is still on the Administrator. What is lacking is a way to allow the owners of the user information to maintain it themselves, both safely and securely, using either database as their directory service source.
 SharePoint 2013:
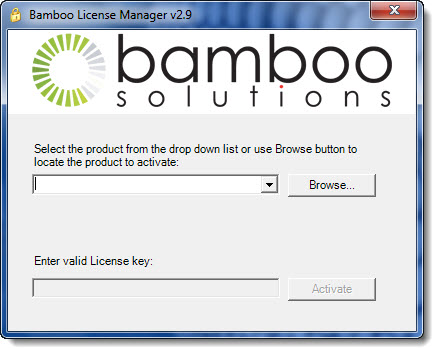
 You will find many of our products complement each other quite nicely saving you the time and trouble to write custom code. With Bamboo at the heart of your SharePoint investment, you gain access to a huge catalog of enhancements, components, and accessories that add the critical functionality your business requires.