Troubleshoot Problems with Deploying Farm SolutionsTop
This topic applies to:
- WSS 3.0 and MOSS 2007
- SharePoint Foundation 2010/2013 and SharePoint Server 2010/2013/2016
Several issues and their corresponding solutions are described below. Click the link to jump to the appropriate issue.
Issue 1: Copying or Removing Assemblies
With SharePoint 2010 and 2013, we sometimes see failures when trying to copy assemblies to the Global Assembly Cache (GAC) or remove assemblies or other files from the bin or 14 or 15 hive during solution retraction and/or deployment.
Resolution:
- Restart the SharePoint 2010/2013 Administration service on all of the Web Front End servers (all servers on the farm where the Foundation Web Application service is running).
Restart the SharePoint 2010/2013/2016 Timer service as well.
 NOTE: The SharePoint Administration service carries out the actual removing and adding of files during deployment. Restarting the service works most of the time because the service should release the handle on a file. However, if the Administration service does not release the handle on the file, then deployment can fail. Restarting the timer service on SharePoint 2010/2013 will restart all SharePoint 2010/2013 timer jobs and you will need to delay installation for a while, until all of those jobs have had a chance to complete.
-
Remove the solution.
-
Reinstall the solution.
For more information, see:
http://msdn.microsoft.com/en-us/library/aa544500.aspx
Top
Issue 2: Deployment Fails or Times Out
Deployment fails, and the reason is not clear from the error shown in installation feedback (or just shows time out errors), or the Bamboo GUI installer appears to stop in the middle of the deployment, and eventually times out.
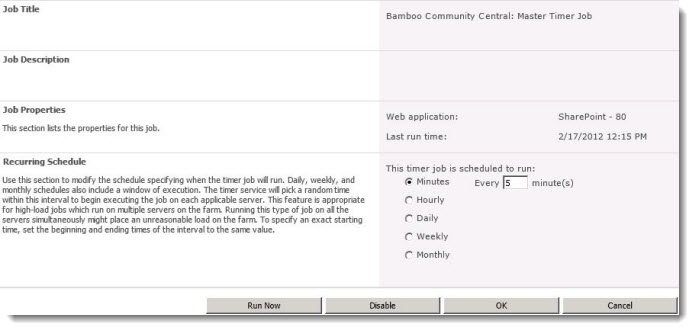
The Timer Job Definitions in Central Administration may show one or more persistent “one time” timer jobs listed.
Manual installations using stsadm also fails to complete the installation.
Resolution:
-
Delete the one-time timer jobs listed in the timer job definition list. Restart the SharePoint 2010/2013 Timer service on each server in the farm running the Foundation Web Application service.
Try the installation again.
-
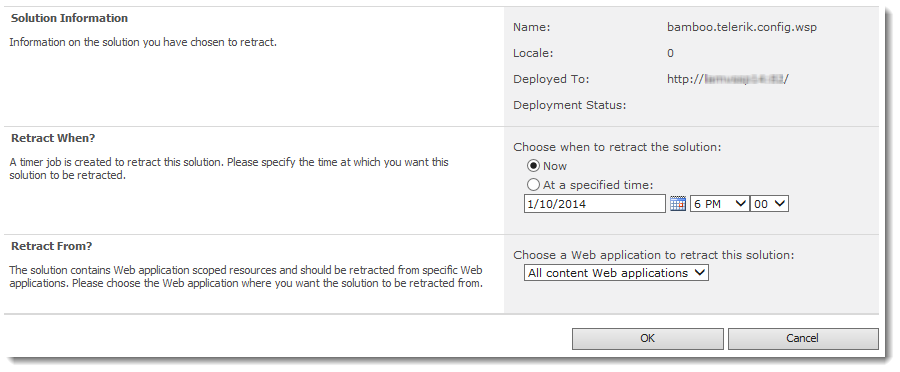
Any solutions that show up in on the Solution Management page in Central Administration with a status of “undeployed” or “error” need to be either deployed manually in Solution Management, or removed, if you are going to run the Bamboo GUI installer. For more information, see Installation stops at the Repair Remove or Install screen
-
Run the stsadm installation using the -local rather than the -immediate parameter for stsadm -deploysolution. This will not invoke the timer service. As stated in this Technet article:
-local “Deploys the solution synchronously on the local computer only. The timer service is not used.”
For more information about which server is running the Windows SharePoint Services Web Application Service, look in Central Administration:
– on SP 2007 in Operations > Servers in Farm
– on SP 2010 in System Settings > Manage Servers in this Farm
- Clear the SharePoint Configuration cache. The Web Front End servers may be out of sync. For more information and instructions see Clear the SharePoint Configuration Cache for Timer Jobs.
If you experience issues with WSS and MOSS timer jobs failing to complete are receiving errors trying to run psconfig, clearing the configuration cache on the farm is a possible method for resolving the issue. The config cache is where we cache configuration information (stored in the config database) on each server in the farm. Caching the data on each server prevents us from having to make SQL calls to pull this information from the configuration database. Sometimes this data can become corrupted and needs to be cleared out and rebuilt. If you only see a single server having issues, only clear the config cache on that server, you do not need to clear the cache on the entire farm.
To clear the cache a single server, follow the steps below on just the problem server.
- Stop the OWSTIMER service on ALL of the MOSS servers in the farm.
-
On the Index server, navigate to:
Server 2003 location: Drive:Documents and SettingsAll UsersApplication DataMicrosoftSharePointConfigGUID and delete all the XML files from the directory.
Server 2008 location: Drive:ProgramDataMicrosoftSharePointConfigGUID and delete all the XML files from the directory.
-
Delete all the XML file in the directory.
NOTE: ONLY THE XML FILES, NOT THE .INI FILE.
- Open the cache.ini with Notepad and reset the number to 1. Save and close the file.
- Start the OWSTIMER service on the Index server and wait for XML files to begin to reappear in the directory.
- After you see XML files appearing on the Index server, repeat steps 2, 3 & 4 on each query server, waiting for XML files to appear before moving to subsequent servers.
- After all of the query servers have all been cleared and new .xml files have been generated, proceed to the WFE and Application servers in the farm, following steps 2, 3, 4 and 5 for each remaining server.
Top
Issue 3: Copying a File Failed
This is the error message that you get: “Copying of this file failed. This operation uses the SharePoint Administration service (spadmin), which could not be contacted. If the service is stopped or disabled, start it and try the operation again.”
Resolution:
For instructions and more information, see this MSDN article.
Top
Issue 4: Resources Scoped for one Web App must be deployed to more Web Apps
This is the error message that you see: “This solution contains resources scoped for a Web application and must be deployed to one or more Web applications.”
Resolution:
Usually this can be resolved by running the Bamboo GUI installer, removing the product, and then reinstalling it.
We have also found that if the solution is showing up in the Solution Management page as installed but not deployed, you can try to run a manual deployment using stsadm.
See Best Practices for Installing Bamboo Products
Also see MSDN Issues Deploying SharePoint Solution Packages
Top
Issue 5: Cannot Find a Certain File
After an apparently successful deployment, you see errors about not being able to find file(s) when attempting to view products on a page.
Resolution:
Be sure to exclude directories such as %systemroot%Program FilesCommon FilesMicrosoft SharedWeb Server Extensions from file level antivirus scanning, or you may find that files that were deployed in that directory will be removed when the antivirus scan runs.
For more information, see this TechNet article.
Top
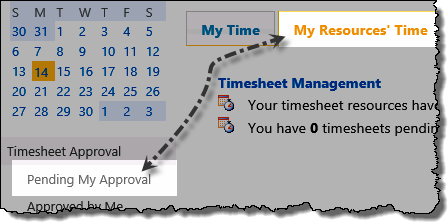
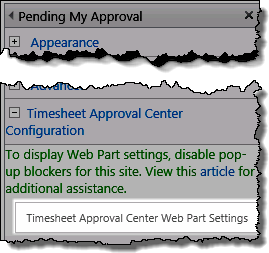 Edit the Web Part on page and click the Approval Center Web Part Settings button to access the pop-up configuration window
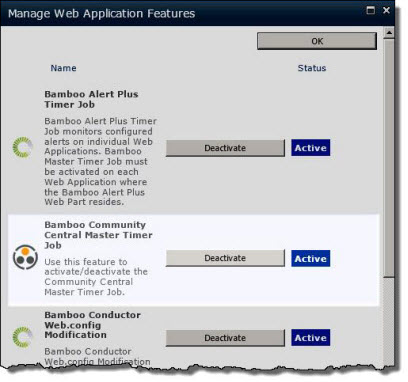
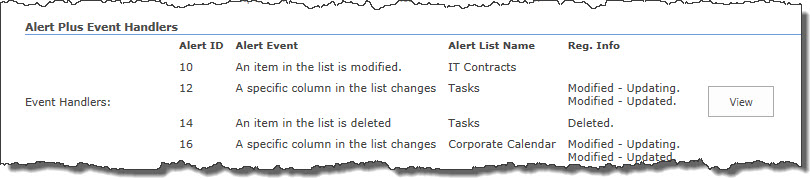
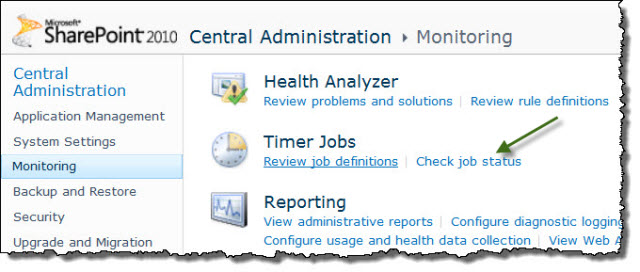 You will see both timer jobs:
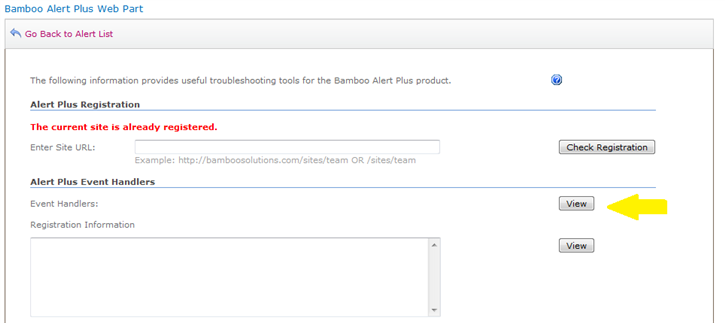
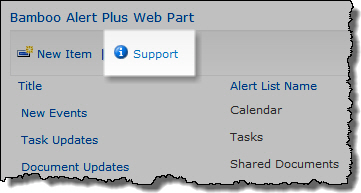 To access the Support page, click the Support link from the toolbar of the Alert Plus web part. This page includes options for testing the most common issues for Alert Plus and e-mail server functionality.
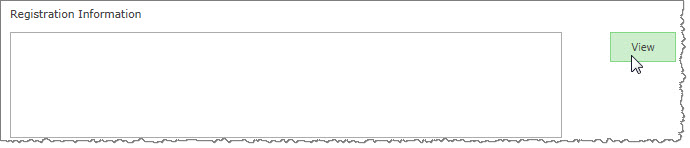 From the Registration Info box, click View to view the XML code for the Web Part registration. This information is helpful to our Support staff if you experience a problem with Alert Plus.
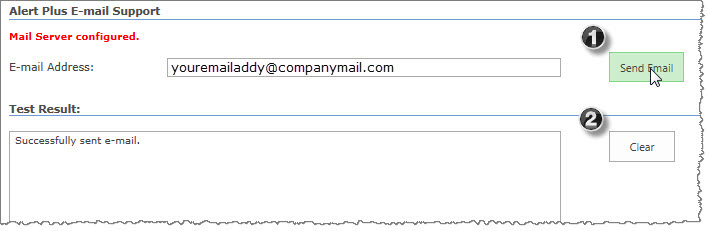

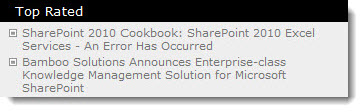 The Top Rated list in the Blogs Home page lists the posts in the entire community with the highest ratings. Click a post title to read it.
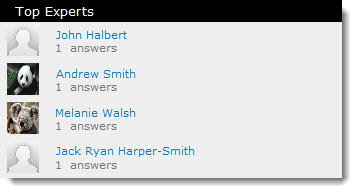 The Top Experts list contains users with the most verified answers.
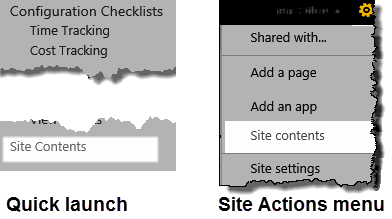

 button for this item

 to configure this Bamboo product.")


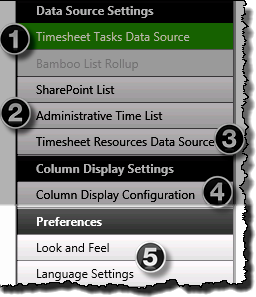
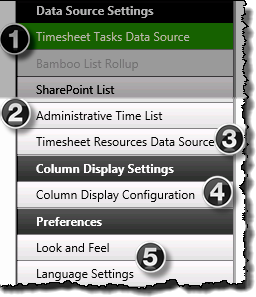
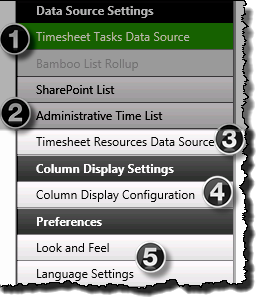
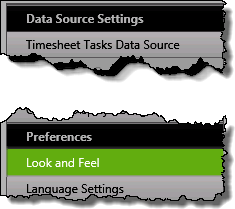 From the Timesheet Entry configuration screen, click the Look and Feel button under Preferences in the navigation tool pane.
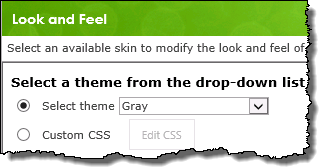
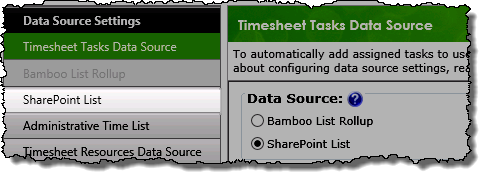
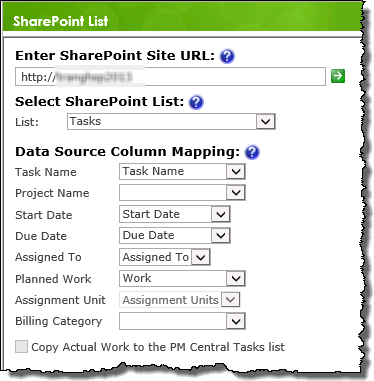
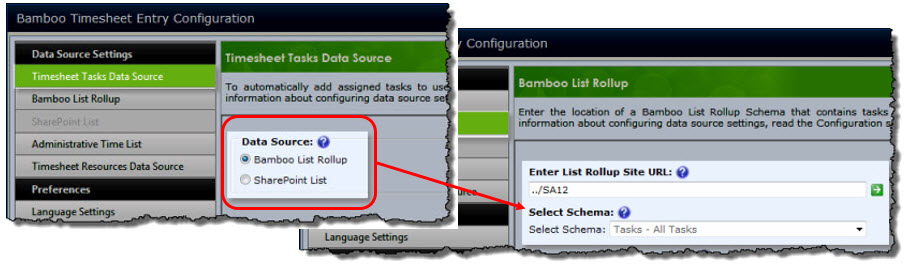
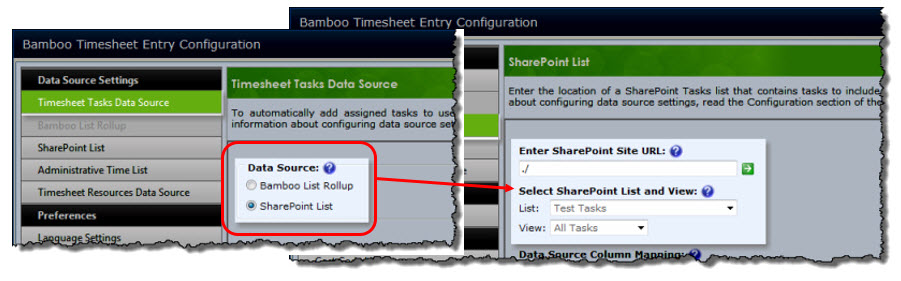
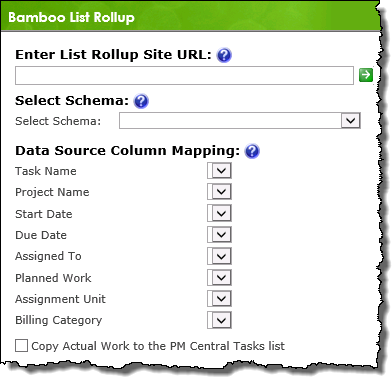
 You have now configured the Web Part to use a generic SharePoint task list as the tasks data-source.
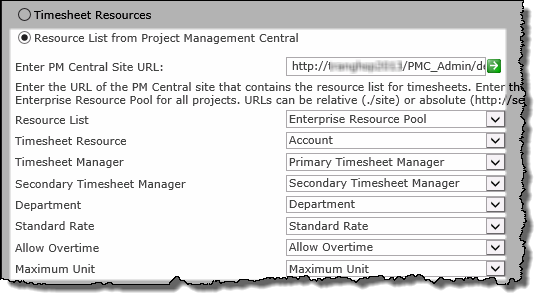
 You have now configured resource data-source for the Timesheet Entry Web Part.
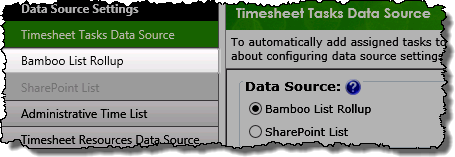
 The Timesheet Entry Web Part is configured by default to reference the local
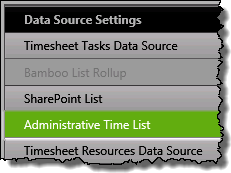

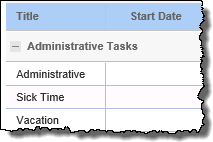
 You have now configured the Web Part to use a custom list as the Administrative Tasks data source.
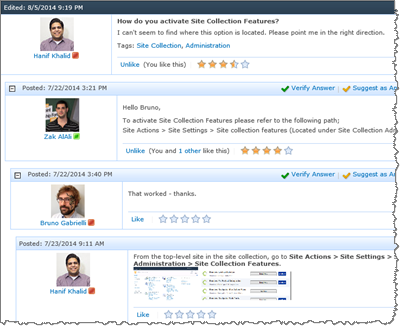

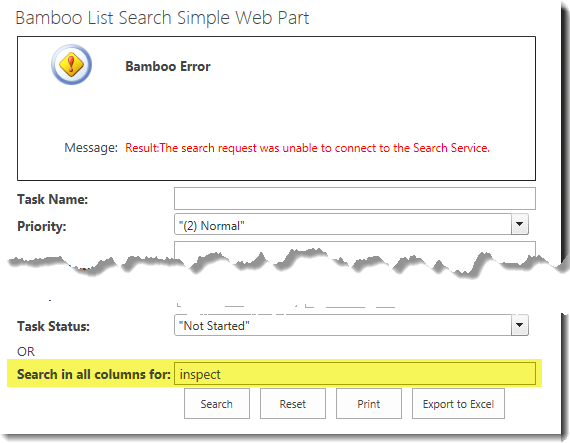 You searched by entering search criteria in the Search in all columns for box. When you click the Search button, you see the error shown.
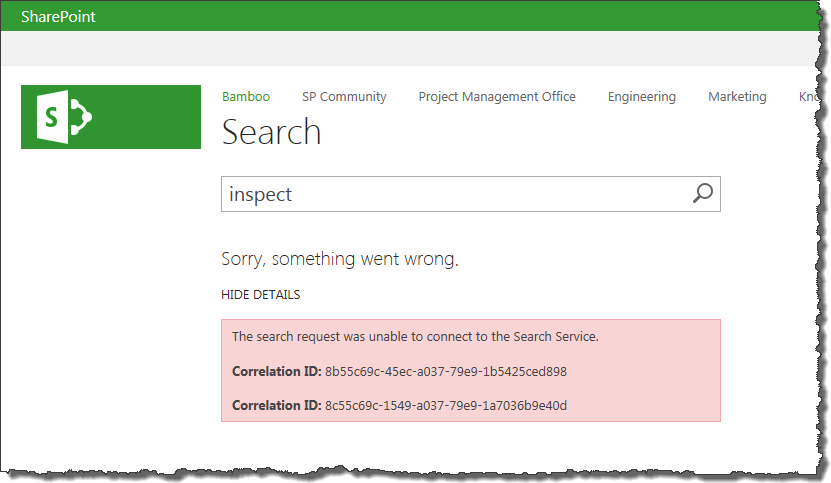 This error is because the out-of-the-box Search Service in your SharePoint farm hasn’t been configured yet. If you try the same search using the out-of-the-box SharePoint Search, you will see a similar error message.
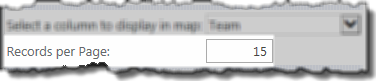 You are displaying data in Virtual Map View v10.9.42.2013 using the Bing map provider. You have configured the map to display locations in groups of 15.
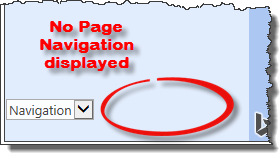 When you view the map, you see the first 15 locations, but you don’t see any way to go to the next page of locations. Page navigation should appear next to the Navigation drop down in the lower left corner of the page.
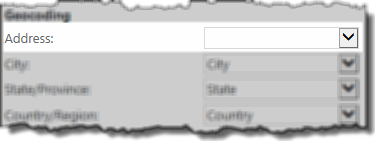 Although the locations are displayed, the Page Navigation will not be displayed if a column hasn’t been configured for each of the geocoding parameters. For example, the screen shot here shows no column selected for Address. When this is the case, no Page Navigation will be displayed.

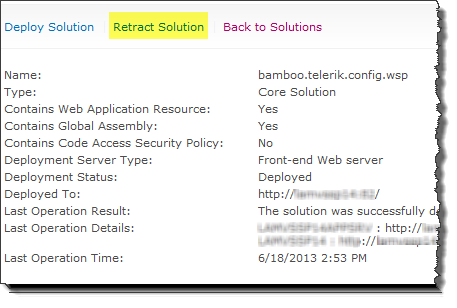
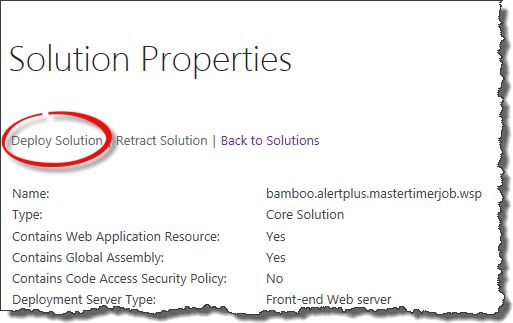 If they are there, but not deployed to the web application you need, deploy them to the appropriate web application. Click the solution name link, and on the Solution Properties page, click Deploy Solution.
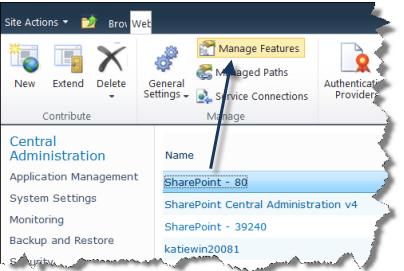
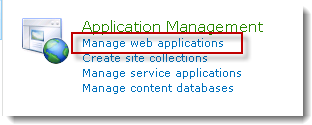
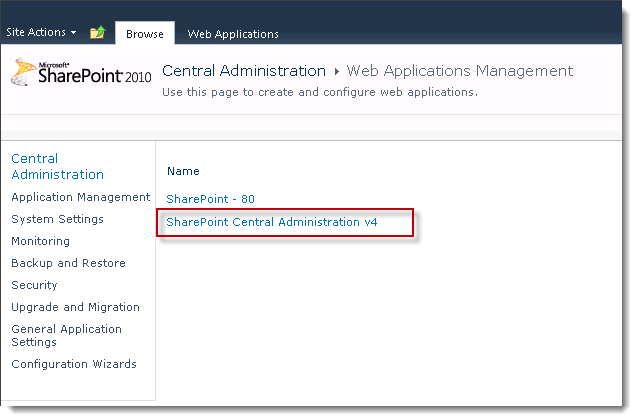
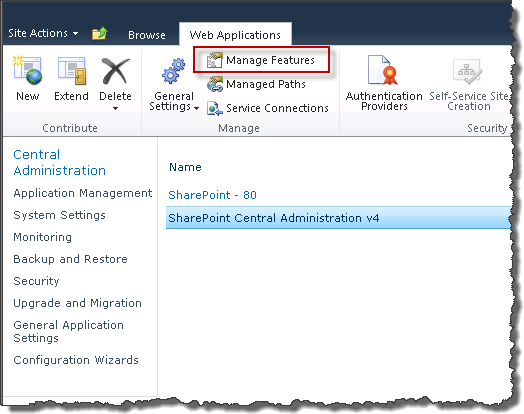
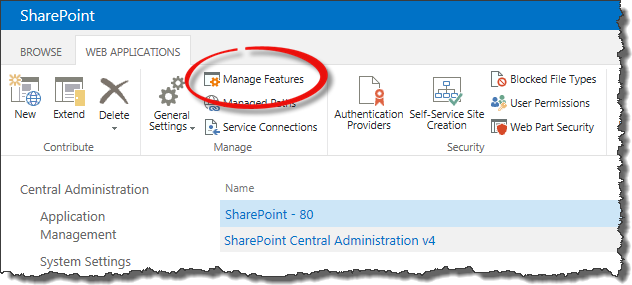 If the farm solutions are there and successfully deployed, go to Central Administration > Manage web applications. Click the web application you are using and when the ribbon appears, click Manage Features.
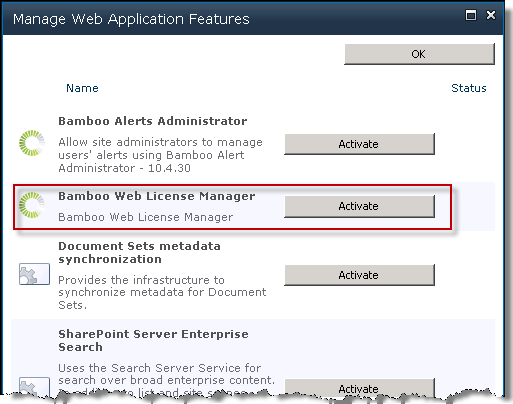
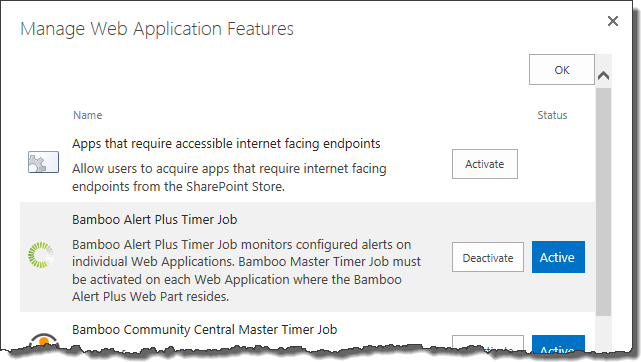 A list of features will be displayed. Bamboo Alert Plus Timer Job should be listed if the solution was deployed successfully to the web application.
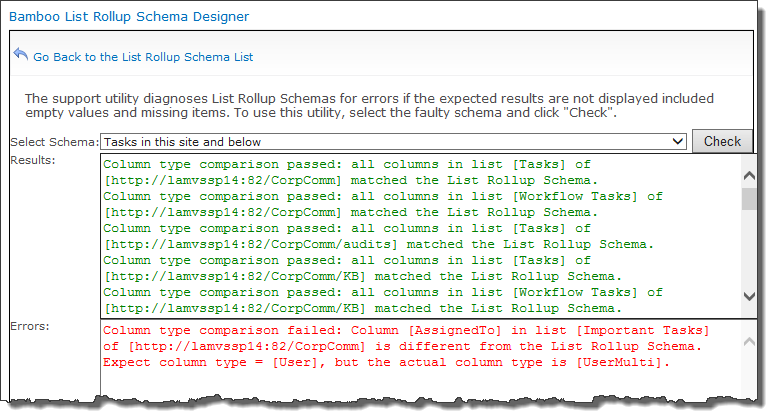
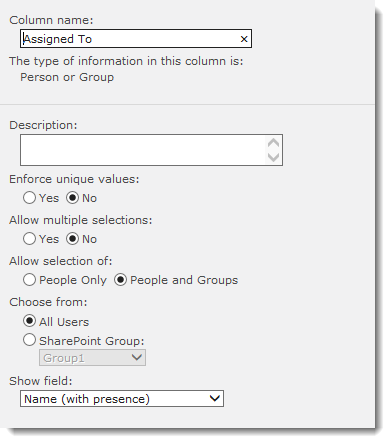 Check the configuration of the Assigned To column in the master list of the rollup. Verify that Allow multiple selections is set to No.
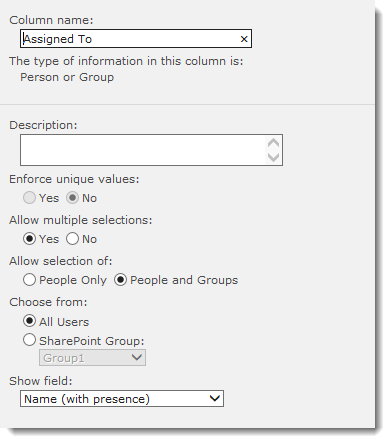 Check the configuration of the Assigned To column in the Important Tasks list. See that Allow multiple selections is set to Yes.
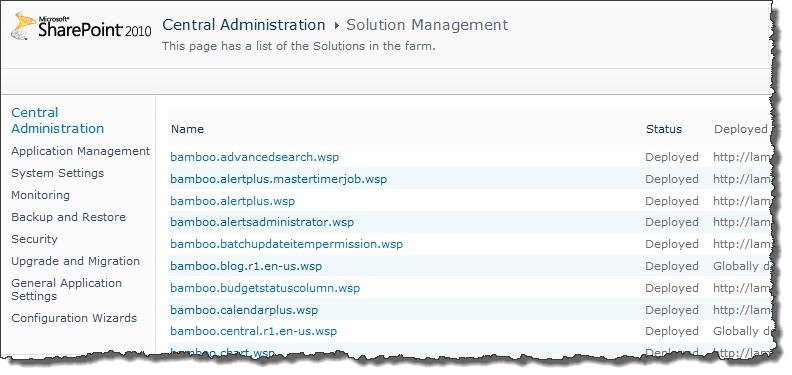
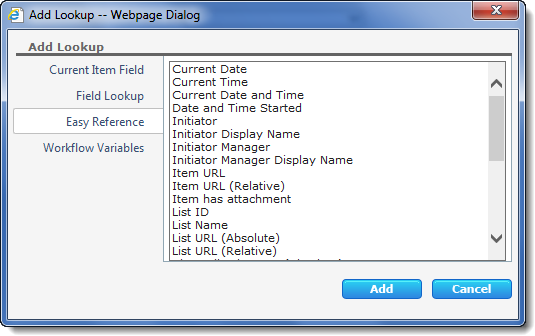 The Easy Reference lookup list contains common values related to the workflow and the SharePoint environment. Just like the other lookup types, Conductor retrieves Easy Reference lookups when the workflow reaches the widget. An example of an Easy Reference lookup is the workflow initiator, which would appear as {Reference:Initiator} in the widget property field.
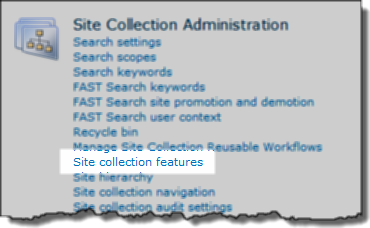 Go to the top site of the site collection where you are trying to configure the Wiki Publisher and click Site Actions > Site Settings.
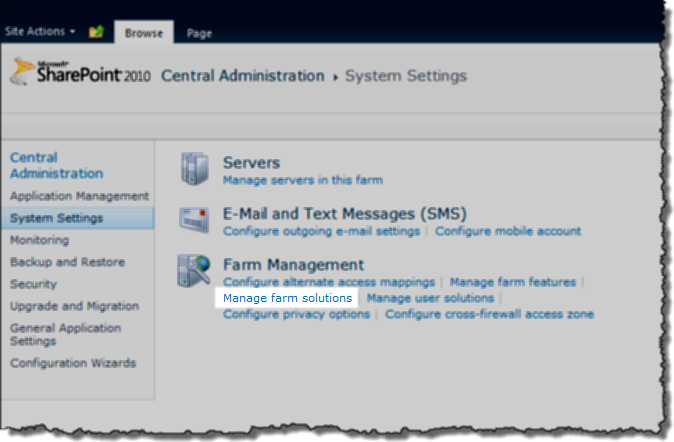 If you don’t see the Bamboo SharePoint Wiki Publisher site collection feature in the list, go to SharePoint Central Administration > System Settings > Manage Farm Solutions.
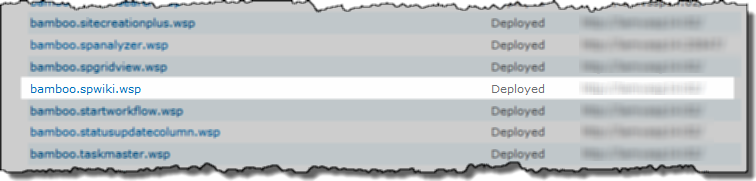
 We believe that collaboration is an essential part of smarter, more effective businesses, and that SharePoint represents the future of collaboration.
  Make sure that you have selected the columns you would like to display in the
  BROWSE BY PRODUCT TYPE
 BROWSE BY PRODUCT NAME


 The TechLib™ Subscription includes full single-server, non-production licenses to all Bamboo Web Parts, Accelerators, and Applications (such as SharePoint Project Management Central). It also includes a license to Bamboo’s Workflow Conductor™. Product licenses are valid for one year from the date of purchase and can be easily extended for multiple years. This helps you to make the most of Bamboo products by allowing you to test drive them without the hassle of expiring trials. The The Bamboo Technical Library™ also includes a Basic Support Contract, access to online tutorials and technical resources, utilities, Bamboo Labs, and early access to product updates and new releases. You’ll find that creating applications for SharePoint has never been easier!
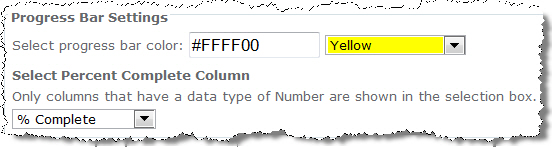 Use these settings to configure the progress bar for tasks in the Gantt chart.
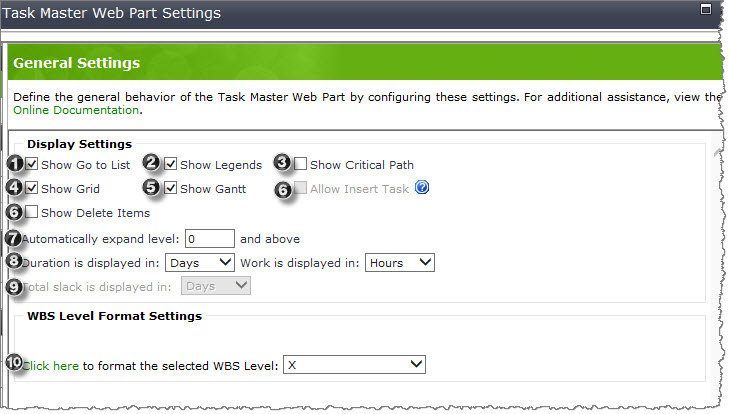 Click on a category name below for details about the options available in the Preferences section of the Web Part Settings. To edit Task Master Web Part Settings, edit the Web Part properties and click the Task Master Web Part Settings button in the Web Part tool pane.
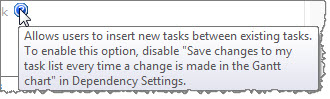
 is displayed next to each task in the task list so that users can click the Insert Task icon.