Localize Bamboo Applications or Custom Columns
Bamboo applications and custom columns are slightly different than web parts when it comes to localizing/translating. The user interface isn’t confined to a web part, but can exist as site definitions or other custom pages. For example, the configuration of a Bamboo custom column is within the SharePoint list settings area.
The text strings that require translation are located in different files than the strings that appear in a web part.
Changing the language or text for an application or custom column is a multi-step process:
Top
About the Language Files
Text displayed in a Bamboo application may be included in one or both of the following locations:
- Provisioning Resources. These resources are located in the 12, 14, or 15 “Hive”, in the Resources folder. The number of the Hive depends on the version of SharePoint you are using (e.g., SP2007 has a 12 Hive, SP2010 has a 14 Hive, and SP2013 has a 15 Hive).
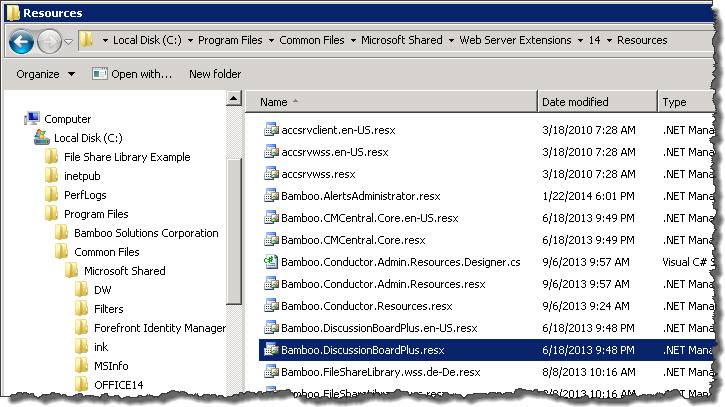
The Bamboo.*.resx files include text used in site features, site definitions, list definitions, and other provisioning resource elements. Any changes you make in these files will apply to new product instances only.
- Application/Runtime Resources. These are also located in the 12, 14, or 15 Hive, but in the CONFIGResources folder.The Bamboo.*.resx file in the CONFIG folder is different than the one included in the Resource folder.
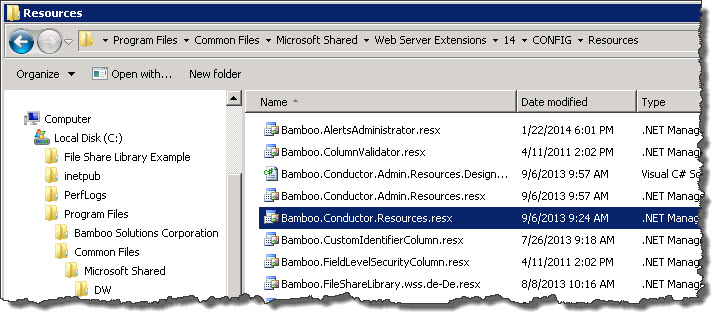 This one includes text used in application pages, custom site menu actions, navigation elements, and other runtime resources. Any changes you make will apply to new and existing product instances only.
In each location, there may be multiple versions of Bamboo.*.resx files with identical content. The different files are provided for English (en-US), German (de-DE), French (fr-FR), and Spanish (es-ES). The content of all files is in English until you translate it to your language. If your site is configured to use a language that does not have a corresponding Bamboo product .resx file, copy an existing file and rename it to include the culture name for that language pack. For example, create a file for Italian by saving the default file as Bamboo.[Product].it-IT.resx. Make your changes to this new file. If your site is configured to use a specific language but you do not have a culture-specific file, the product will use the default Bamboo.[Product].resx file instead.
 IMPORTANT: If you customize one of the default resource files provided with the product, your changes will be overwritten when you upgrade.
To avoid losing customizations, copy the customized file to a different location (not the same folder) before upgrading. After the upgrade is finished, compare the new file with your customized file to incorporate any new entries. Then copy the merged file to the Resources folder. Culture-specific files created for languages that are not provided with the product will not be overwritten during an upgrade, but you still need to incorporate new resource entries.
Top
Editing text in resource files
IMPORTANT: Before making any changes, back up your original file to a different folder.
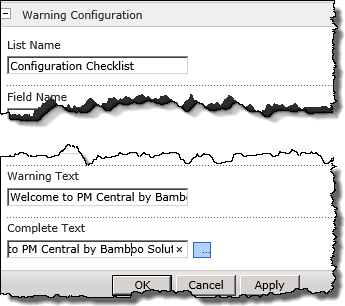
To change text in a resource file, open it in a text editor and locate the text you want to change. Editable text is usually found between the <value></value> tags, as shown in the screen shot below. Do not modify the data tag. If you want to remove text completely, delete only the text; do not delete the <data> or <value> entries from the file, or the server will display an error message. In the example below, the editable text is highlighted in gray.

When you are finished with your changes, save the file and copy it to the appropriate Resources *folder on *all Web front-end servers in your SharePoint farm. Follow the instructions below to make your changes take effect.
Top
Applying Language File Updates
To apply changes to Provisioning Resource Files:
If you modified the provisioning resources file, apply your changes by restarting Web services with the following command on all Web front-end servers.
iisreset
NOTE: changes to provisioning resources affect new instances of the Bamboo product only; existing instances of the product are not updated.
To apply changes to Application/Runtime Resource Files:
If you modified the application/runtime resources file, apply your changes by executing the following stsadm command on all Web front-end servers. This command copies the updated resource file to the App_GlobalResources folder of each Web application. Changes apply to existing product instances and any new instances you create.
stsadm -o CopyAppBinContent
NOTE: Changes apply to EXISTING product instances AND any new instances you create.

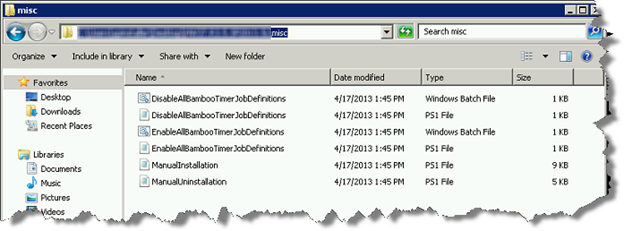
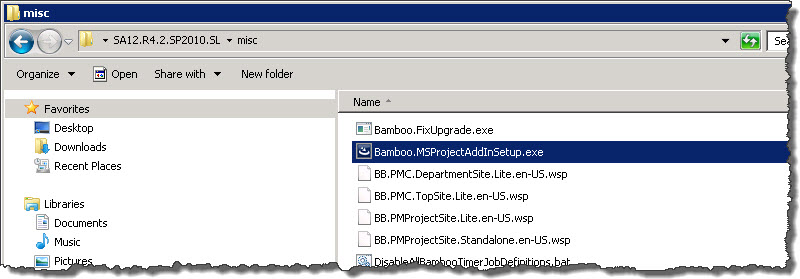
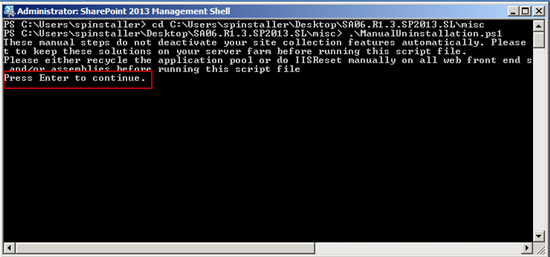
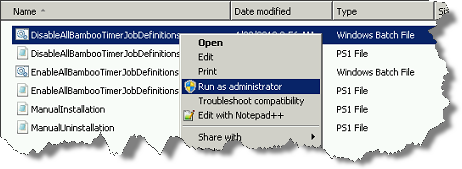 Right-click on the file DisableAllBambooTimerJobDefinitions.bat and choose Run as administrator. This script stops the timer job services for all Bamboo products installed on the farm, helping to put the farm in a quiescent state for the install.
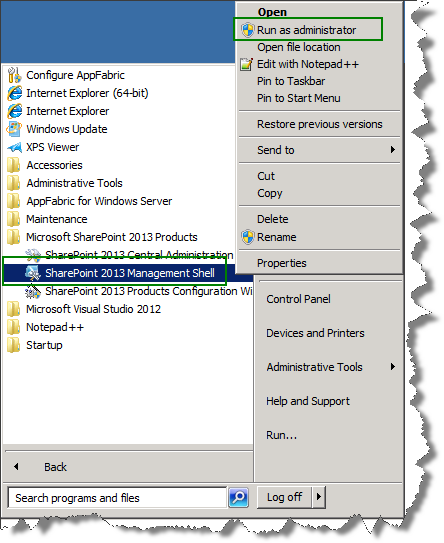
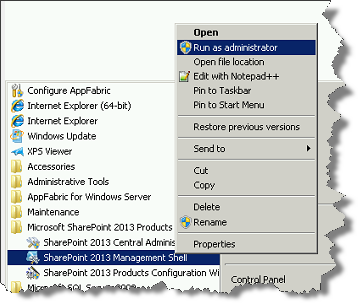 On the WFE where you extracted the product folders, right-click on the PowerShell application in the Start menu and choose Run as administrator. You can use Windows PowerShell or SharePoint 2013 Management Shell.
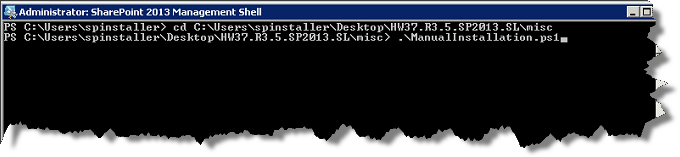

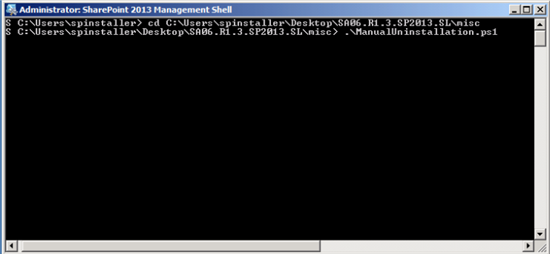
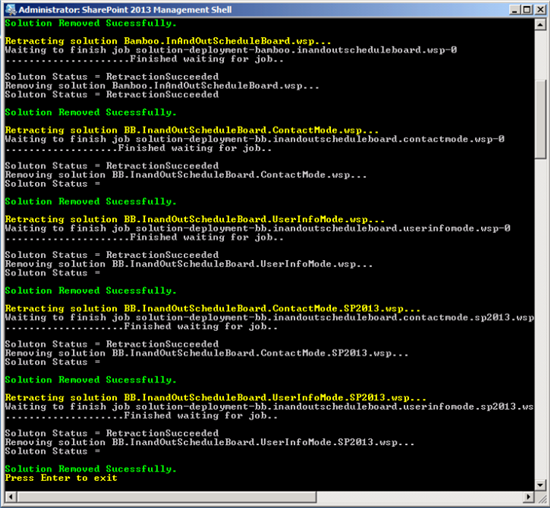
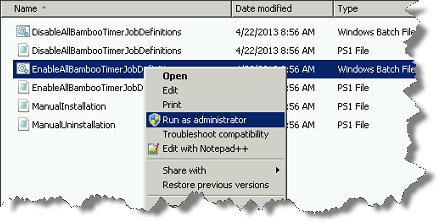 Return to the misc folder. Right-click on EnableAllBambooTimerJobDefinitions.bat and choose Run as administrator. This enables all Bamboo timer job services.
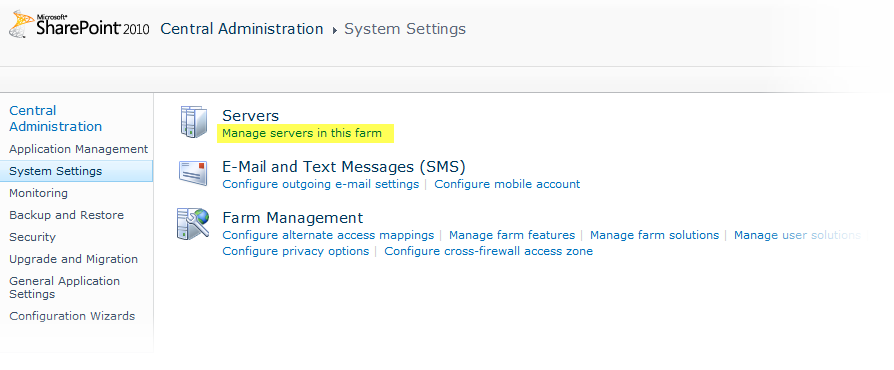

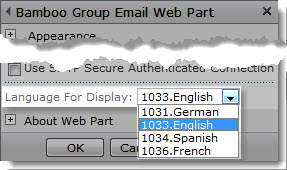

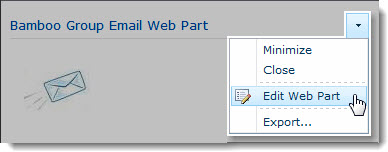 Click the edit drop-down menu on the Web Part title bar and select Edit Web Part (or Modify Shared Web Part if you are using SharePoint 2007). See the example from the Group Email Web Part.
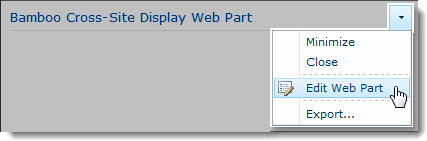 Click the edit drop-down menu on the Web Part title bar and select Edit Web Part (or Modify Shared Web Part if you are using SharePoint 2007).
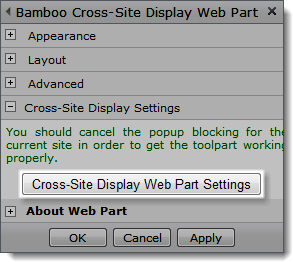 Click the [Product] Settings button in the Web Part tool pane.
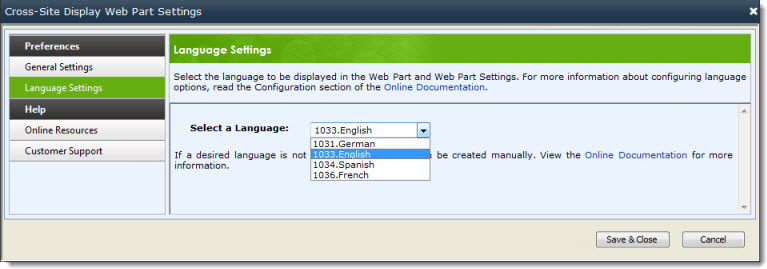

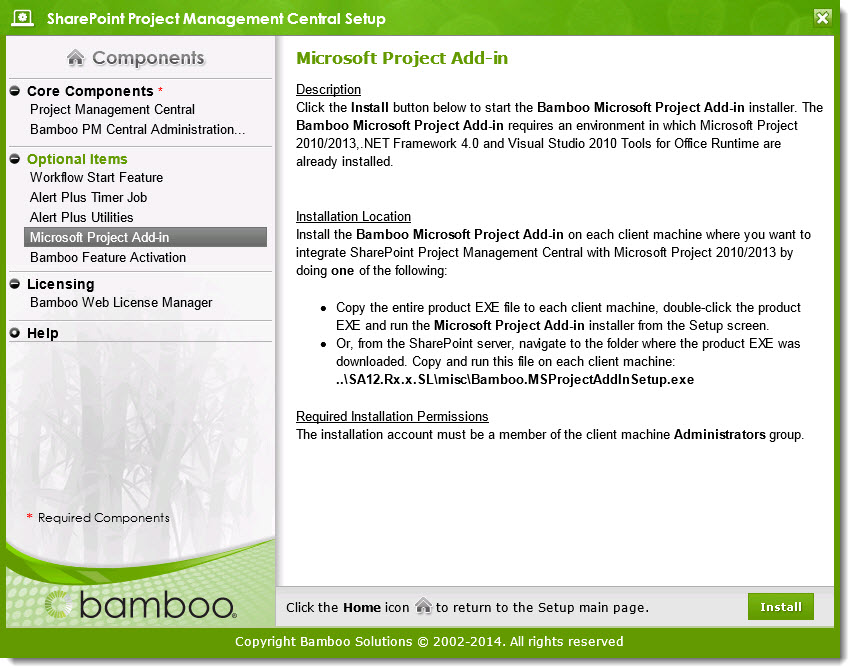 If you downloaded the whole PM Central installation package, run the Setup.bat and highlight Microsoft Project Add-In in the Components list.
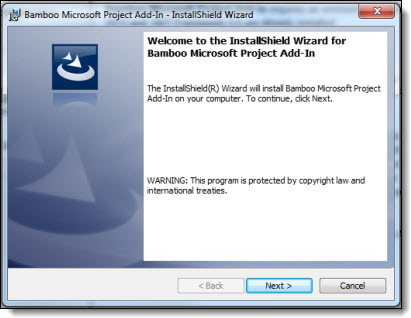 Click Next > to continue.
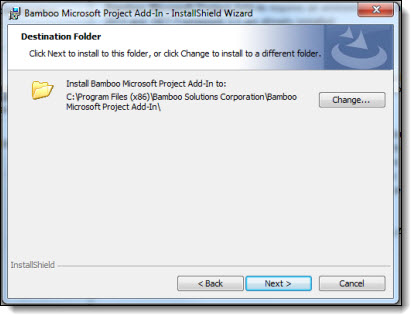 Decide where you want to install the Add-In and then click Next >to continue.
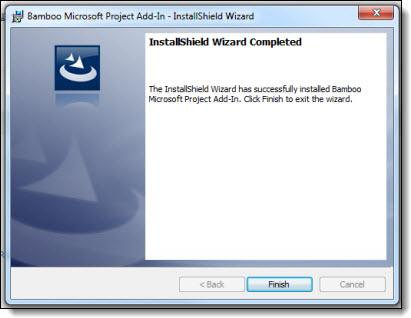 When the Add-In is successfully installed, a message will be displayed. Click Finish.
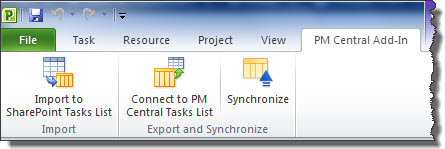 Check MS Project and ensure that the PM Central Add-In toolbar is there.
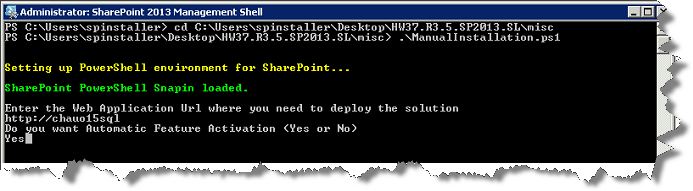
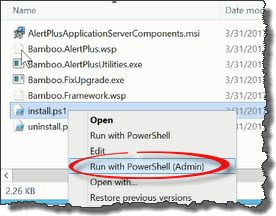 Run the Install.ps1 from a WFE server in PowerShell as an admin.
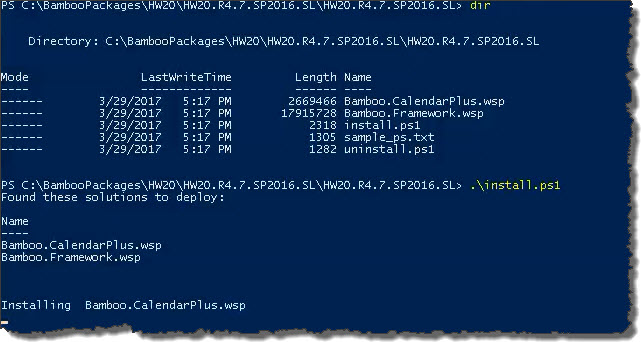 The script will look for WSPs in the install folder and list those found. It will install them in alpha order.

 Double-click the product EXE file to extract the contents of the product download.
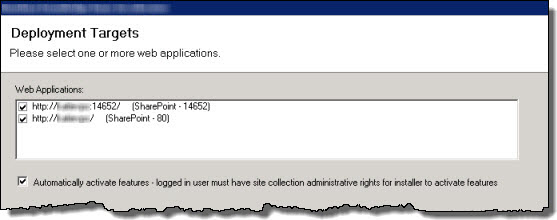


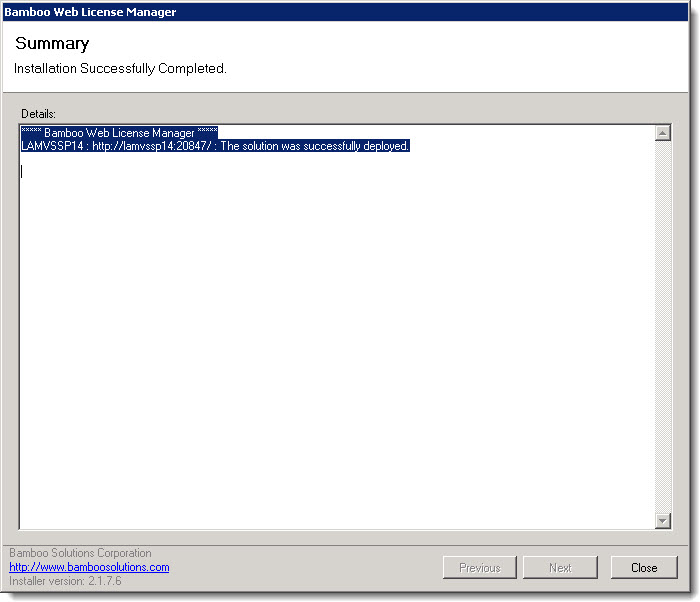
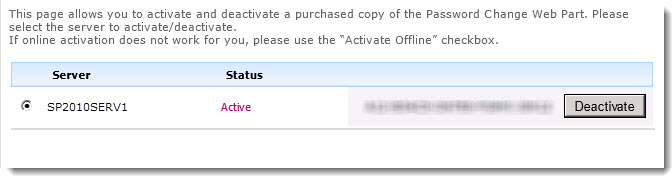
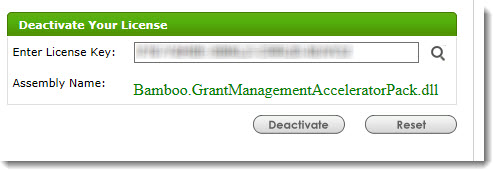
 ). The Assembly Name licensed with this key will be displayed. Ensure it is the product you expect and then click Deactivate.
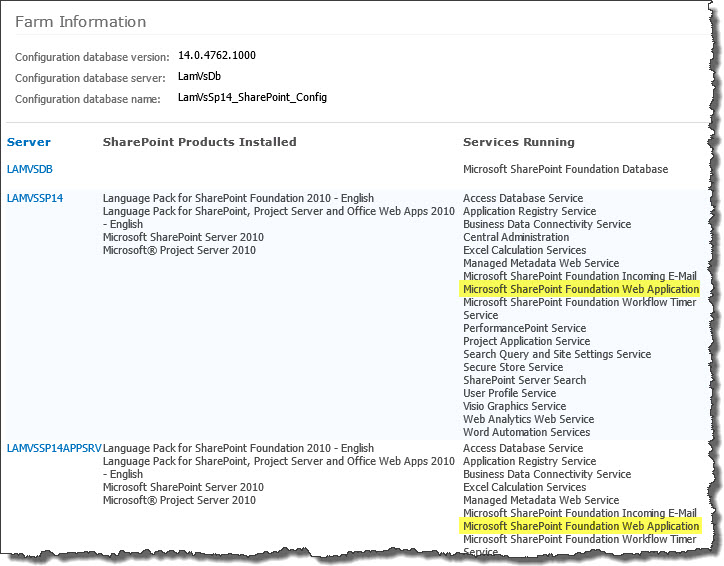 To determine which servers on the farm run these services, go to Central Administration > System Settings > and then Manage servers in this farm. If you are using WSSv3/MOSS, this page is accessed in Central Administration through Operations > Servers in Farm. In this example, there are two WFE servers on the farm.


 Easy Setup: Project Management Central makes it easy to create a new project – or an entirely new top level portfolio site – thanks to its use of standard SharePoint site templates. Simply create a new site the same way you always do, and select the Project Management Central Portfolio site template. In just a few moments, you’ll have a pre-configured project management application at your fingertips, ready for you to add projects to.
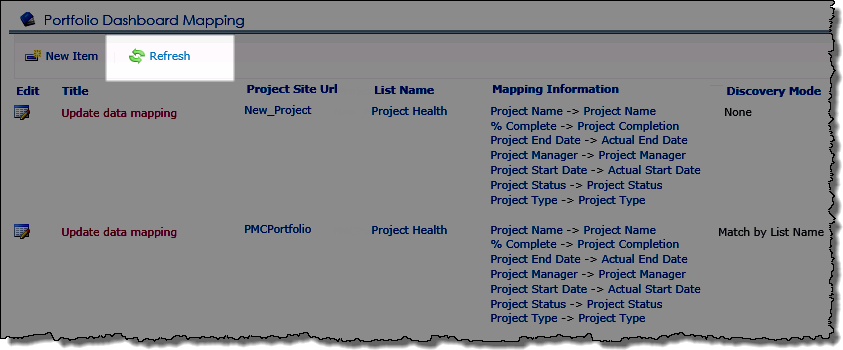


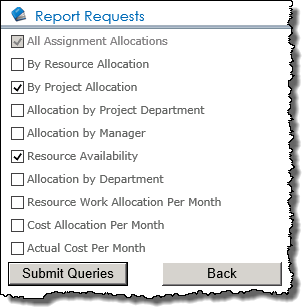 A request item for a specific report will be entered in the Report Information list for each logged in user who:
  SharePoint 2013:
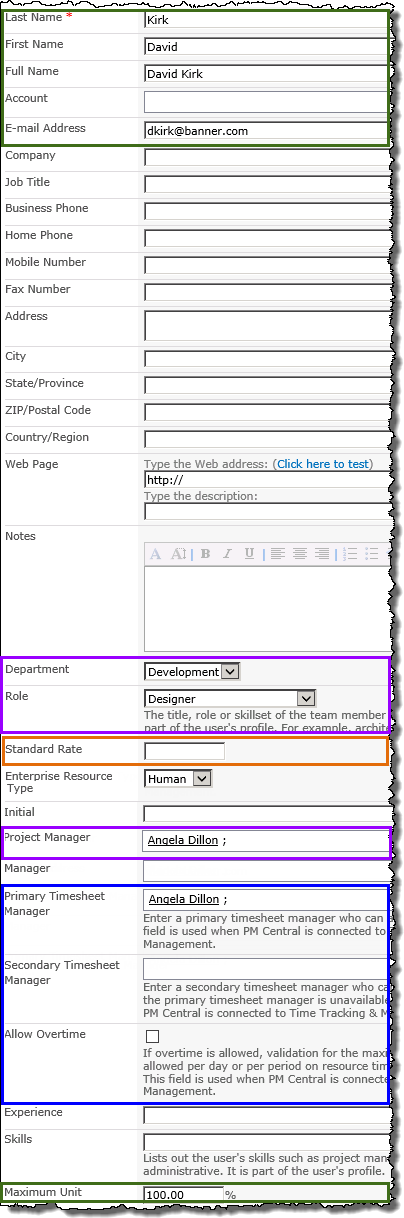

 Completing the Department, Project Manager and Role fields will allow
  If you are going to track (human) resource costs in PM Central the Standard Rate field must be populated.
  When using PM Central with Bamboo’s Time Tracking and Management (TTM) application these fields must be populated to allow users to submit timesheets:
 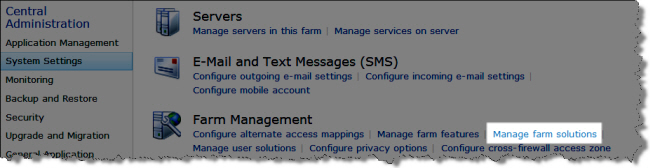 After you have created your new Web application, navigate to Central Administration > System Settings > Manage Farm Solutions.
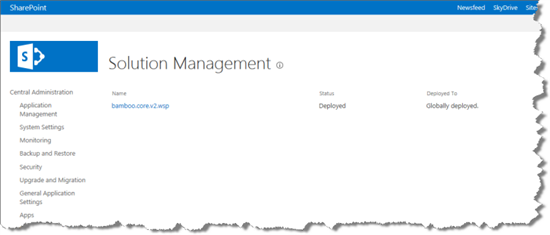
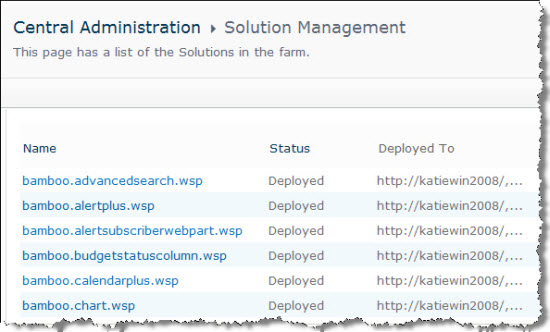
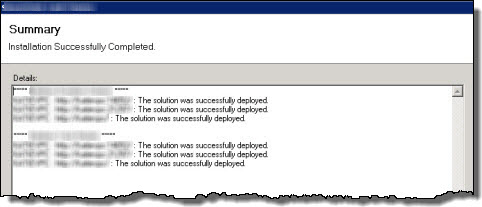
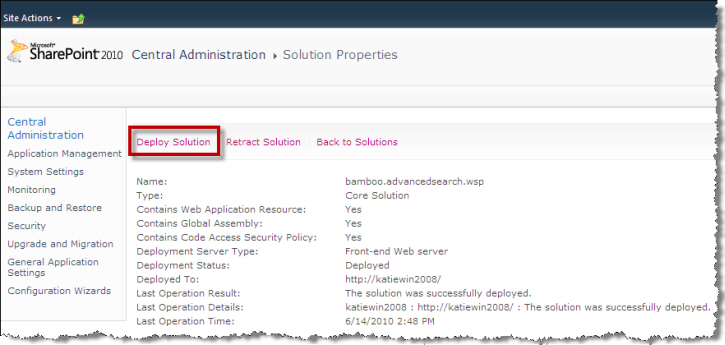 The list of solutions deployed on your SharePoint farm is shown. Find the solution called bamboo.projectcentral.wsp, select it, and click Deploy Solution on the page that appears.
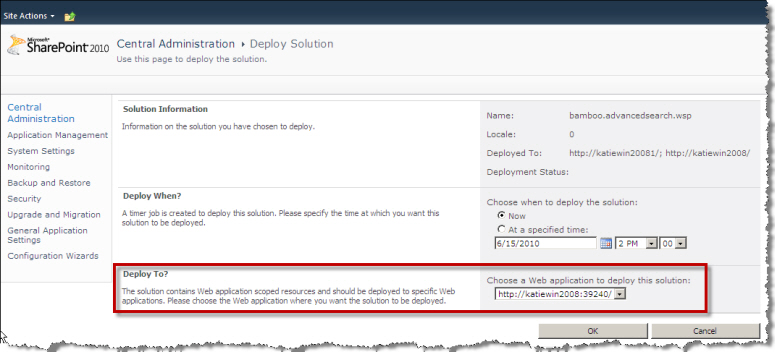 In the Deploy To? section, select the new Web application from the drop-down menu and click OK.
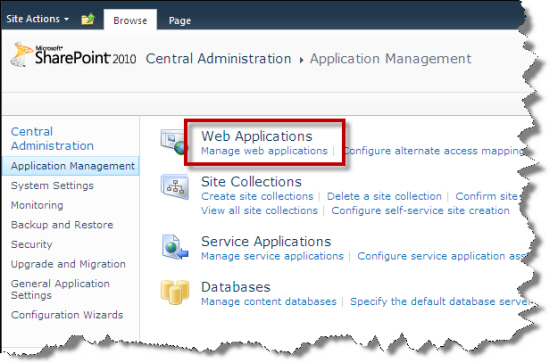
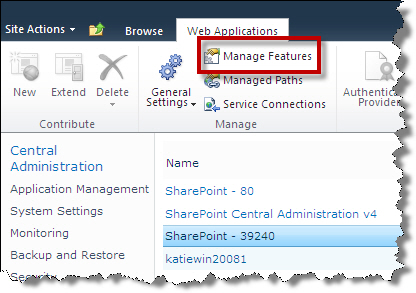
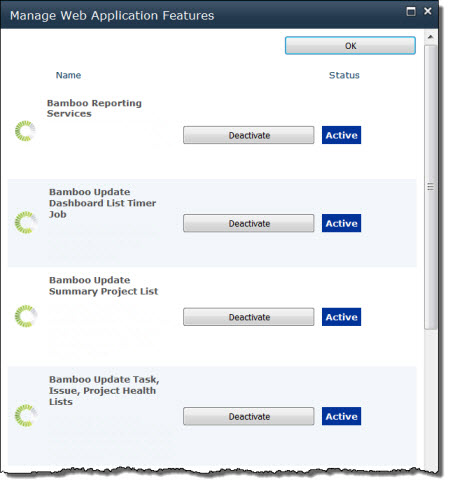 Activate the PM Central Web application features.
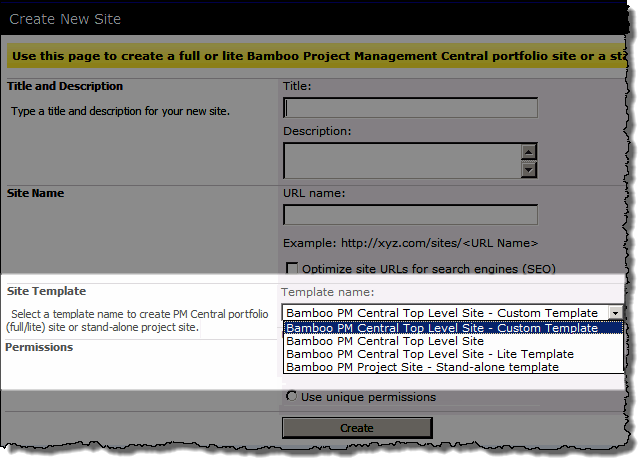
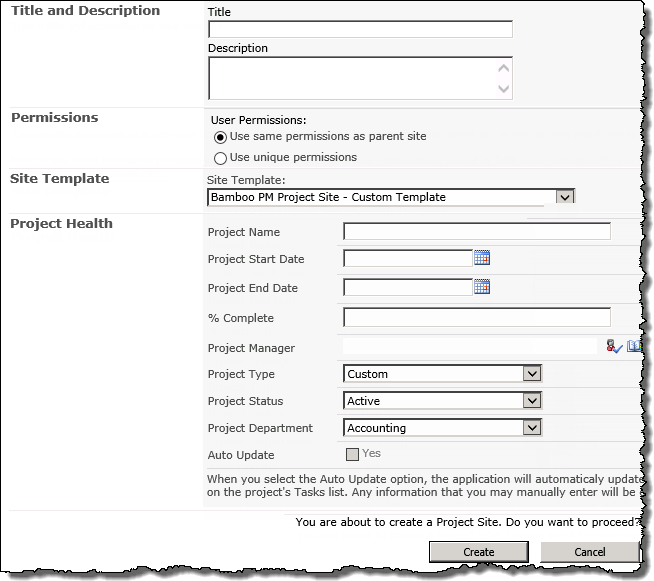
 When creating a PM Central Portfolio or Stand-alone site keep in mind:
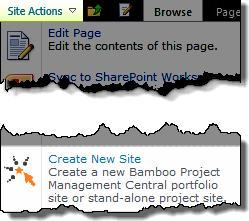 From the site where you want to create the PM Central portfolio site click Create New Site in the Site Actions drop-down menu.
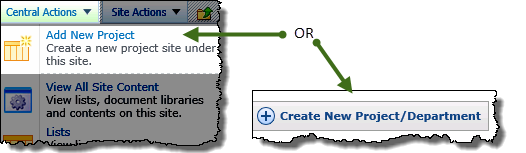
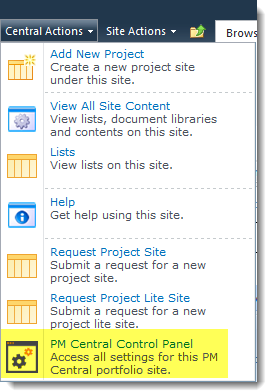
 icon to access the Central Actions menu.