Workflow Settings
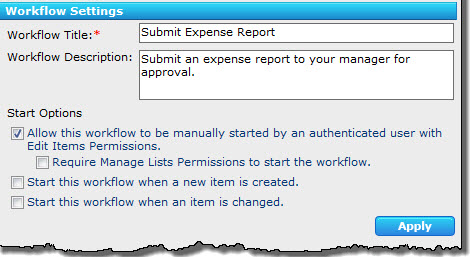 The Workflow Settings in Conductor Studio allows you to set properties for the entire workflow.
Workflow Title (Required): Enter a name for the workflow. This name is displayed wherever this workflow is referenced within SharePoint.
Workflow Description: This is an optional setting that allows you to add a short description of the workflow. It is displayed in Conductor Studio, and also in the list of workflows for a list or library.
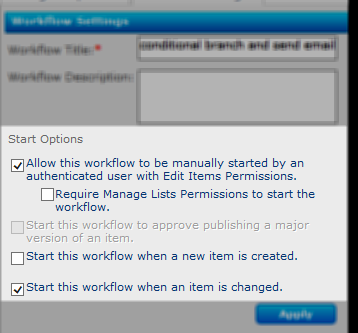
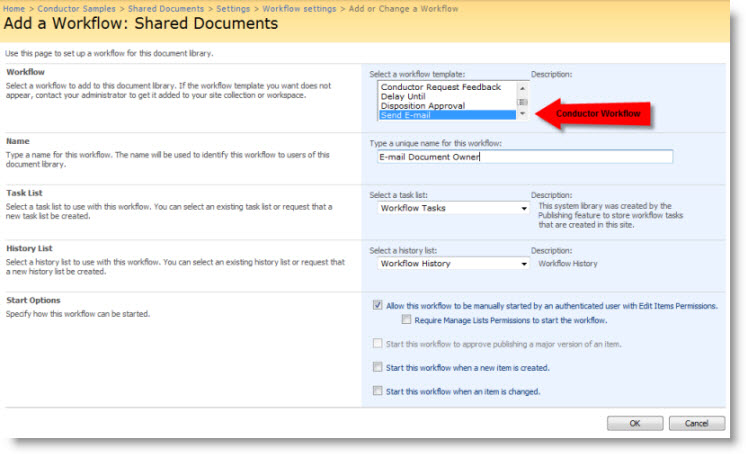
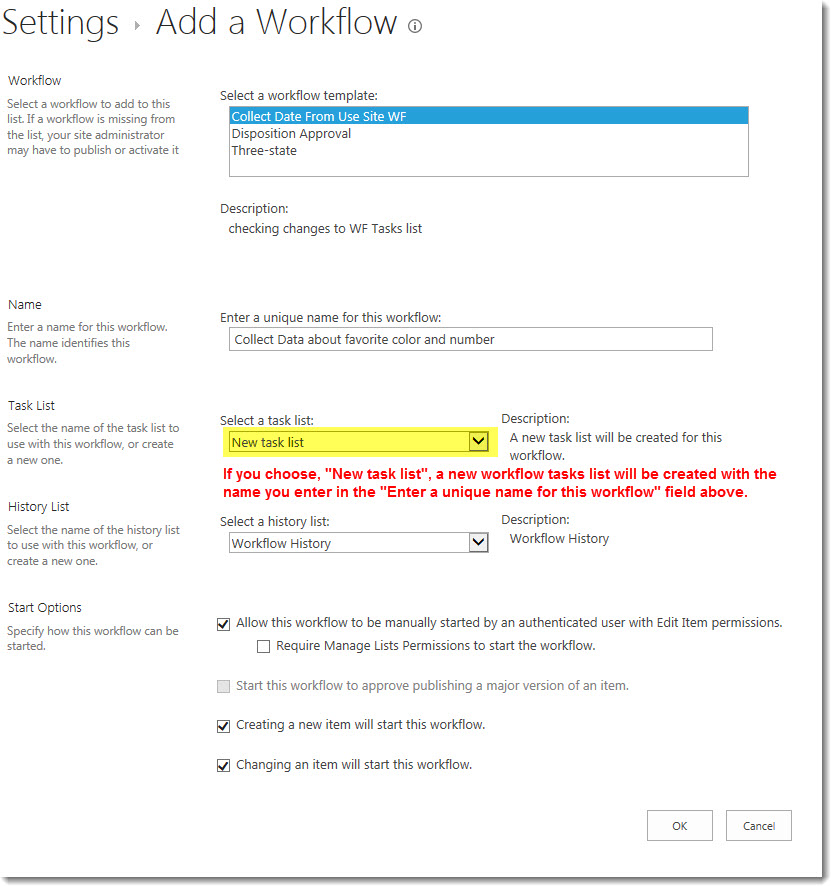
Start Options: Select a start option for the workflow, from the list of workflow start options available in SharePoint. The default is Allow this workflow to be manually started by an authenticated user with Edit Items Permissions.
NOTES:
- The Start options Start this workflow when a new item is created and Start this workflow when an item is changed cannot be used if a workflow initialization form exists for the workflow. See Workflow Forms for more information.
- The option Start this workflow to approve publishing a major version of an item is not available for Simple Publishing workflows. It is only available for Solution Deployment workflows. If the list or library is not configured to use major and minor versioning, this start option will be disabled, as seen in the screen shot below.
- Start options only apply to workflows published to the list, site, or site collection; they do not apply to workflows published as site workflows.
 IMPORTANT: After entering or updating any of the settings listed above, click Apply to save your changes.
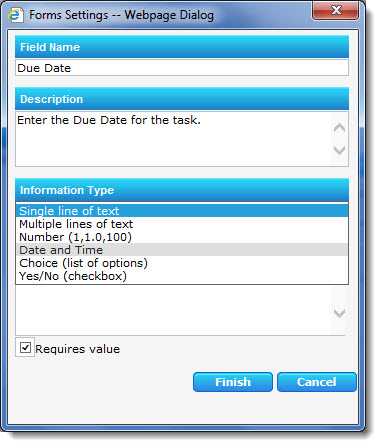
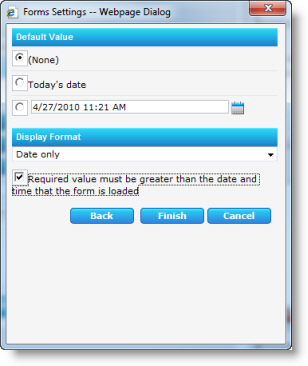
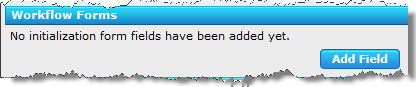 Workflow Forms: You can create a workflow initialization form that collects additional information from the user when a workflow is started. Data collected via this form is stored in parameters that can later be used by the workflow using a Workflow Variable lookup. For more information about creating a workflow initialization form, see Create a new workflow initialization form.
This is an optional workflow setting.
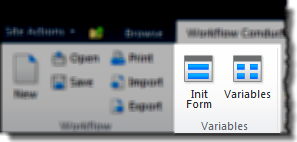
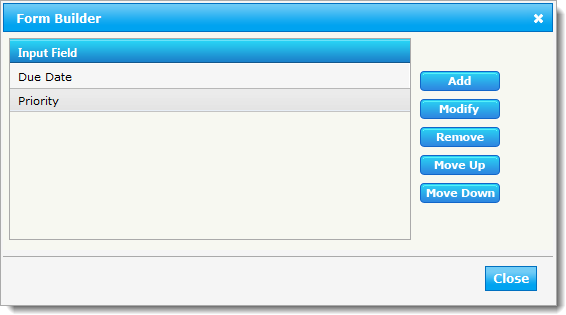
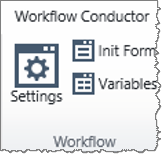
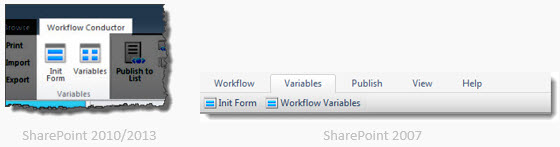
NOTE: You can access the initialization Form Builder from the Workflow Conductor Studio ribbon also.
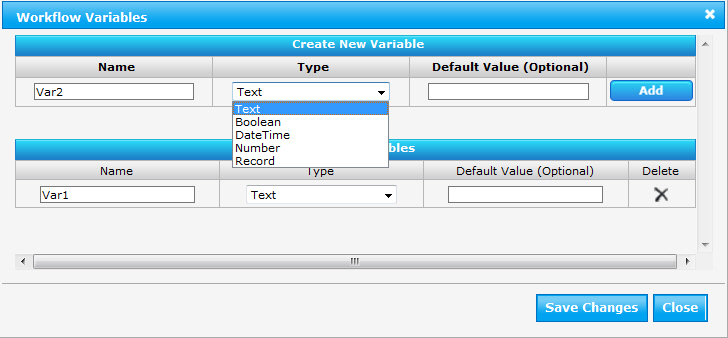 Workflow Variables: Variables store data while the workflow is running. They can be accessed and manipulated by widgets, and some widgets may require that a variable be created to store results. The contents of workflow variables are accessed using a lookup when the workflow runs.
To create a variable, click Add Variable to open the Workflow Variables form. Enter a Name for the variable, select a data Type, and optionally define a Default Value. Click Add to add the new variable to the workflow. Be sure to click Save Changes to save the variables you add. If you later want to delete a variable, return to the Workflow Variables form and click the button next to the variable.
NOTE: You can access the Workflow Variables form from the Workflow Conductor Studio ribbon also.
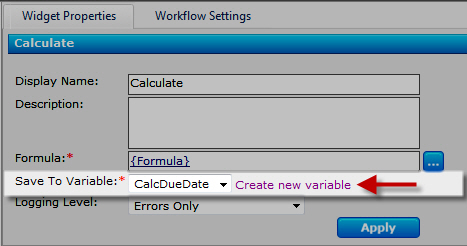 Workflow variables can also be added directly from widgets that use variables, using the Create new variable link. This link opens the Workflow Variables form.
IMPORTANT: After adding, updating, or deleting variables using the Workflow Variables Form, always click Save Changes in the Workflow Variables form or your changes will not be saved.
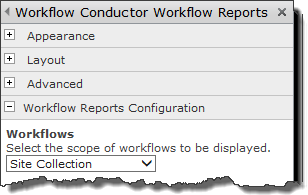
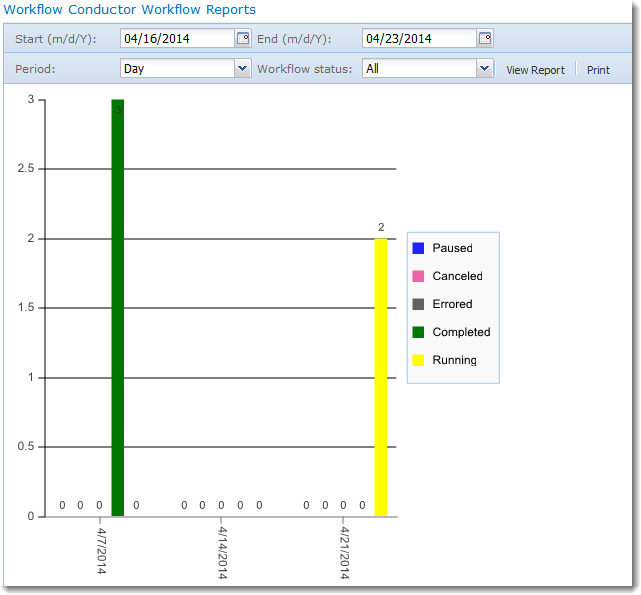 The Workflow Reports Web Part allows you to create reports about workflows run in the current site or site collection. The report is displayed graphically, with a summary list below the chart.
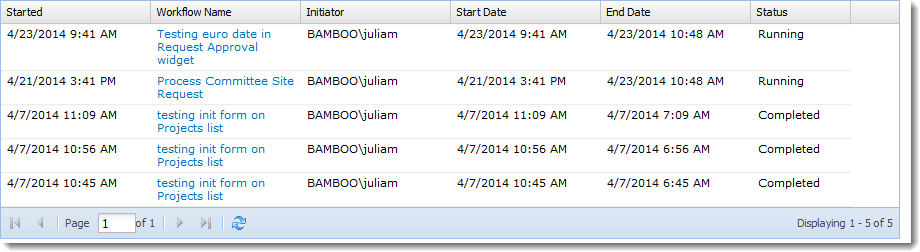


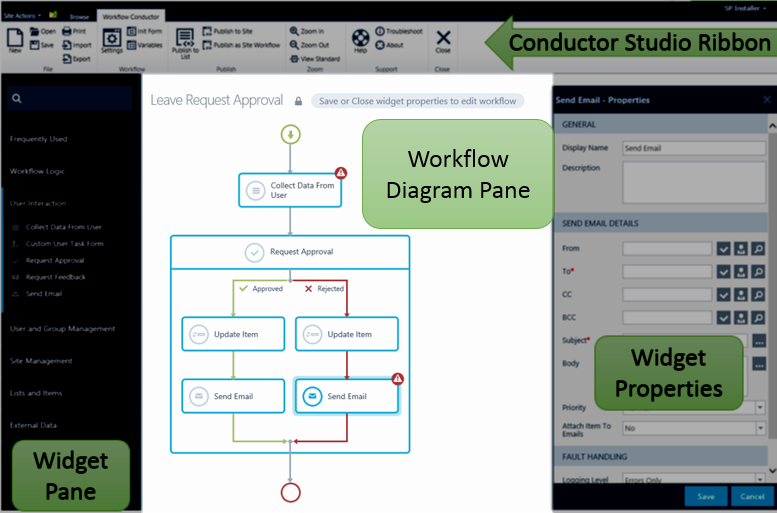 The center section of Conductor Studio is the workflow diagram pane, where widgets are dropped to create the workflow path.
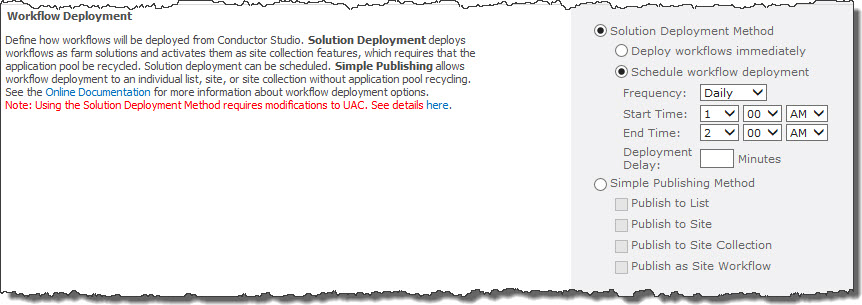
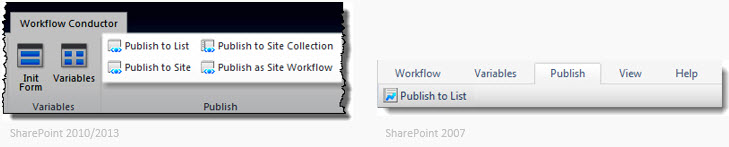
 Use this page to define the options that will appear in the Publish menu of the Workflow Conductor Studio.
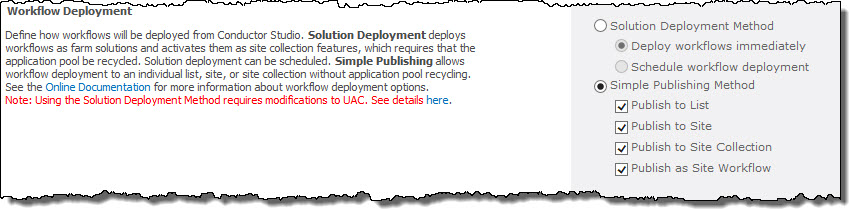
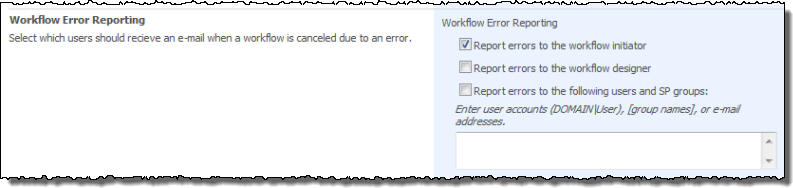 Select the user who will receive an E-mail message when a workflow error occurs.
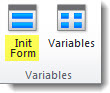 Alternatively, click the Init Form option in the Variables section of the main menu.
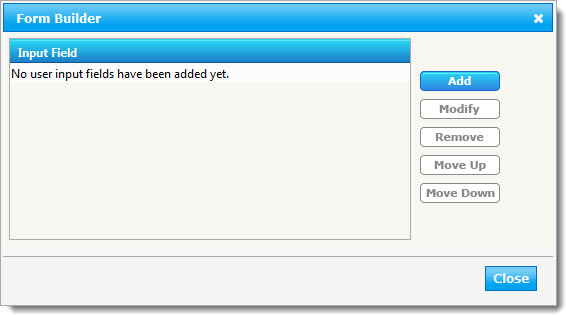

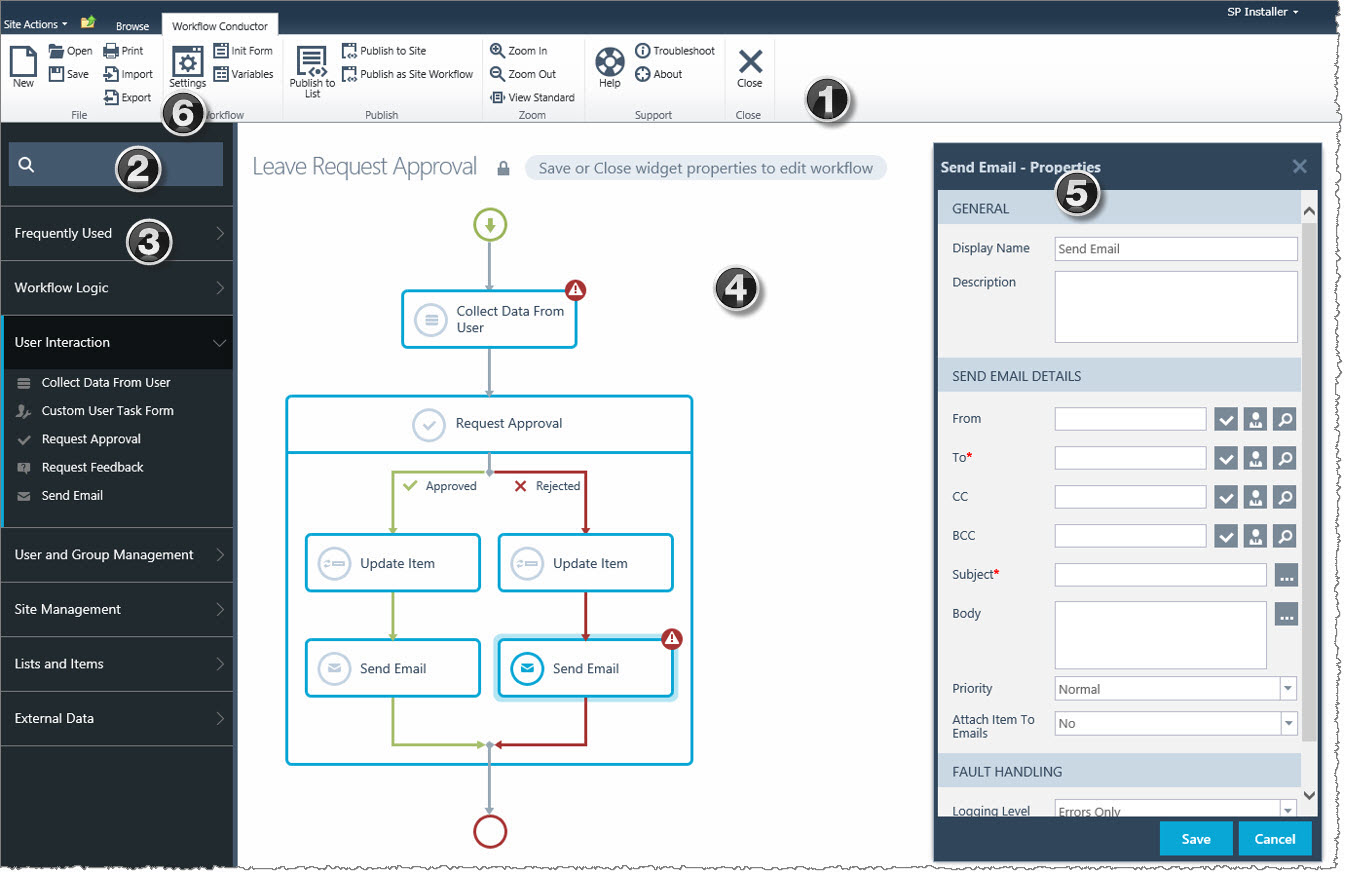 Workflow Conductor provides a simple, yet powerful way to automate and manage your business processes. A simple drag-and-drop interface lets designers easily create and deploy complex workflows without the need for custom coding. Conductor Studio is the Workflow Conductor interface that allows you to create, edit, and deploy new workflows or workflow templates.
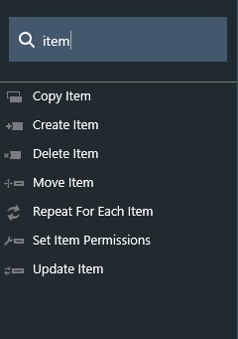 With the
 Select the level of logging you would like the Conductor Studio to perform during workflow design.
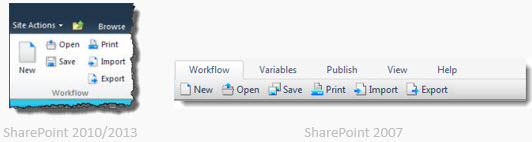
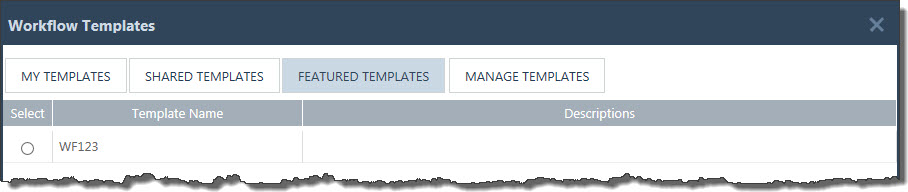
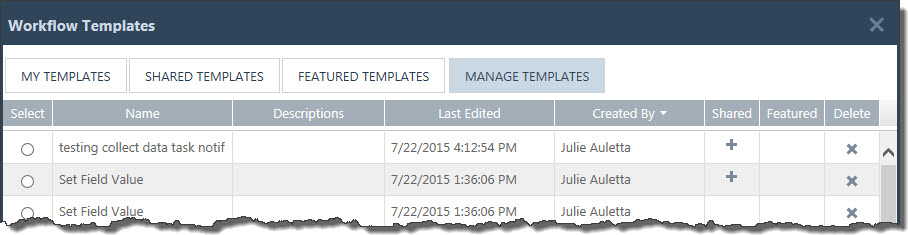
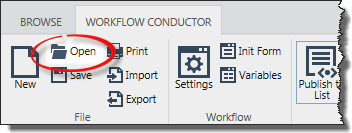 Whenever you save a workflow in the Workflow Conductor Studio, you create a template. Templates are accessed via the
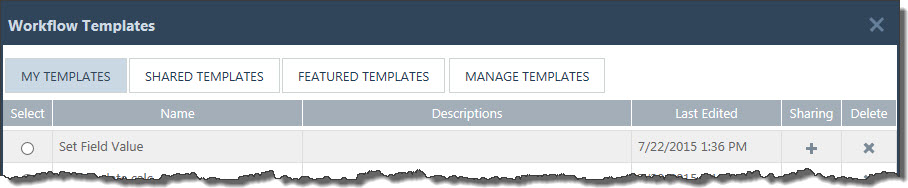
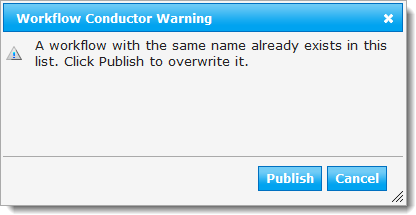
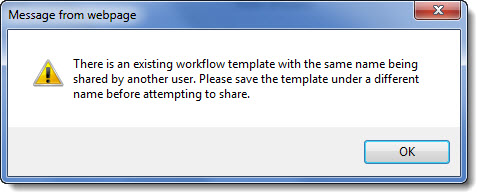 You can name your template anything, even if other designers have templates with the same name. A workflow called Send Email created by Tom is different than one saved as Send Email by Joan. If Tom

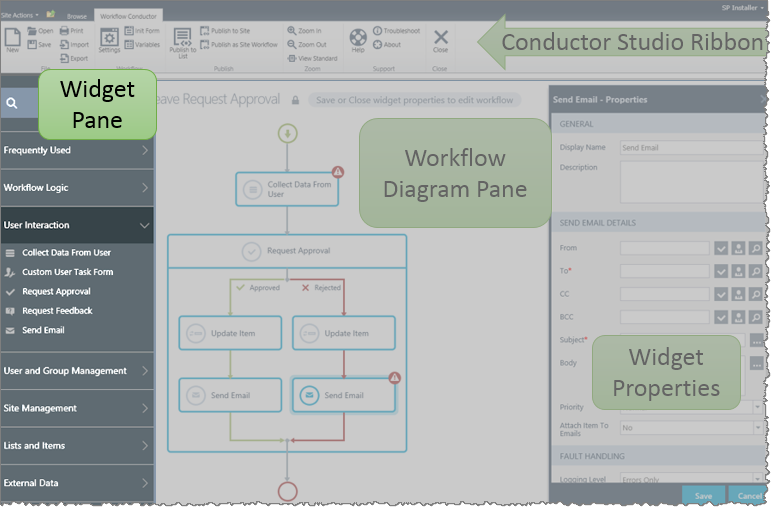 The widget pane is the left section of Conductor Studio, which contains a list of the widgets used to design a workflow. These are divided into several categories based on the type of action a widget performs.
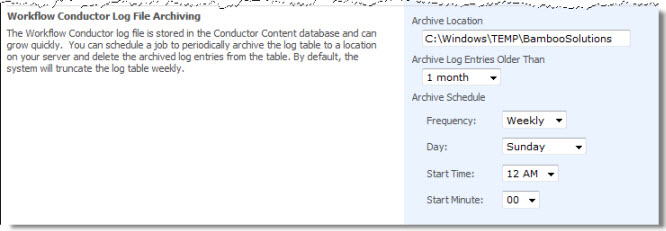 Define how Workflow Conductor handles log archiving for the Workflow Conductor Studio log files. By default, Workflow Conductor installs a SharePoint timer job that will run weekly and will delete any Conductor Studio log entries in the Conductor database that are older than one month.
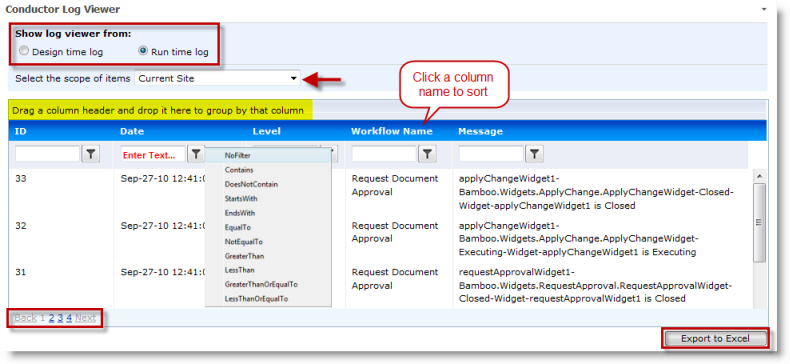 The Conductor Log Viewer displays log messages from the Conductor database. The Log Viewer can display messages generated from Conductor Studio (Design time log) or from workflows (Run time log), and can show messages for the current site, for all sites in the Web application, or for the entire Farm.
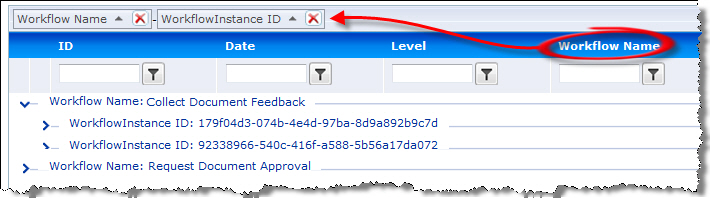
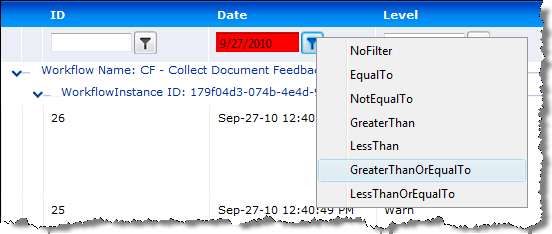
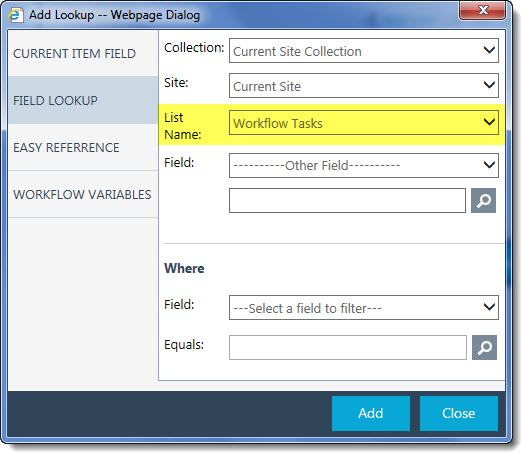
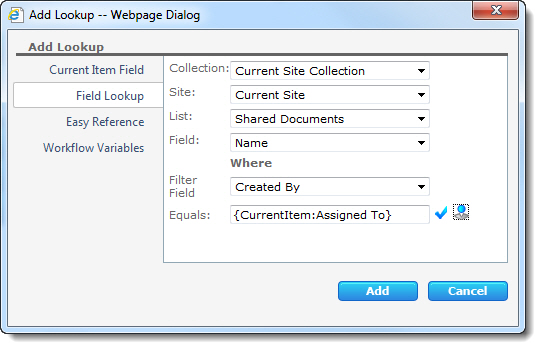 Field Lookups (formerly “External Lookups”) are similar to Current Item Field lookups, but they allow designers to specify fields from other items, not just the one the workflow was started on. The other item could be in another list on the same site, in other lists in a different site, or even in a list on a site in another site collection.
 to open the Add Lookup – Webpage Dialog and then perform these simple steps:
 ). This is because widget properties that use the User Lookup form require the information to be in a specific format, which Conductor sets automatically.
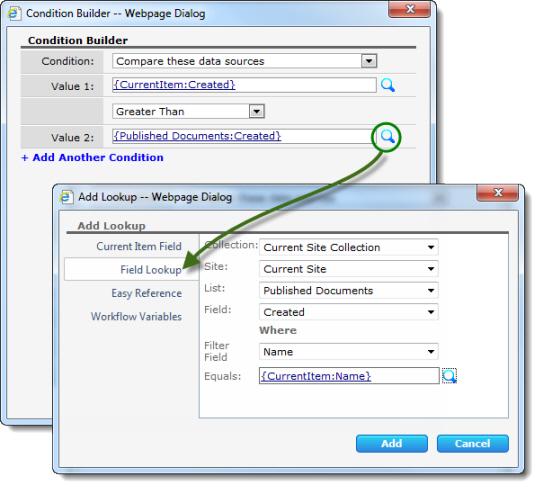
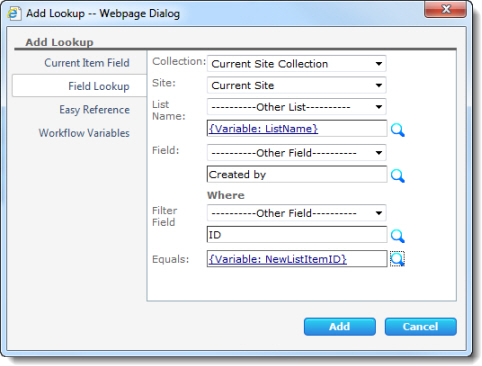 As another example, this shows a Field Lookup configured to retrieve the Created by column value from a list and list item that are created during the workflow. Since the list name and the list item ID are both workflow variables and not known until the workflow runs, lookups or specific values are used to populate these values.
 ) button.
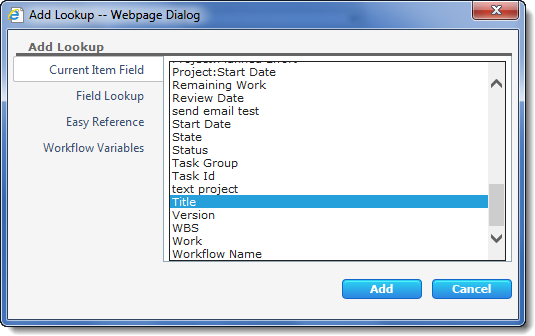 Current Item Field lookups allow the workflow designer to assign the value of a field in the current item to a widget property. The current item is the item that triggered the workflow. To specify a field, select it in the list and click Add.
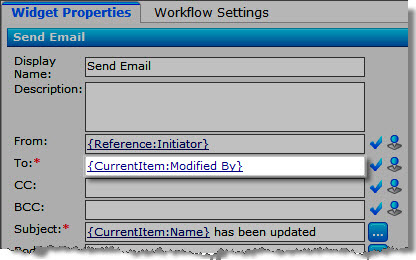 After choosing a field and clicking Add, a {CurrentItem:Field} placeholder is inserted into the widget property. When a widget using a Current Item Field lookup is reached during a workflow, Conductor retrieves the field from the item the workflow was started on and replaces the lookup with the current value for that field.
 When a workflow errors, an email containing the details of the error will be sent to the Workflow Initiator by default.
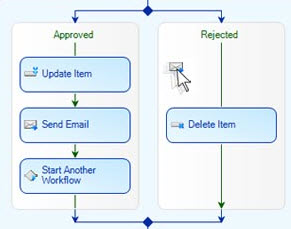 Widgets are what we call the customized activities that we built for Workflow Conductor. They are modular bits of functionality that act as building blocks for creating custom workflows.
 Widget Limitations:
 button to select a field and desired condition. You can monitor a field in the current item, or a field in an item in another list in the current site, site collection, or another site or site collection. See the sections below for instructions to configure the widget for each case.
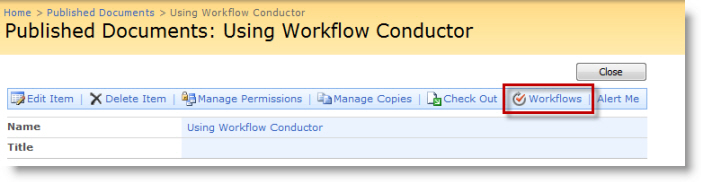
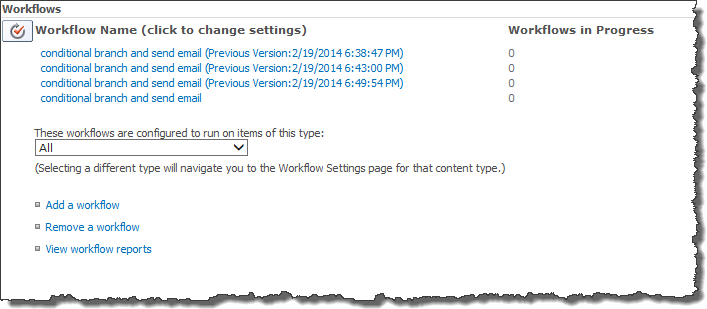
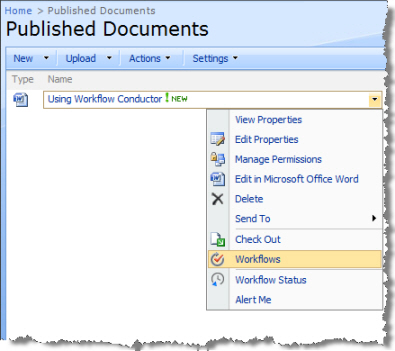 The workflow is now ready to be used, and is displayed with other available workflows under the Workflows option for an item in that list or library.
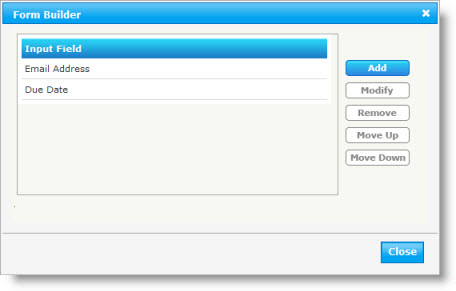
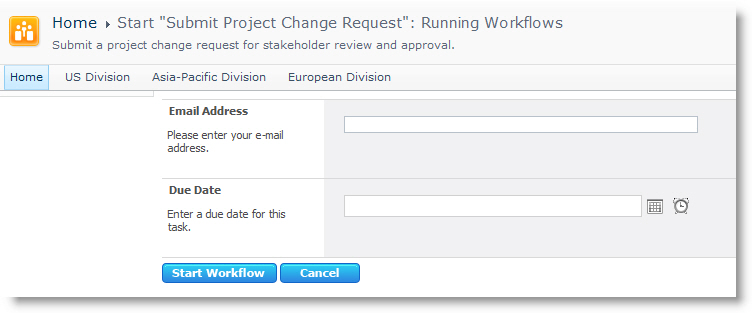 This screenshot shows an initialization form requesting two pieces of information from a workflow initiator. This form is displayed each time this workflow is run manually on an item in the list or library.
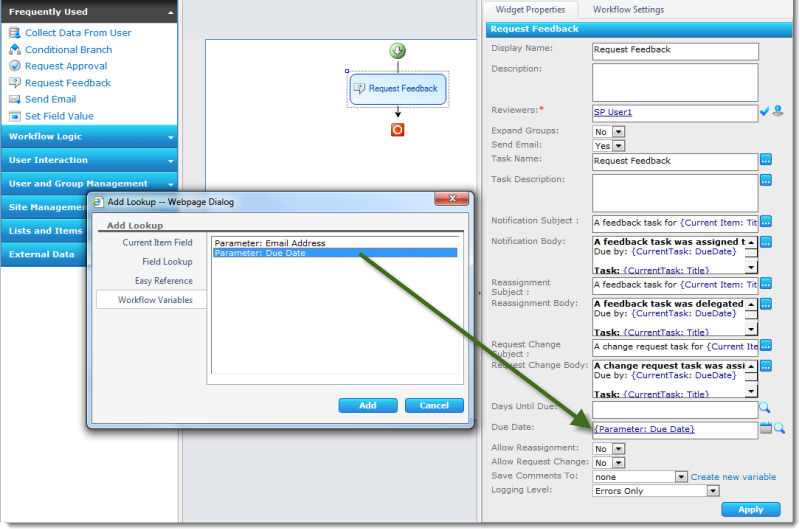
 On the site where you wish to use the Workflow Start Feature, navigate to Site Actions > Site Settings > Site Actions: Manage Site Features. On the Features page, locate the Workflow Start Feature (it’s usually at the bottom of the list).
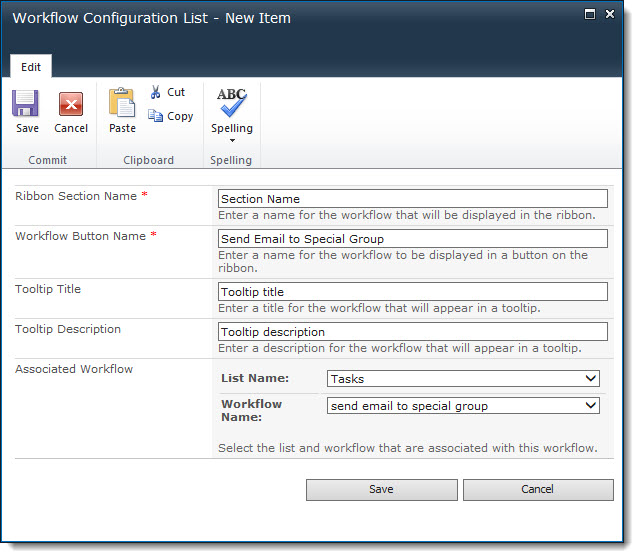
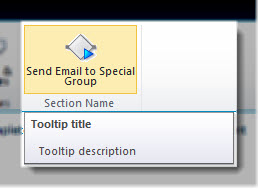 Once an item is added to the Workflow Configuration List, a button will appear in the item ribbon for the appropriate list. It will be grayed out unless an item is selected in the list.
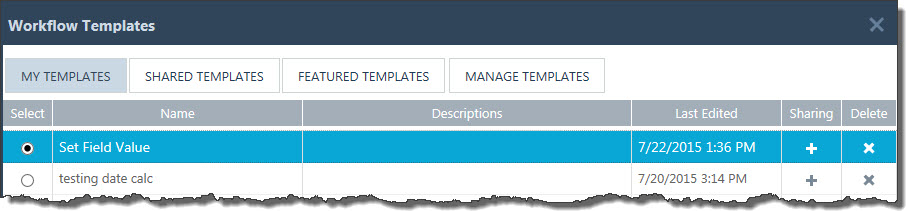
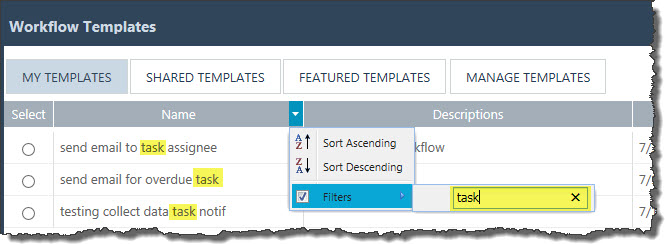

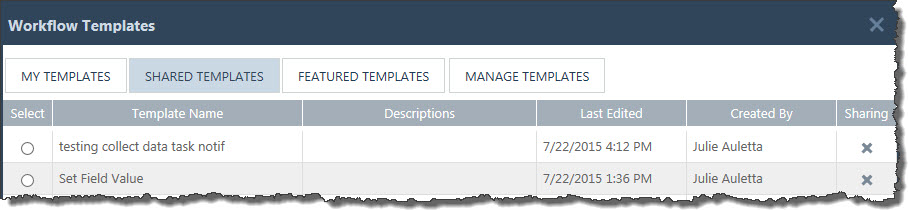
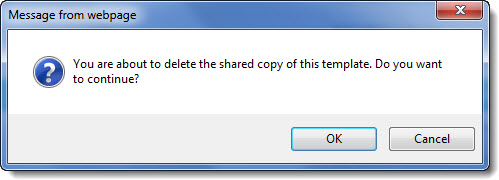
 ) to refresh the display. Refreshing is most useful on the Shared, Featured and Manage template tabs since content on those tabs can be updated by other users.

 Don’t assume that the workflow tasks list will be
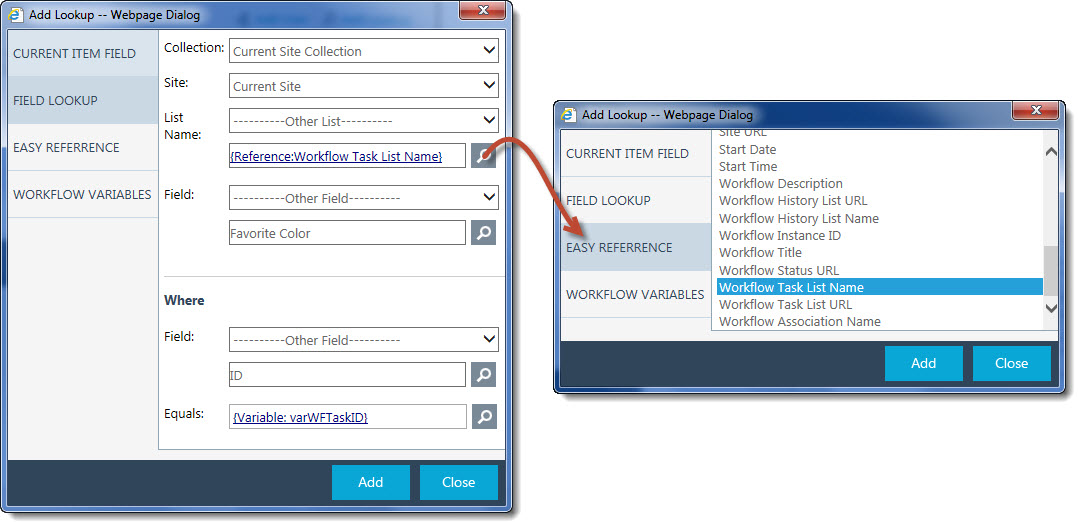
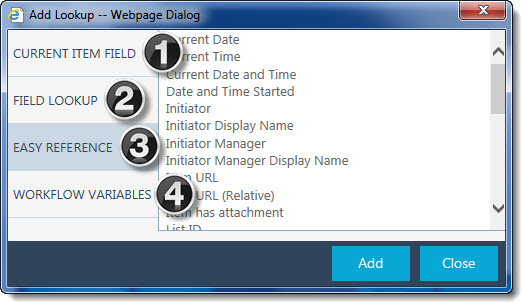 When you configure a Workflow Conductor widget, most widget properties can be defined either by typing or choosing a specific value, or by using a lookup. A lookup is a placeholder for a value that is not known until the workflow runs.
 ) button. When you click the icon or button, the Add Lookup form is displayed. The Add Lookup form allows you to select from various lookups, references, and variables available in the workflow, item, list, site, and even other lists and sites in this site collection or other site collections.
 Select the first product component in the Components section in the Setup program. When a component is selected, information specific to it is displayed on the right side of the interface. Verify the
 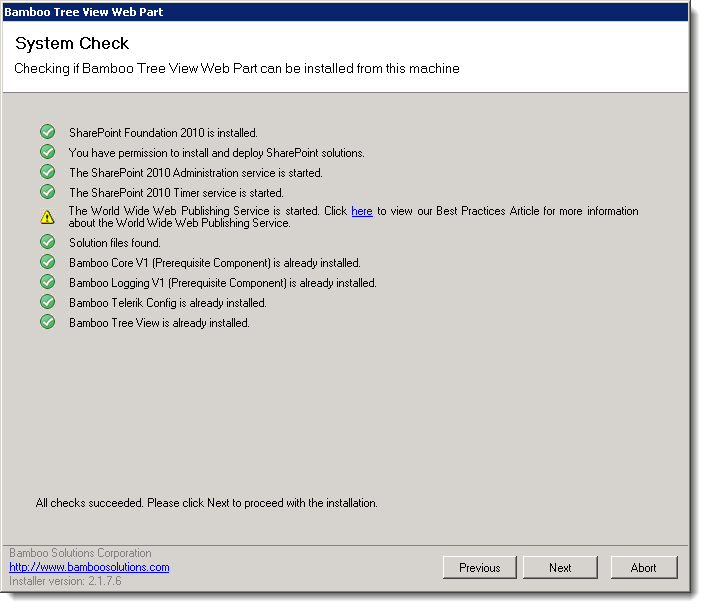 Click Next to begin the upgrade. Verify that the system checks pass successfully and click Next. If the system checks do not pass, you will not be able to proceed.
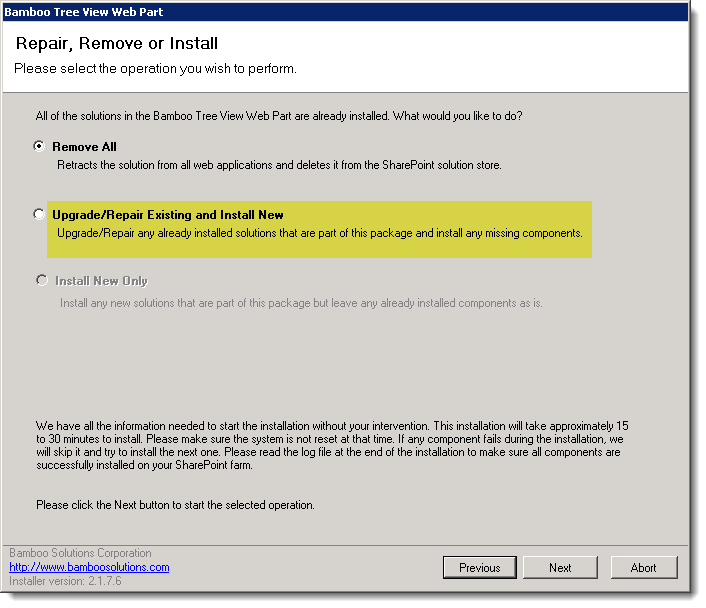 In the Repair, Remove or Install screen, select the Upgrade/Repair Existing and Install New option and click Next.
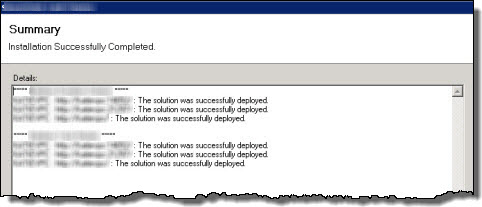 When the upgrade is complete, click Next to review the Summary screen and confirm that the product upgrade was successful. You may need to scroll up to review the entire summary. When satisfied, click Close.
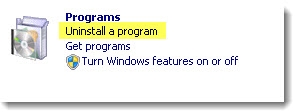
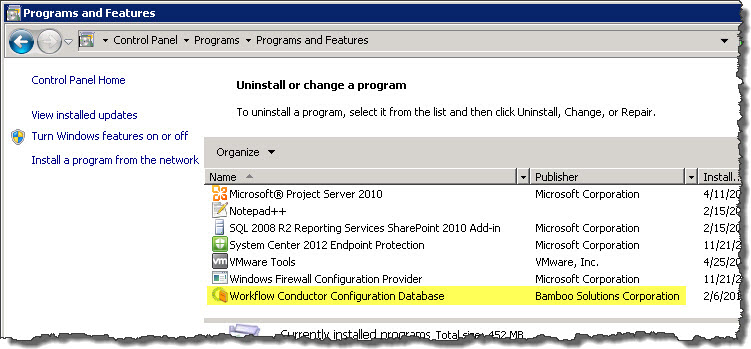 Right click the program called Workflow Conductor Configuration Database and select Uninstall from the menu that appears. Wait for the program to uninstall before proceeding.
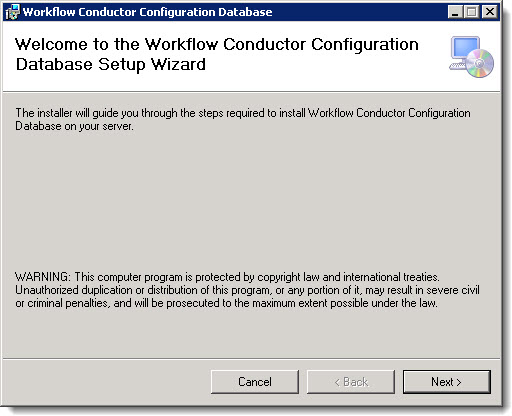 Now, you need to install the new version of the program you just uninstalled. Highlight the Configuration Database component in the Components section of the Workflow Conductor Setup program. When a component is selected, information specific to it is displayed on the right side of the interface. Verify the Location of Install Files and Required Installation Permissions displayed there. See
 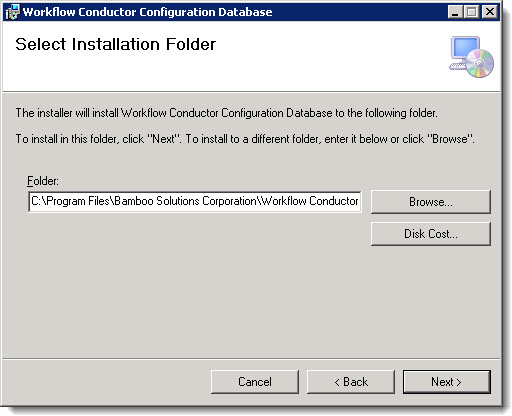 Select the installation folder. This is the location of the program that will be used to upgrade your existing Configuration Database.
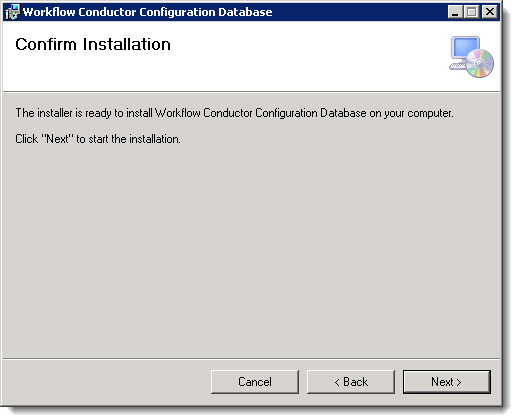 On the Confirm Installation page, click Next.
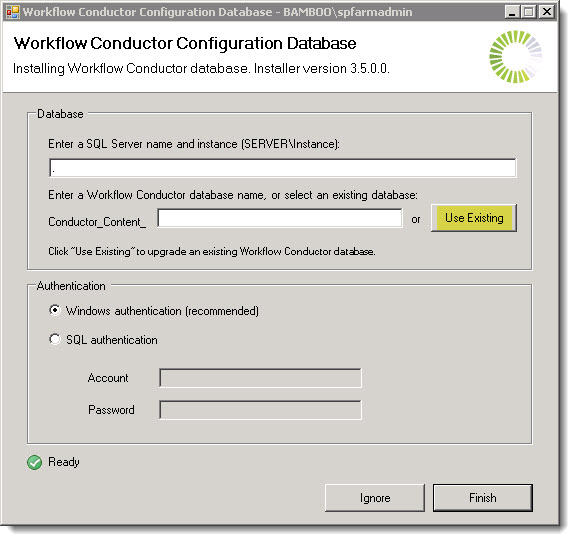 By default, this page will display a “.” in the SQL Server name and instance box. Unless your database is on the SharePoint WFE server where you are running the install, replace this with the name of the SQL server.
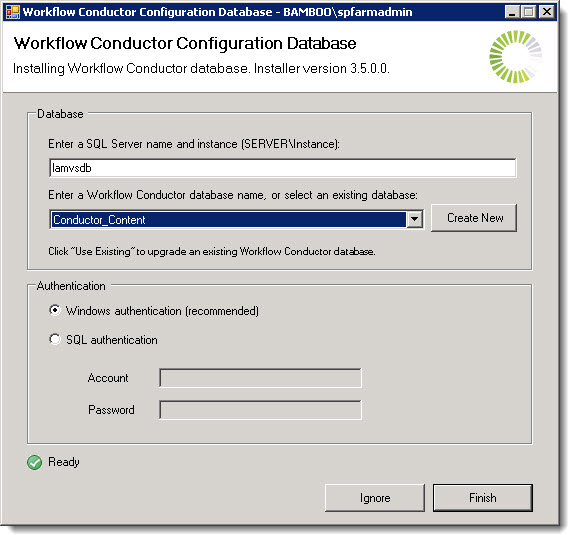 When you choose Use Existing, a drop down selection box displaying all the existing databases that exist in the SQL Server instance you entered will be displayed. Select your existing Workflow Conductor Configuration Database from the list.
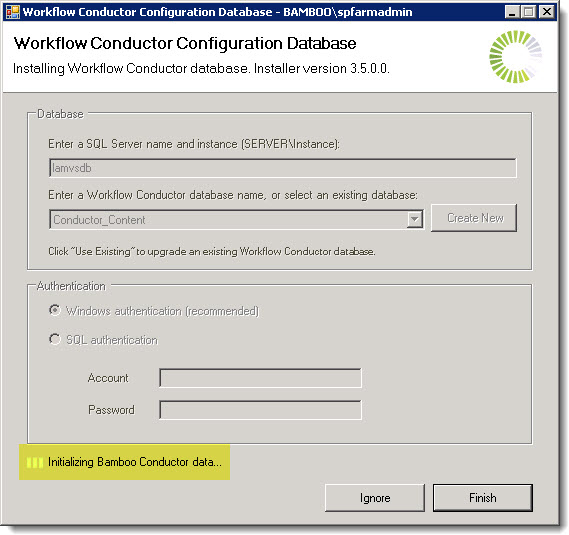 A message at the bottom of the dialog will indicate that the upgrade is in process.
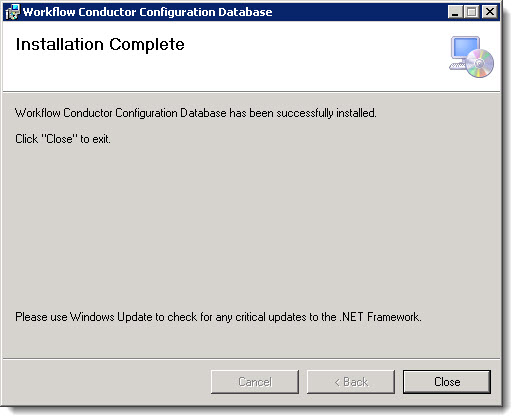 When the process is complete, the Installation Complete page will be displayed. Click Close to exit the program.