Configure Search Criteria
Top
 Each instance of the List Search Simple Web Part can search one SharePoint list or library.
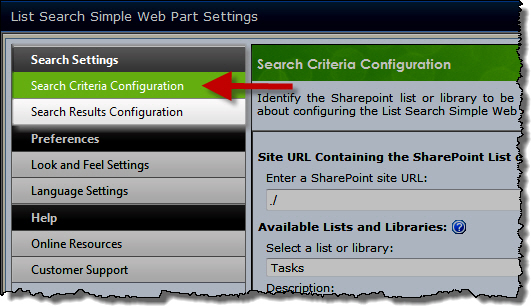
In the Search Criteria Configuration settings page, identify the list or library to search and define search criteria.
Top
Select a List or Library to Search
 Click Search Criteria Configuration in the Search Settings section of the List Search Simple Web Part Settings page.
| Step |
Action |
| 1. |
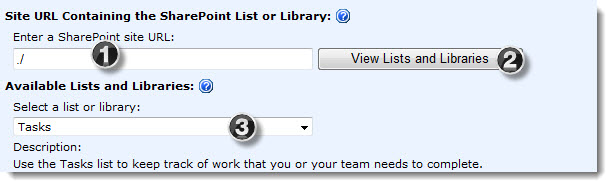
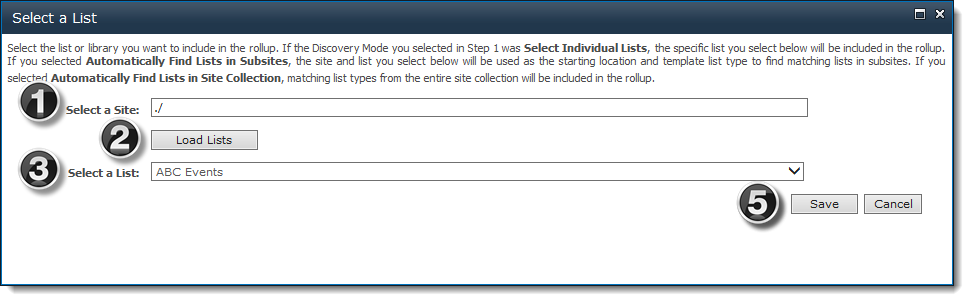
In the Enter a SharePoint site URL box, type the path to the SharePoint site that contains the list or library to search. The site can be part of any site collection in the Web application. Site URLs can be absolute (http://servername/site) or relative (./site).
 Bamboo recommends using a relative URL, especially if the Web application has multiple access points using Alternative Access Mappings (AAM) or if the Web Part will be saved as part of a site template. Bamboo recommends using a relative URL, especially if the Web application has multiple access points using Alternative Access Mappings (AAM) or if the Web Part will be saved as part of a site template.
|
| 2. |
Click the  button to populate the Available Lists and Libraries. button to populate the Available Lists and Libraries. |
| 3. |
In the Select a list or library drop-down list, select the list or library to use as the source for your search. |
Top
Search Columns
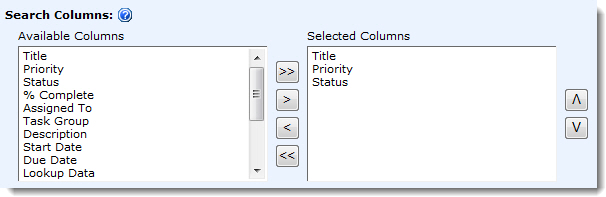 Select the list or library columns you want users to be able to search.
NOTE: If you do not select any columns, List Search Simple will only display a single column to search all columns (if that option is enabled).
Top
Individual Column Search Options
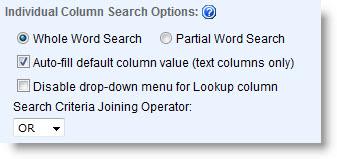
 IMPORTANT: Bamboo recommends disabling Lookup fields if the lookup list has more than 200 items. Populating the drop-down list for large Lookup columns can slow the performance of the List Search Simple Web Part.
All-Inclusive Search Options
Sometimes users aren’t sure what column to search in. When this is the case, the List Search Simple Web Part can leverage the SharePoint Search service to allow searching in all list or library columns using a single search field.
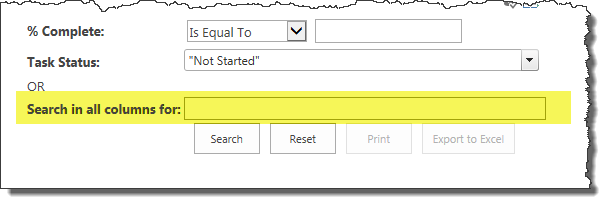
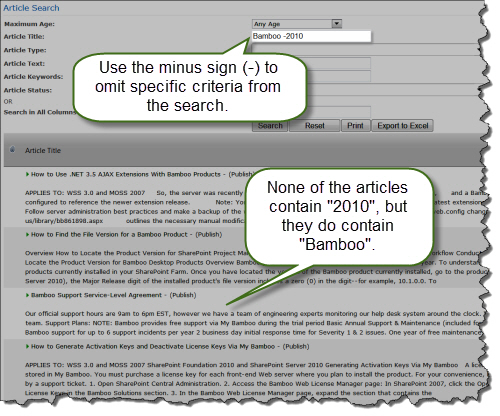
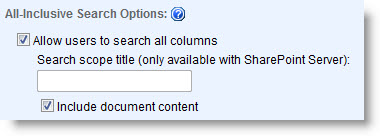 Check the option Allow users to search in all columns to add an additional field (highlighted below) to the search criteria list called Search in all columns for. Users will be able to enter search criteria in this column if they aren’t sure which specific column to search in.
If this option is not checked, only the columns selected in the Search Columns configuration section will be displayed.
IMPORTANT:
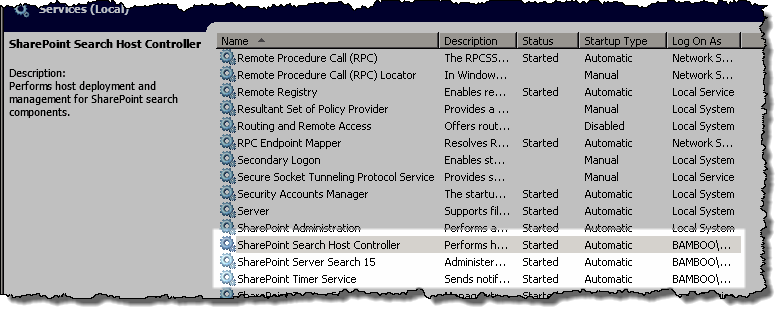
- SharePoint Search must be enabled and configured in your SharePoint farm and the list/library content must be indexed for searching in order to use the all-inclusive search option.
- End users choose to search in all columns (all-inclusive) OR search in specific columns, regardless of the Search Criteria Joining Operator. It is not possible to search by entering criteria in both places.
When the Allow users to search in all columns option is checked, the following additional features define search behavior:
-
Search scope title: To improve search performance, enter the smallest SharePoint Search scope that includes the list data you want to search.
NOTE: Search scopes are only configurable in MOSS 2007 or SharePoint Server 2010. In SharePoint 2013 they are called Result Sources.
-
Include document content: Check this option to also search the text in list item attachments and document library items.
NOTE: Only document types that are indexed for SharePoint Search can be searched with the List Search Simple Web Part. For more information about searching documents, consult the documentation for your SharePoint version.
To display only the Search in all columns for field, remove all other columns from the Search Columns list.
In order for results to be found using the Search in all columns for field, the configured list must be included in the SharePoint Search configuration. If searches using the List Search Simple don’t return the expected results, be sure the list contents are indexed and can be found using the out-of-the-box SharePoint Search.
Top
 Your administrator can configure options that allow you to add new accounts to security groups and grant SharePoint permissions at the same time the account is created. These settings can be predefined, or a list of options can be provided in the User Account Setup form.


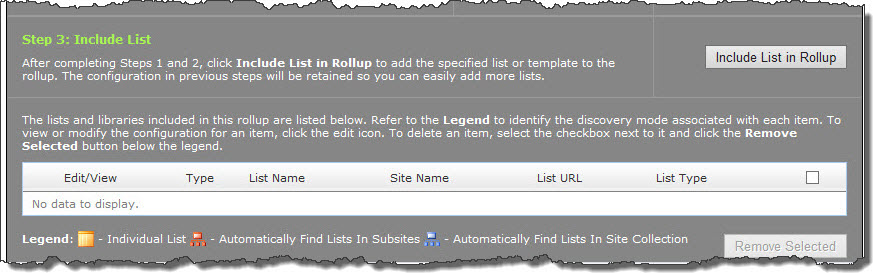
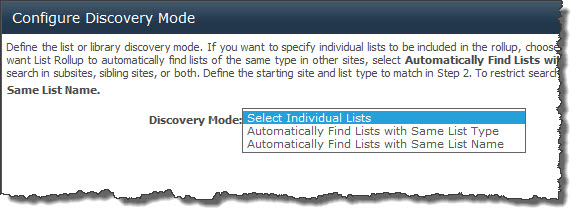 If you are using the Bamboo Aggregation Service (BAS), the available Discovery Modes are:
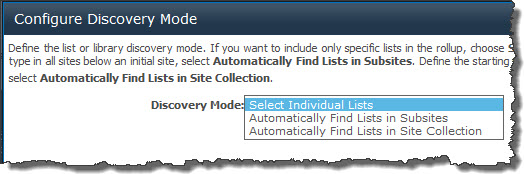 If you are using the SharePoint Aggregation Service (SAS), the available Discovery Modes are:
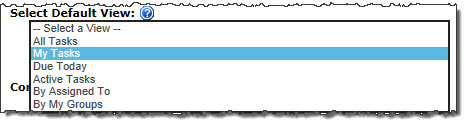
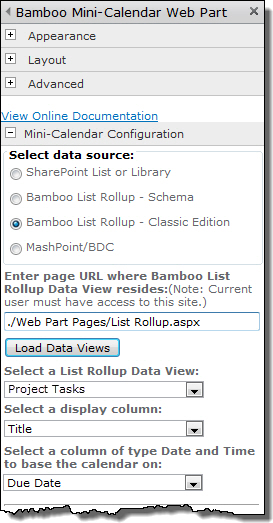
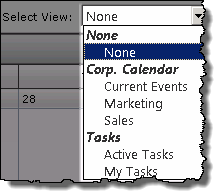
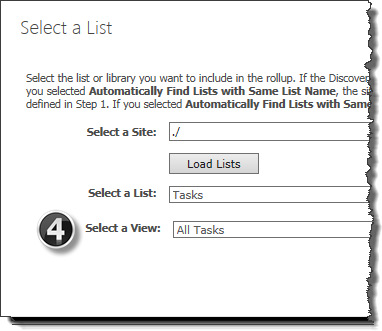 If using the Bamboo Aggregation Service (BAS), you will see an extra selection, the Select a View. Choose a view of the selected list. The selected view will determine the columns to be included in your roll-up and may also determine the filter of your rollup (or this list in your rollup).
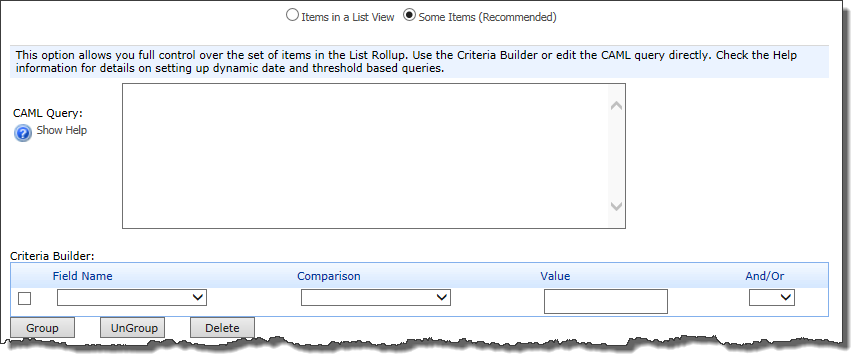
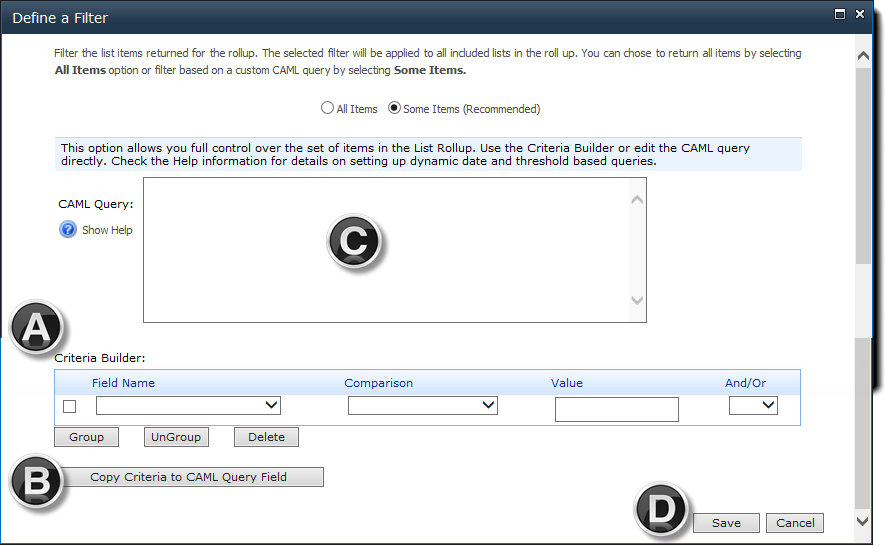
 ) next to the CAML Query box and see
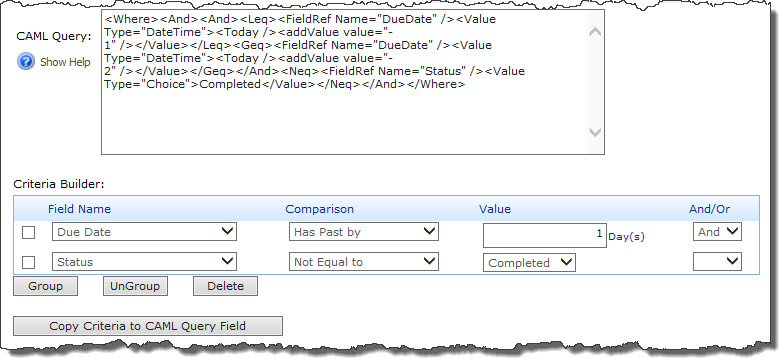

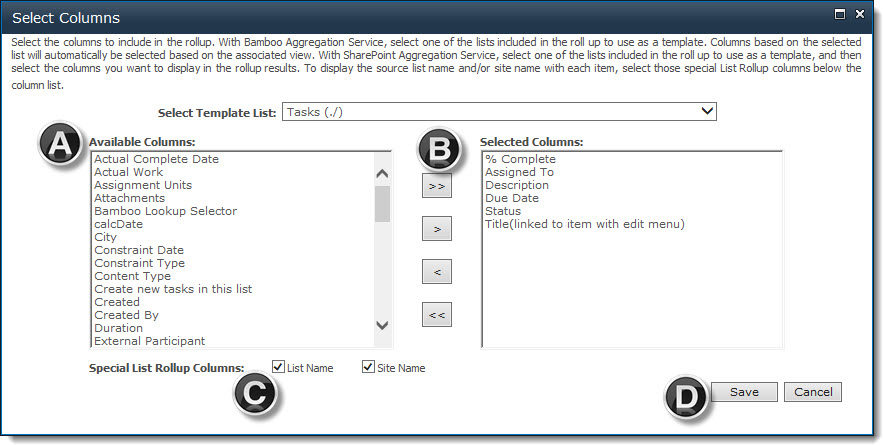
 ) to move it to the Selected Columns list. If desired, select multiple columns by holding down the Ctrl key on your keyboard while clicking to highlight a column.
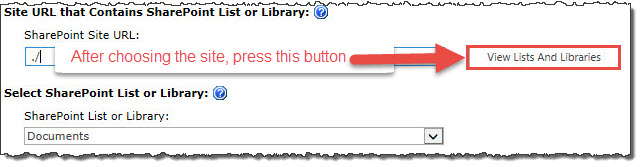
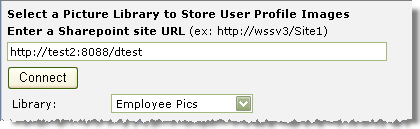 In this section of the configuration tool pane, you set where to store pictures that are used for user profiles. When you upload a picture for a user profile, User Profile Plus will automatically store it in the specified SharePoint Picture Library.
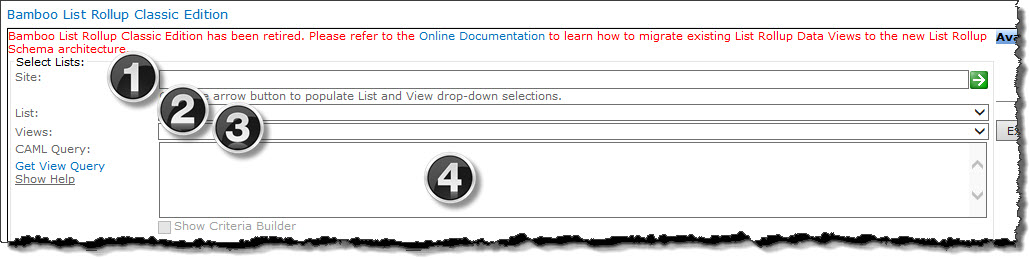
 ) to populate the List selection down-down box with values from that site.
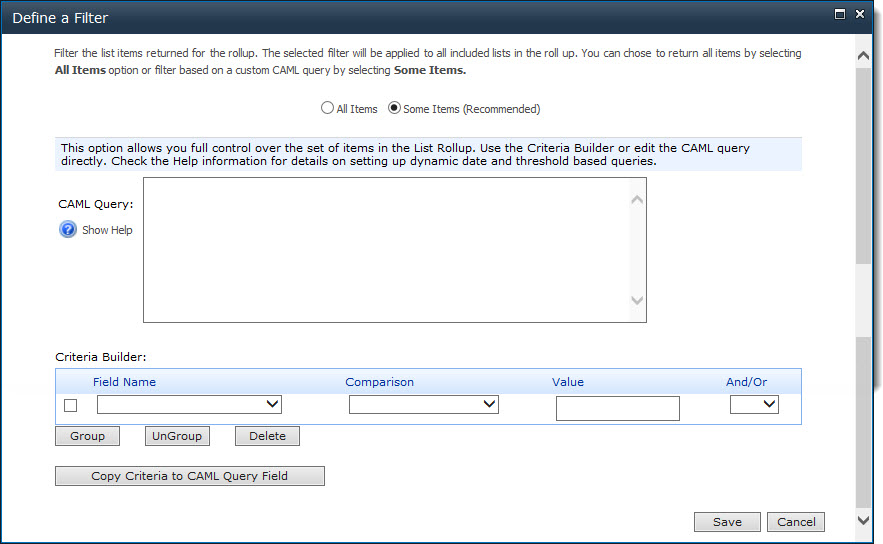
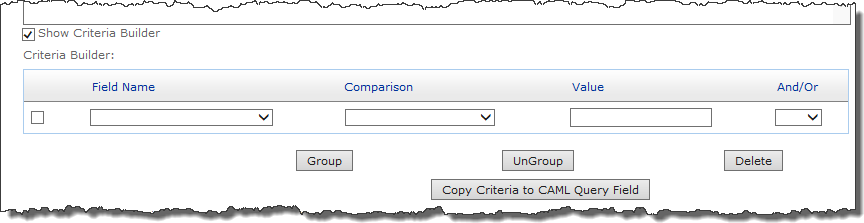 You can also build a CAML query by using the Criteria Builder; this tool is built into the Web Part, and enables you create custom filters without any knowledge of CAML. For information on using the Criteria Builder (and filtering in general), see How to Filter the Rolled Up Data View Web Part.
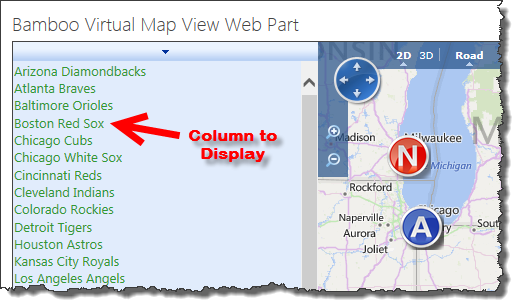
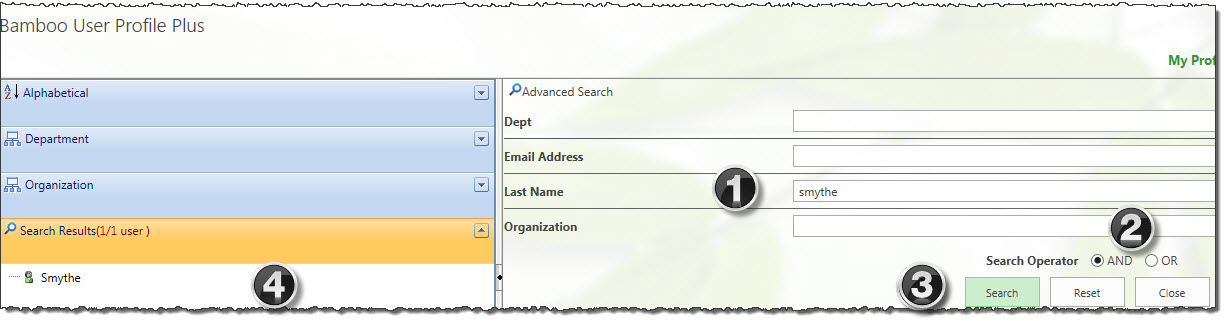
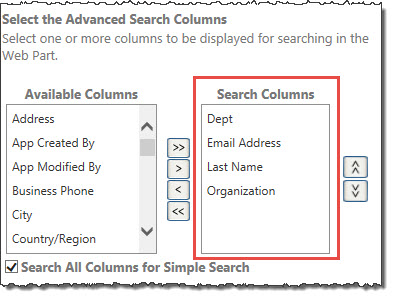
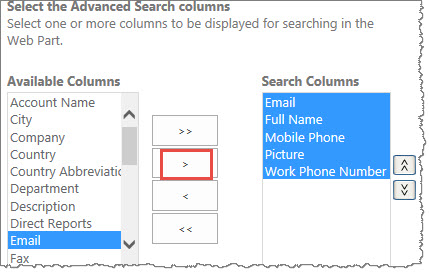 The Search selections display the user profile attributes that can be used in the Advanced Search window. You can select which fields can be used as the search criteria, by adding the fields from the left pane to the right pane. Highlight more than one column on the left Available Columns box and click the > symbol to move them into the Search Columns box on the right. (If you click the double symbol >>, then all the Available Columns move into the Search Columns box.)
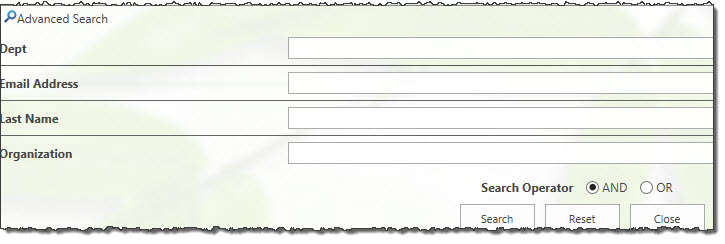
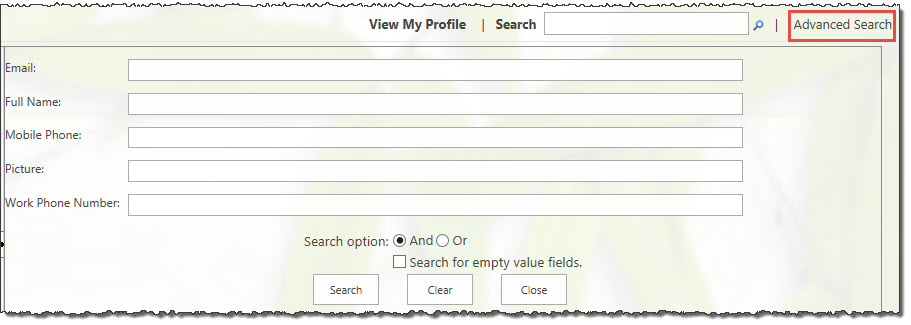 In the example above, we selected five columns which show in the sample image here. Depending on the columns you configure to show, end users will be able to search on those columns in the Advanced Search tool in the web part as displayed here.
 Below the Advanced Search columns configuration, there is also a check box to select all columns when users search without clicking on the advanced search option. Checking the box lets User Profile Plus execute the search across all columns in the list.

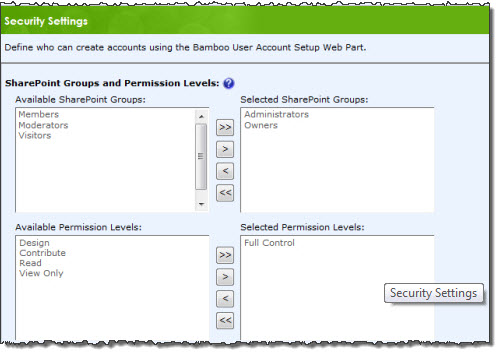
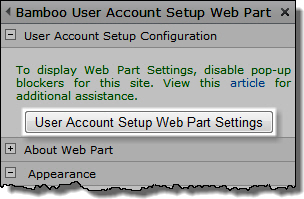 After you first add User Account Setup to a page, the web part cannot be used to create accounts. A SharePoint user with the Full Control permission level or higher on the site must first configure the web part and select specific SharePoint groups and/or permission levels who are authorized to create accounts.

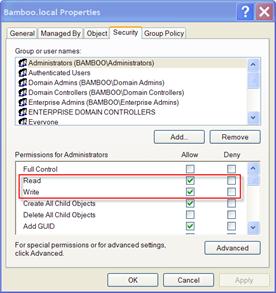 User Profile Sync requires credentials for accounts that have read and write access to both the Active Directory and SharePoint User Profile. In order to ensure User Profile Sync is used without compromising security in your domain, please review the security types in the table below and take the appropriate steps based on your environment.
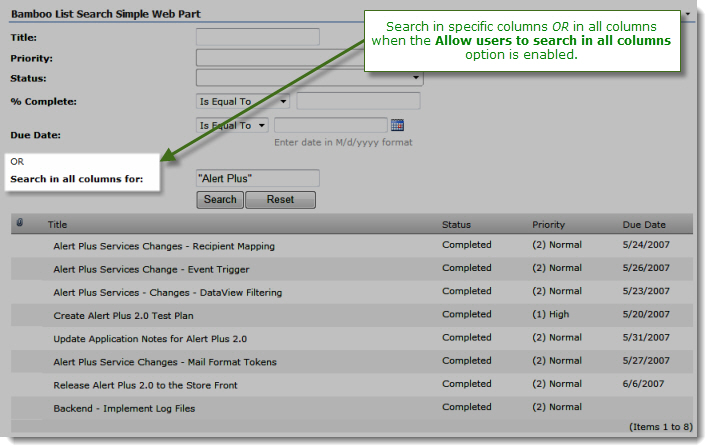
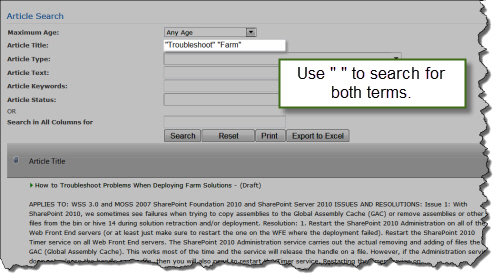
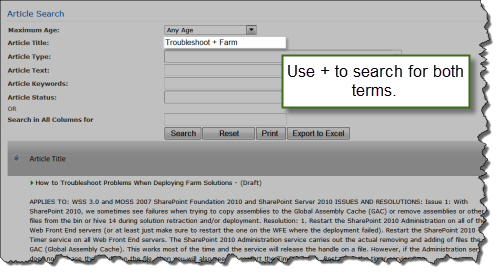

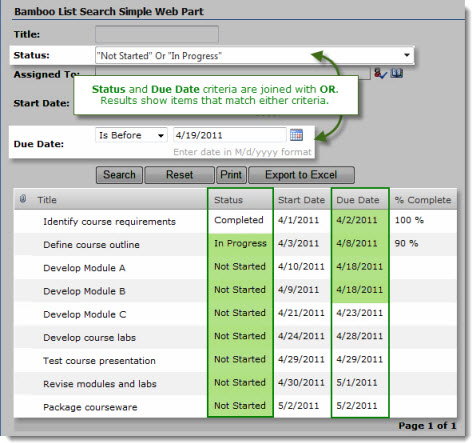
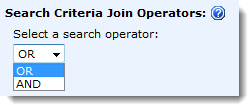 You can search in more than one field at a time by entering values in multiple search criteria fields. Depending on which option was selected when the web part was
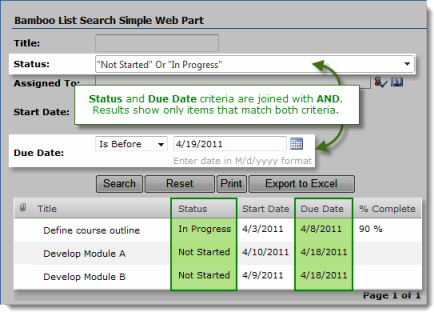

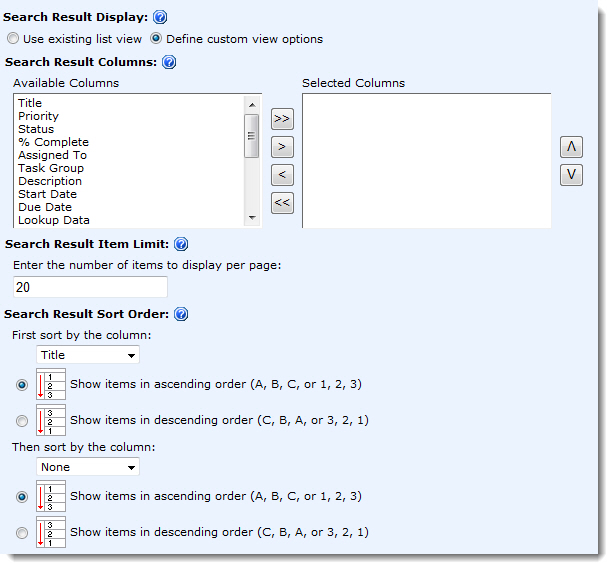
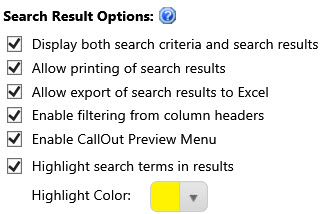
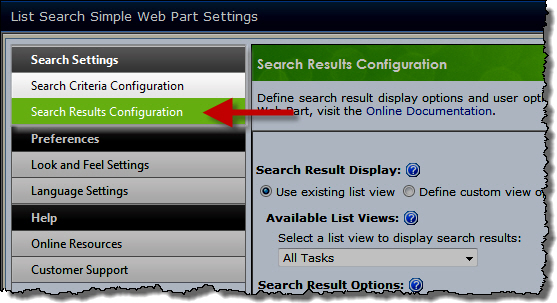 The Search Results Configuration settings define how search results are displayed in the List Search Simple Web Part. These settings provide you a way to customize what you prefer your users within your environment can see and interact with when they use List Search Simple. Listed in the table below are the sections of the web part settings that you can control to optimize search results for your organization.
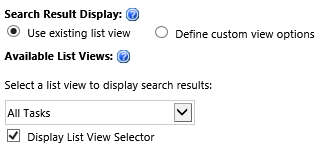
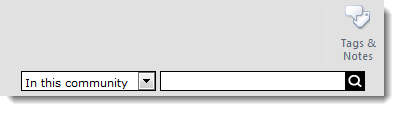 To search Community Central, enter a word or phrase in the search text box and hit Enter, or click on the magnifying glass button to the right of the text box. Community Central will search for the terms you entered in the body text and titles of every blog and forum post.
 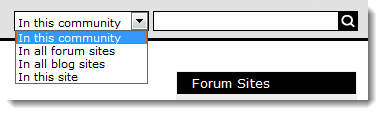 You can also set filters to restrict your search to different areas of the community. Community Central allows you to narrow the search scope to:
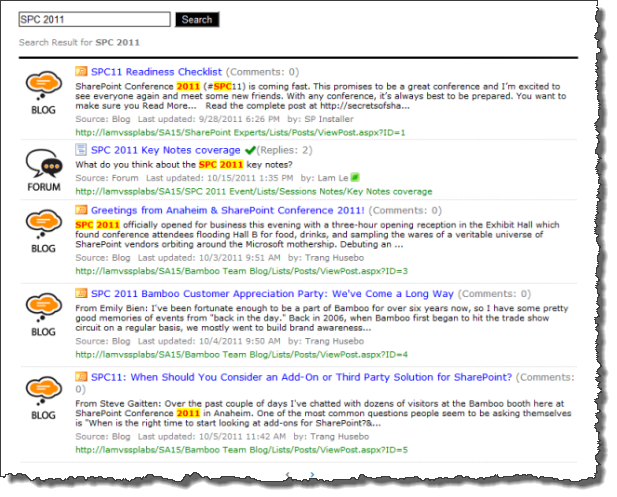
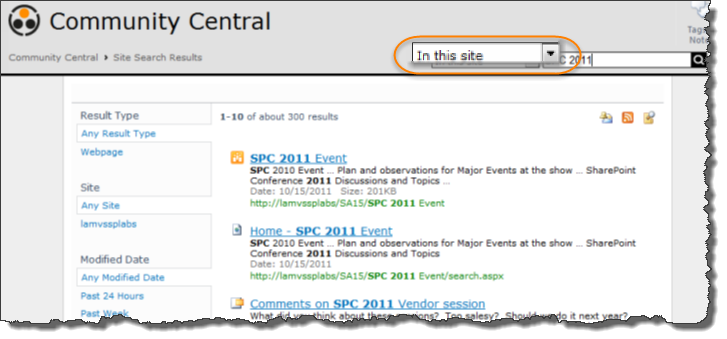 When you search using In this site as the search scope, the search results will be narrowed to return only items in the site that you are currently viewing. Community Central will return the search results using the standard SharePoint search results format.
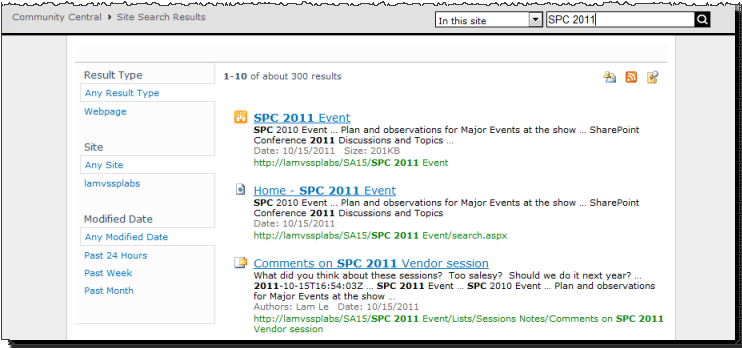 When you search using In this site as the search scope, the search results will be narrowed to return only items in the site that you are currently viewing. Community Central will return the search results using the standard SharePoint search results format, as shown below:

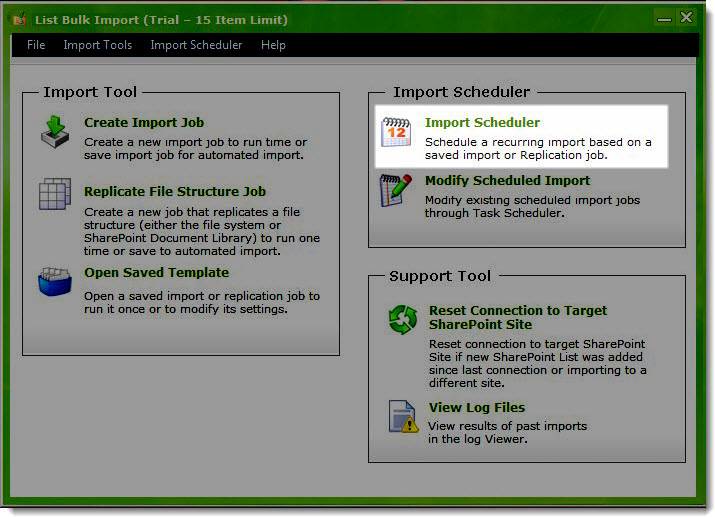 From the main List Bulk Import interface, click Import Scheduler.
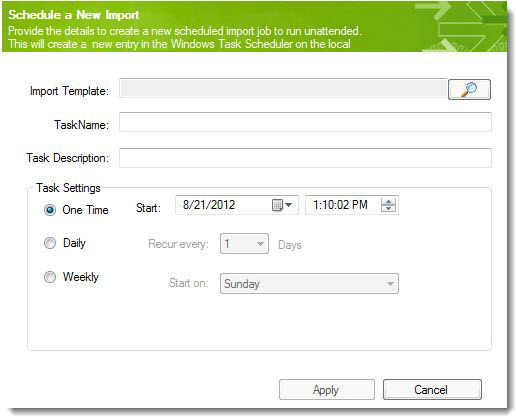 Choose the Import Template by clicking the magnifying glass icon to browse to the desired location.
 Create a new scheduled task in the NT Scheduler on the machine where the List Bulk Export application is licensed.
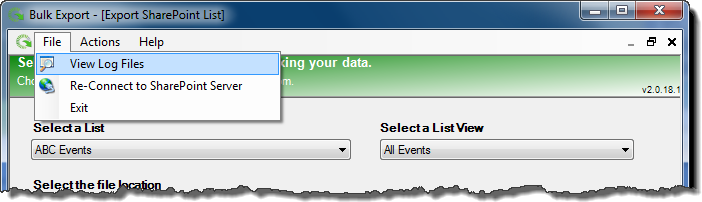
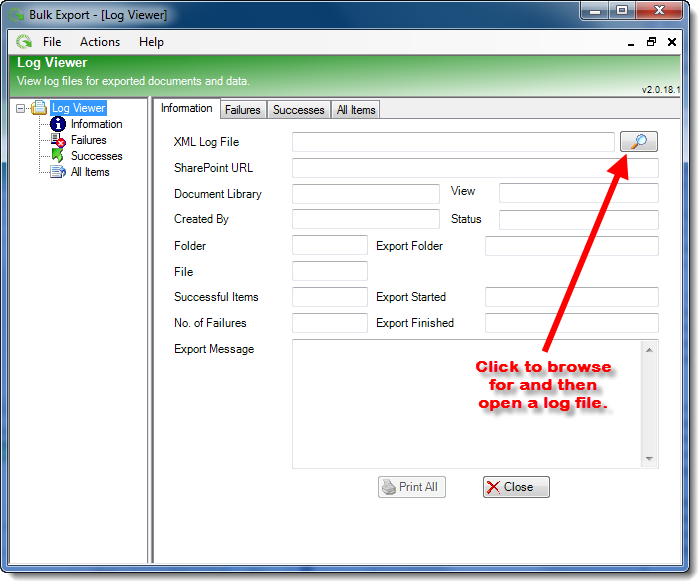
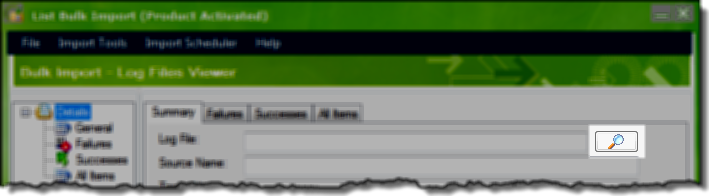
 , to select the log file to open.
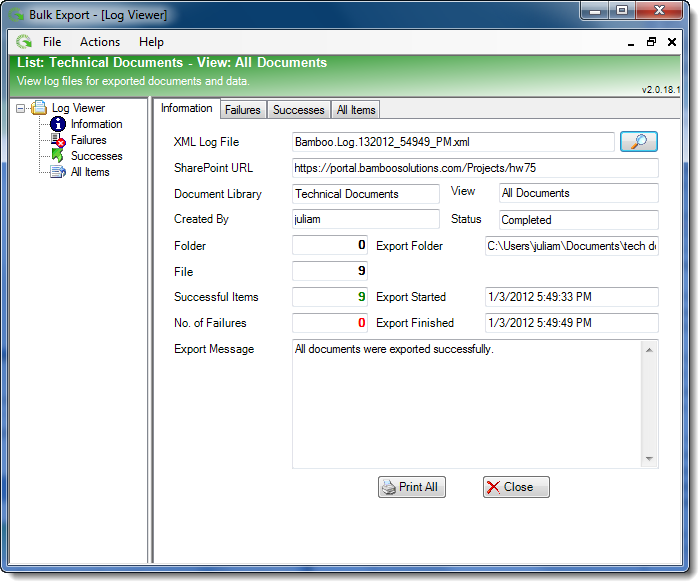
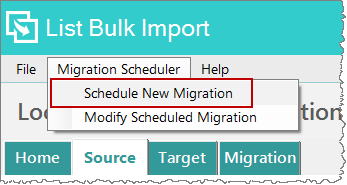 From the File menu, select Migration Scheduler > Schedule a New Migration.
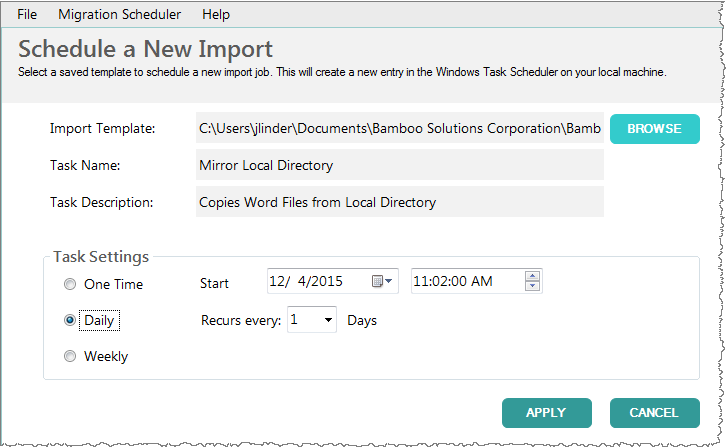 Choose the Import Template by clicking the Browse button to browse to the desired location.
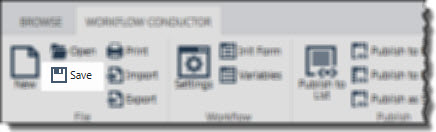 Click the Save button in the Workflow Conductor ribbon.
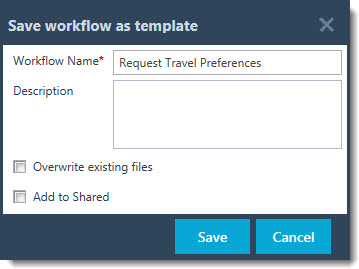 In the window that appears, enter a Workflow Name and an optional Description. If you’ve already given the workflow a name and description, they will be displayed.
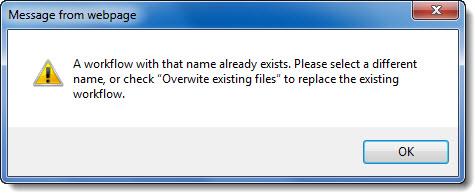
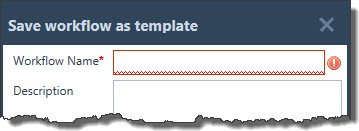 If you forget to name your workflow template before attempting to save it, the Workflow Name box will be highlighted in red as shown. You cannot save a template without a name.
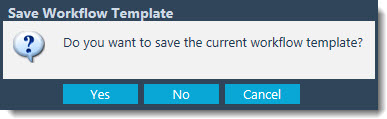 You may try to Publish your workflow before saving the template. If so, you will be prompted with the message shown. We strongly recommend that you save the template before publishing.
 If you click No to the prompt, deciding not to save the template before publishing, a warning message will be presented. You can choose to proceed to publish without saving, however it is not advisable.
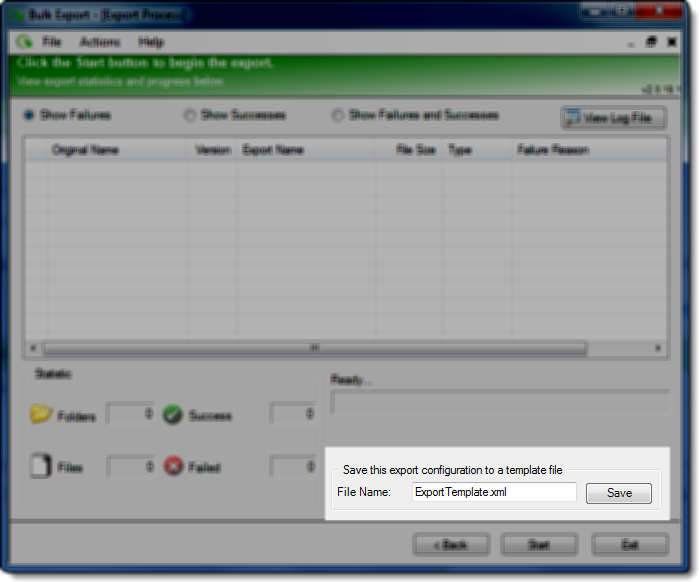
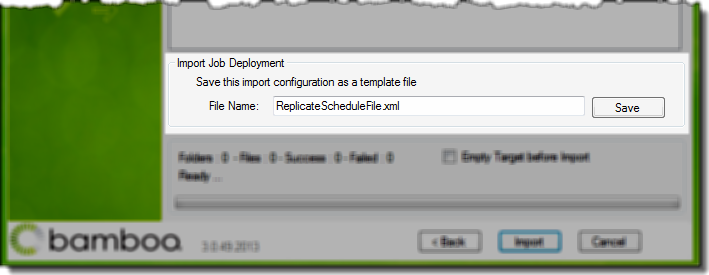 On the last page of the Import Job wizard in the Import Job Deployment section, enter a File Name for your template file and click Save.
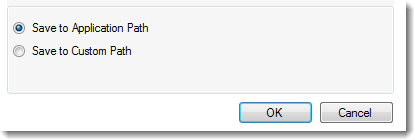
 Choose to save the template file to the Application Path, which is where the import application resides.

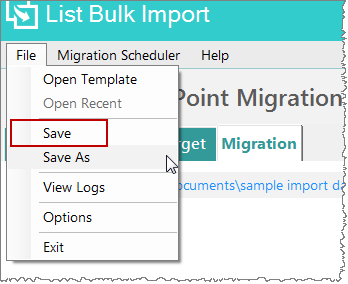 Configure the import source, target, and migration tab, as if you were going to execute the import. Once you’ve completed the configuration, in the Migration Tab, in the file menu click File > Save and save the template.
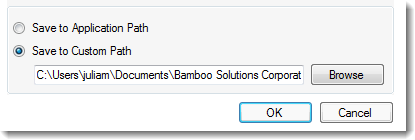
 Choose to save the template file to the Application Path, under the (Users > Username > Documents > Bamboo Solutions) folder location or a custom defined folder path.
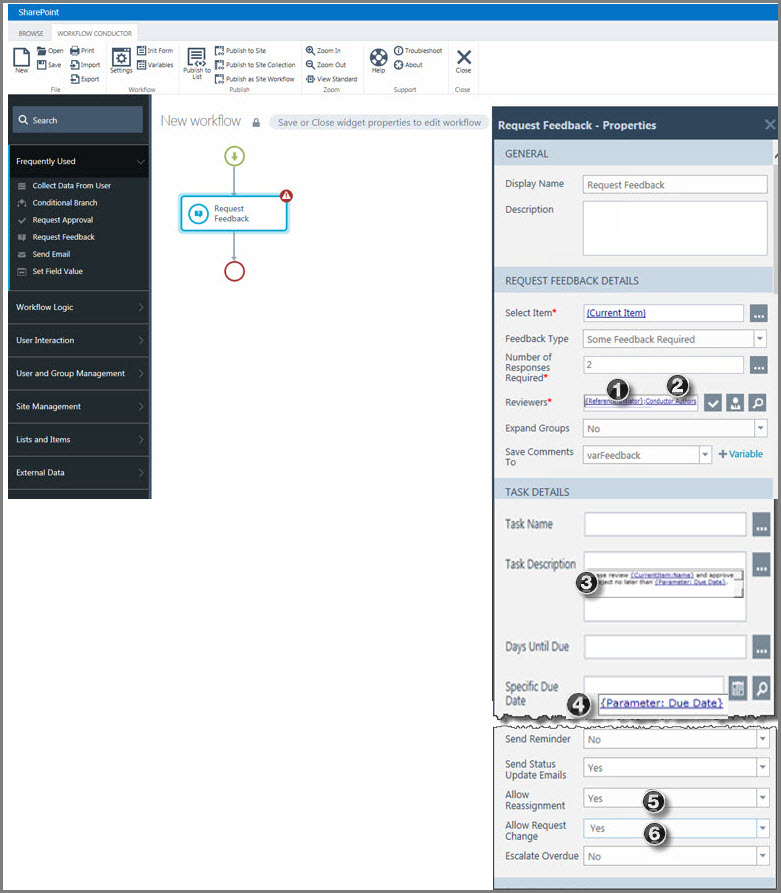 The screenshot here shows a configured Request Feedback widget with the following properties:
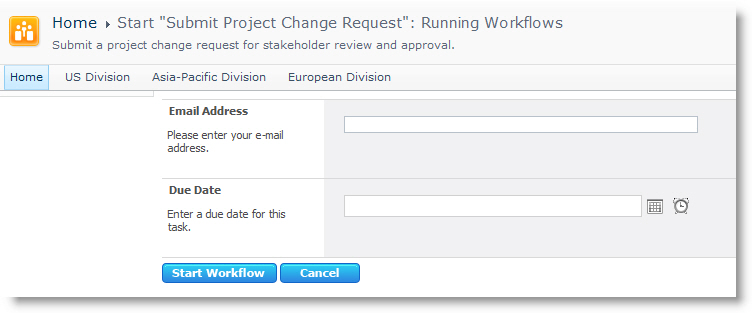
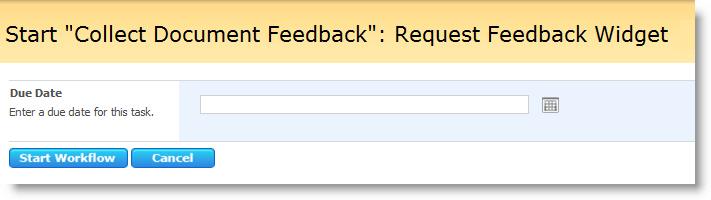 When this workflow runs, the workflow initiator is prompted to enter a Due Date for the task using a workflow initialization form configured with the workflow. For details on configuring workflow initialization forms, see the Workflow Forms section.
 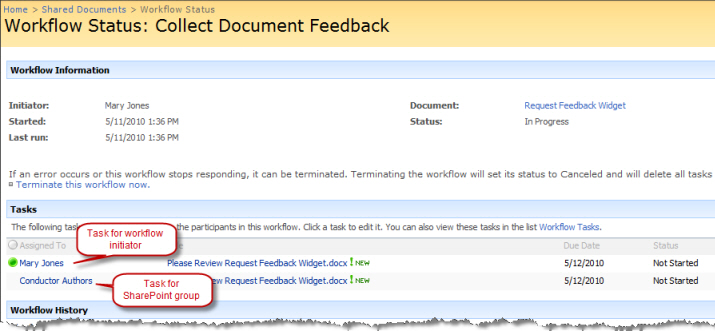 After the workflow initiator enters a Due Date, the workflow starts by assigning tasks to the workflow initiator and the SharePoint group, as shown here.
 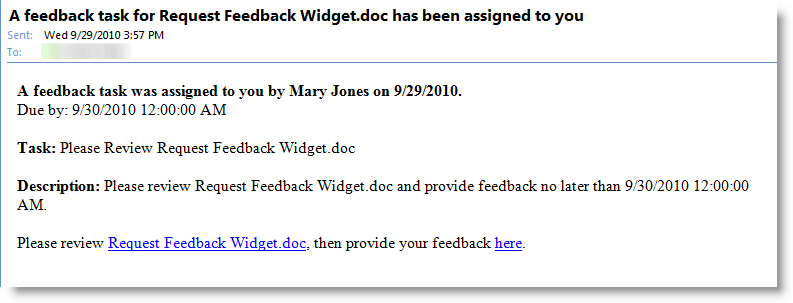 In this example, e-mail notifications are sent to each person or group assigned a task.
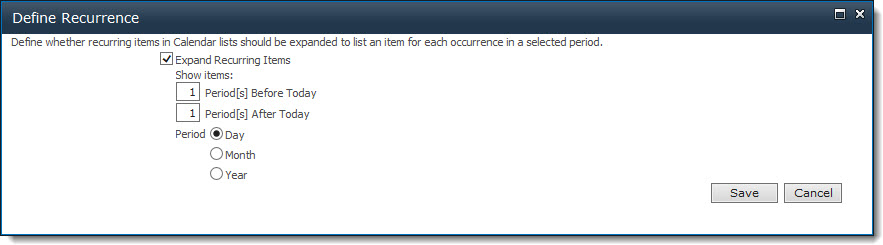
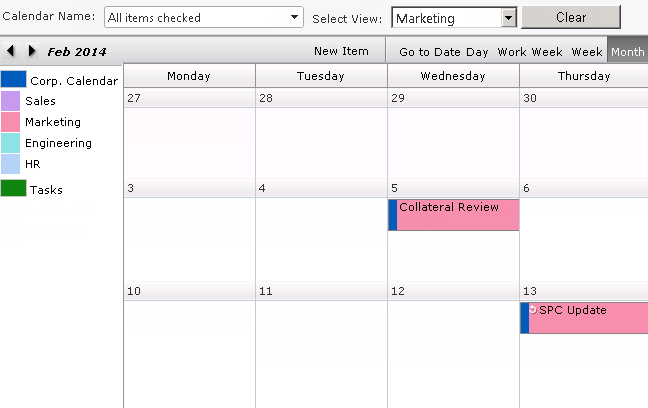
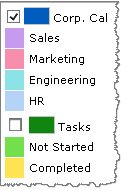
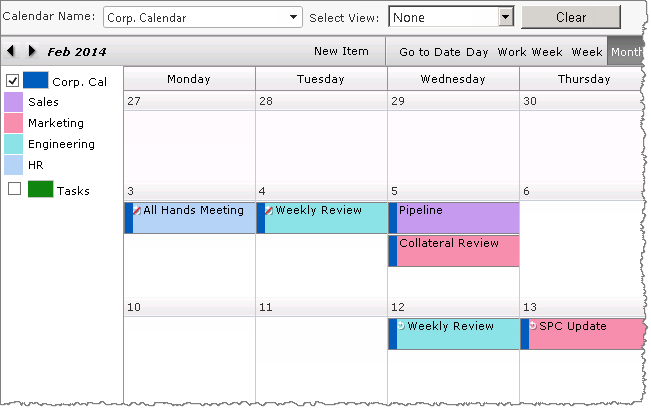
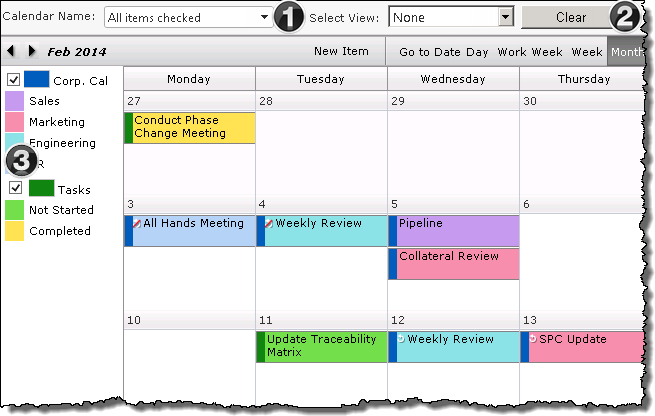 When Calendar Plus is configured to use SharePoint List and Libraries as the data source, the display can be configured to allow users to filter by lists or by list views.
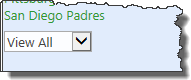
 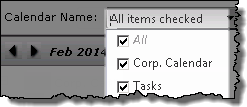 The drop down menu will list all SharePoint Lists and Libraries displayed in Calendar Plus. By default All Items will be checked.
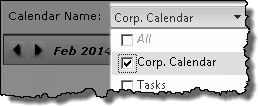

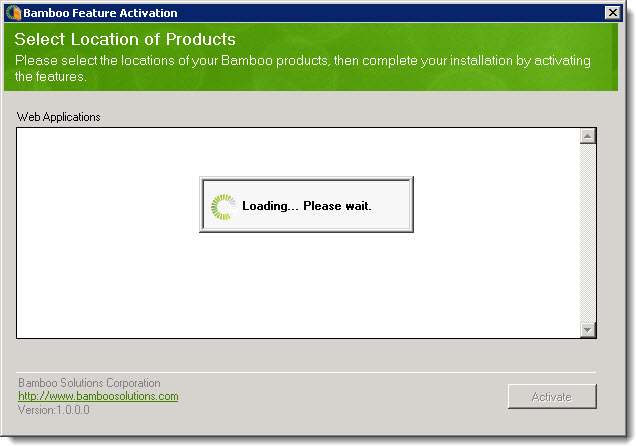 Highlight the Bamboo Feature Activation component in the Components section of the Workflow Conductor Setup program. When a component is selected, information specific to it is displayed on the right side of the interface.
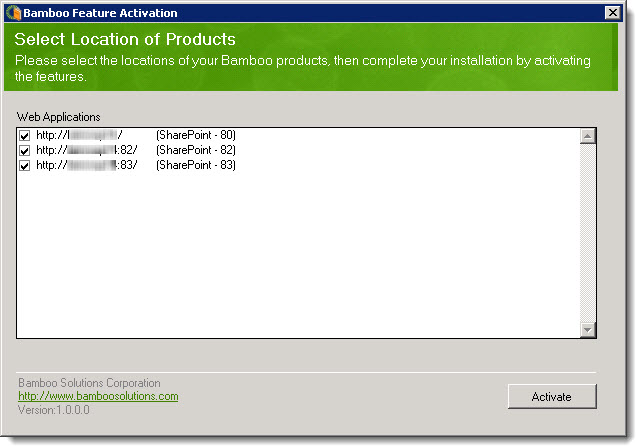 The Web Applications available in your SharePoint farm will be loaded and displayed. By default, they will all be checked.
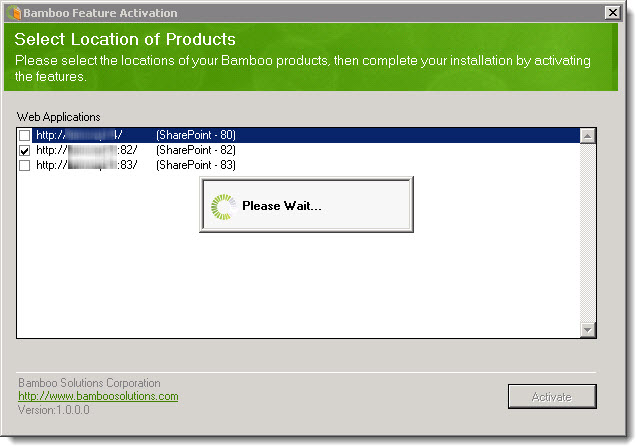 If Workflow Conductor is deployed to all web apps, click Activate. Otherwise, uncheck the appropriate web apps and then click Activate.
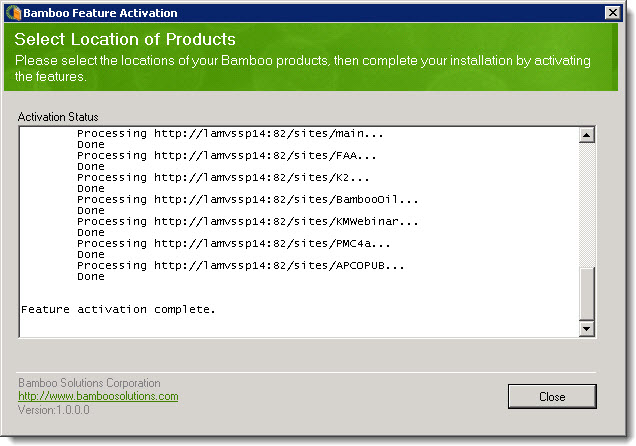
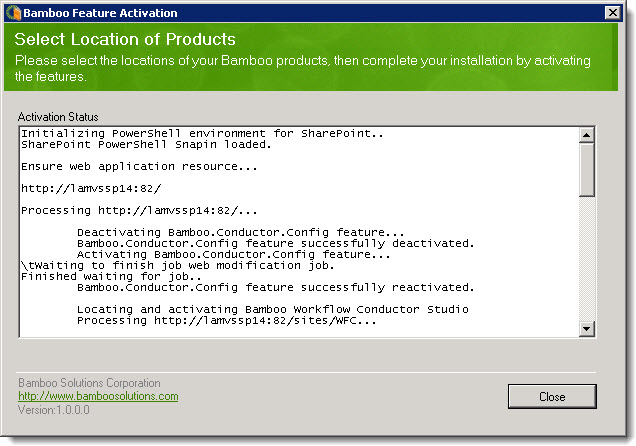 When the processing completes, Activation Status information will be displayed.
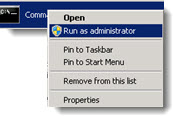 From a SharePoint Web Front End (WFE) server where the Alert Plus installation files reside, go to Start > Command, and run the command prompt as administrator.

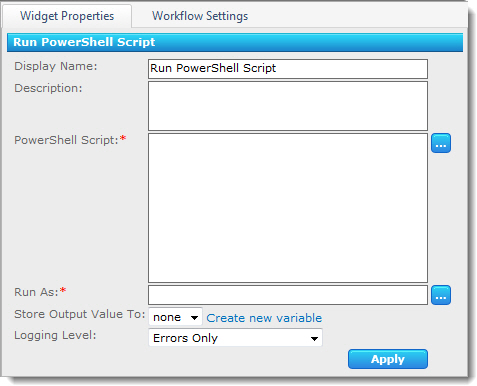 The Run PowerShell Script widget runs a Windows PowerShell script. The widget has the following features and options:
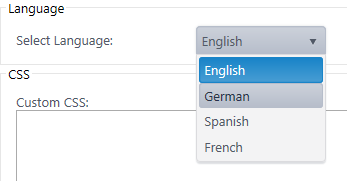
 Use Bamboo’s Rich Text Column to add multi-language spell check, automatic Picture Library image uploading, style support, and much more to the functionality of the standard Rich Text column.
 to configure this Bamboo product.")


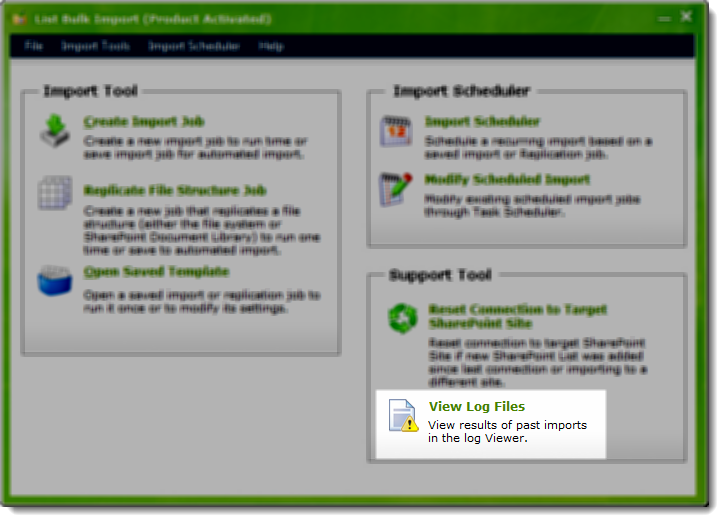
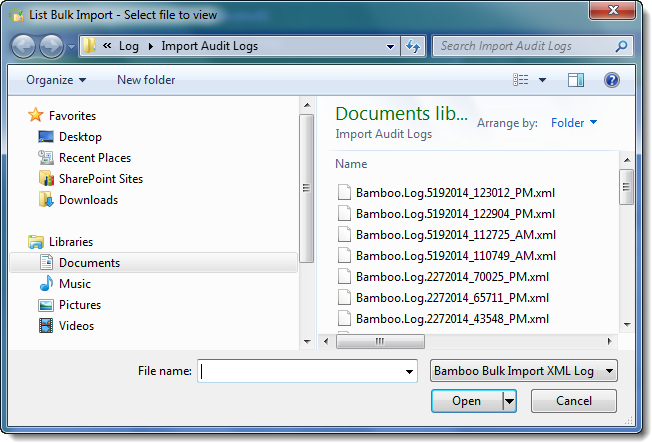
 ) to locate the log file you want to view.