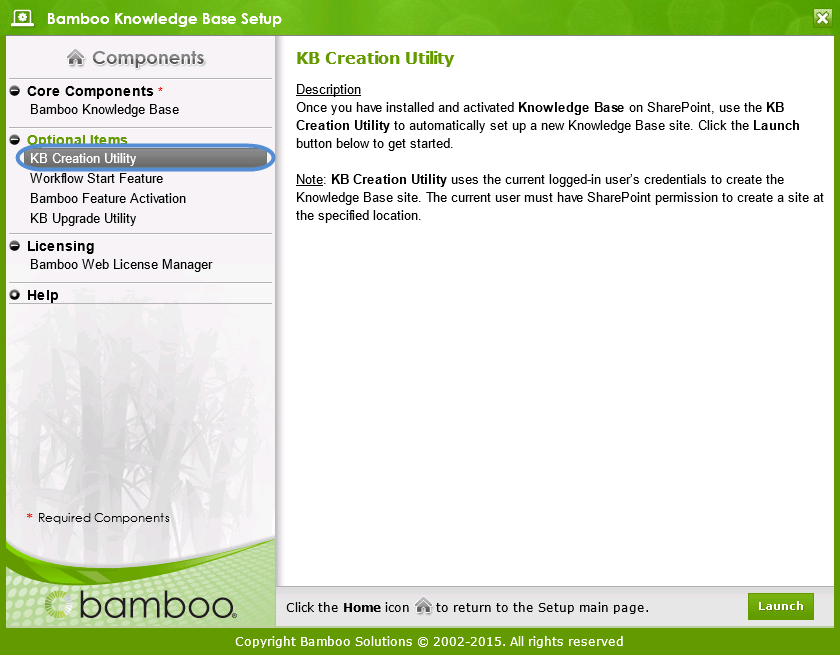
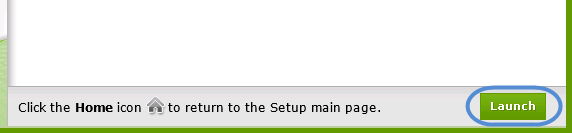
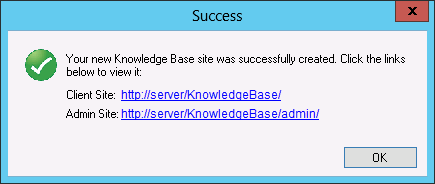
After you have finished installing and activating your license for Knowledge Base, use the KB Creation Utility to set up a new Knowledge Base automatically using the default configurations. See How to Use the KB Creation Utility for instructions on automatic KB site creation.
Before you get started, read KM Best Practices for a high level overview of implementing and sustaining knowledge management within your organization. Knowledge Base uses several web parts and lists stored in each of the sites:
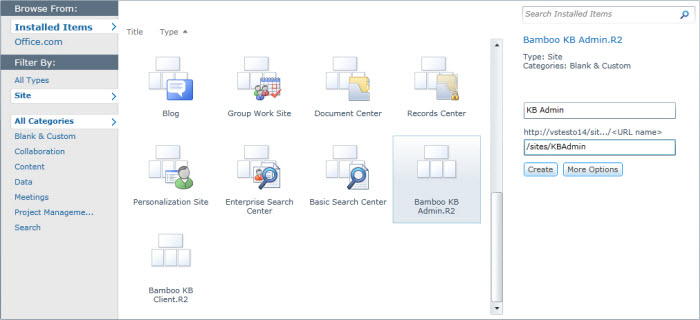
To create the KB sites manually, follow the instructions below. Each section lists the configuration parameters that you need to consider and configure for the two sites that are contained within Knowledge Base.
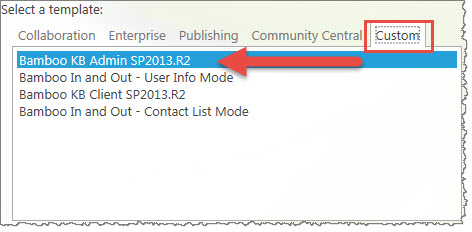
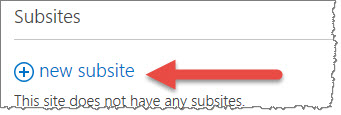
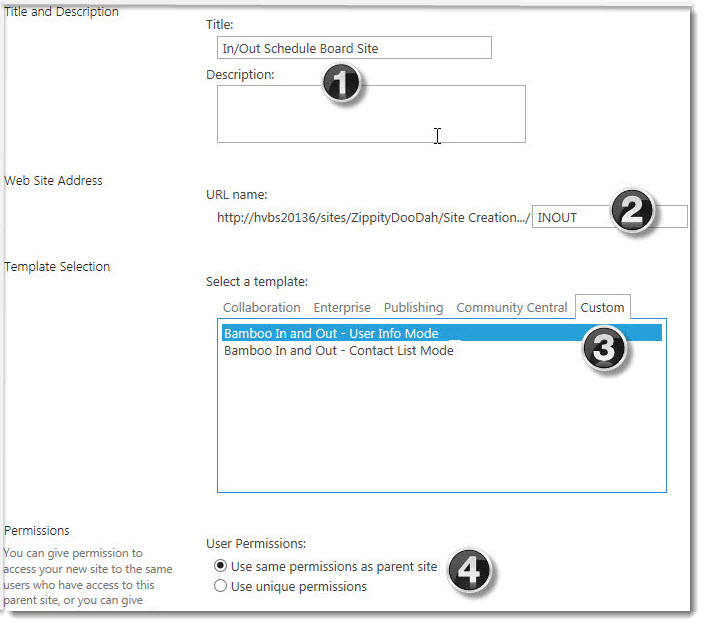
Start by creating the two sites
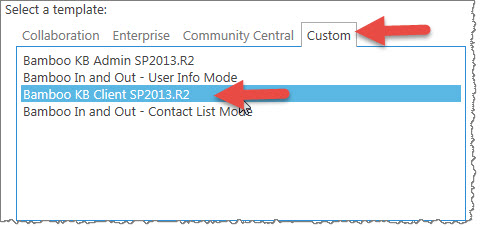
Next configure the KB Client Site
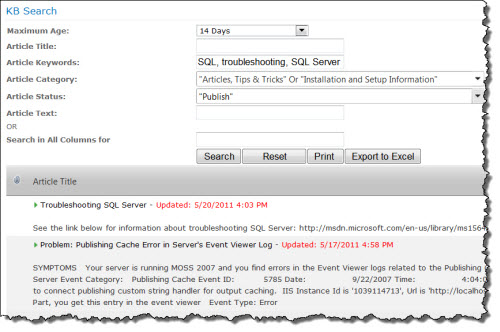
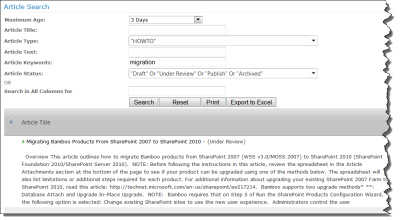
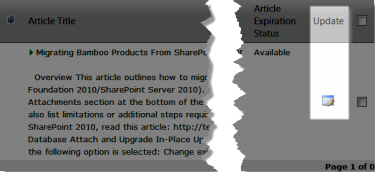
The KB Client site is where your end users will interact; e.g., submit questions to KB Administrators, view recently added articles or most popular articles, navigate content by category, search for and access articles directly from the search results, submit ratings and comments on published articles using a 5-star interactive graphic, export articles to PDF or e-mail articles to end users.
When establishing Knowledge Base within your environment, follow these steps for best results.
| Step | Action | Overview |
| 1. | Configure Tab View for KB Client | The Tab View web part is used on the front page of the site so you will want to get it configured right away. You may see a Bamboo error when you first create the site.  If you see this error, go to the site contents and open up the list called Bamboo KB Client Configuration and follow the steps here. |
| 4. | Configure the KB Ask a Question Web Part | By default, this web part will not be set up, so you need to configure it. |
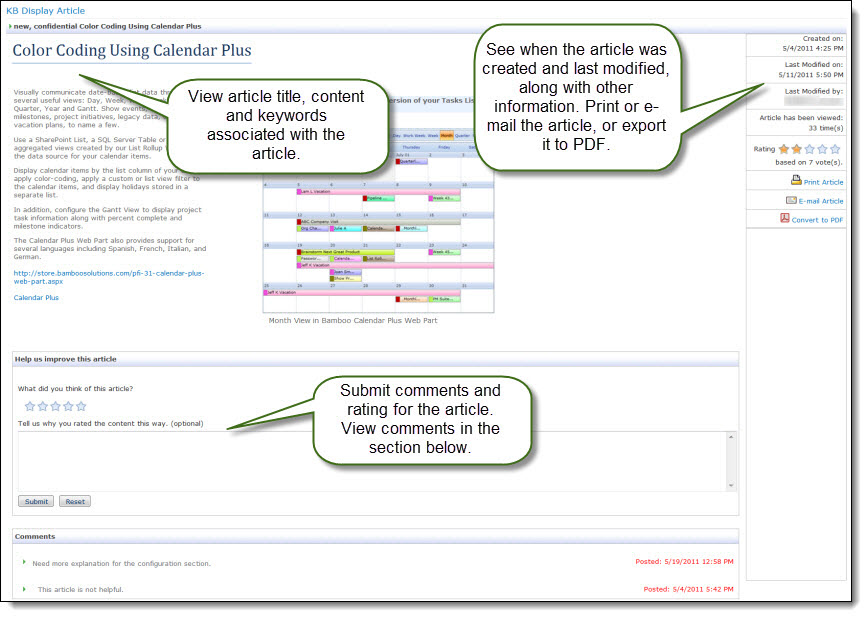
| 5. | Configure the KB Display Article Web Part | The Display Article Web Part allows articles to be viewed in an attractive format on a page. End users cannot view articles by navigating to the Display Article Web Part page. You need to edit the web part which resides on a page that Bamboo has stored in your Site Pages library. |
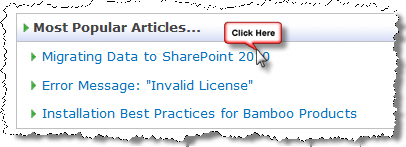
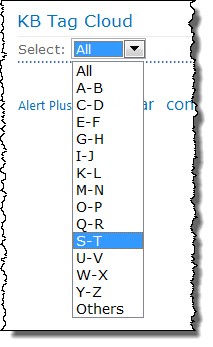
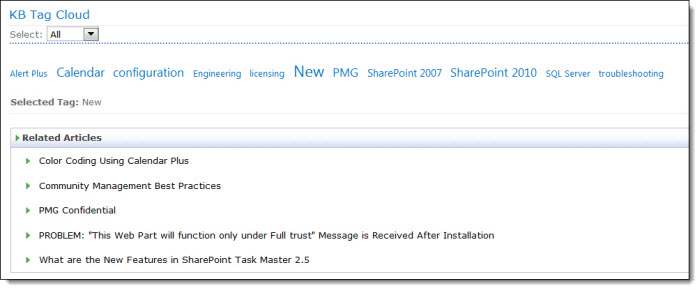
| 6. | Configure the KB Tag Cloud Web Part | The Bamboo KB Tag Cloud web part allows end users to locate articles that have been viewed the most times by clicking on a commonly used keyword (i.e. tag) from the tag cloud web part. |
| 7. | Configure the KB Admin Site URL | Edit the web part and input the URL to your admin site so the administrators of your knowledge base have a quick way to get to the content area of Knowledge Base. |
Lastly, configure the KB Admin Site
“KB Admin” is the term Bamboo labels the site but you will most certainly want to change the name of it, as well as some of the lists contained within the site, so as not to confuse your users. But throughout our documentation, just correlate Bamboo’s naming conventions to your environment.
- The KB Admin site is the site that contains all of the content which your users will access for contributing to lists; e.g., making comments, asking questions, posting, etc.
When you first create a Knowledge Base Admin site, it is empty so you need to start “seeding” the sites with some content. Use the links below as a checklist of things to accomplish in order to add some content so that users can begin interacting and continually add more content.
| Step | Action | Overview |
| 1. | Create the KB Admin Site | When you create a KB Admin site, there are many Bamboo KB Admin Site Lists and Web Parts that get built into the site which are helpful to know about as you begin to use it. |
| 2. | Configure the KB Client Site URL | Edit the web part and enter a URL to the client site. |
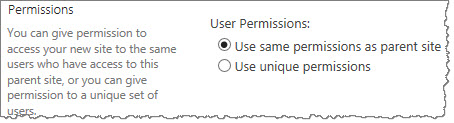
| 3. | Security Trimming | Read this article to understand whether or not you want to set up anonymous access. |
| 4. | Configure the Group Redirect Web Part | When non-administrators of Knowledge Base reach the admin site, this web part will re-direct them to the client site. |
| 5. | Configure Search for Knowledge Base | Several search options are available to your Knowledge Base users, but you first have to configure them to work in your environment. |
| 5. | Configure the KB Configuration List | Configure the email address for your designated account. |
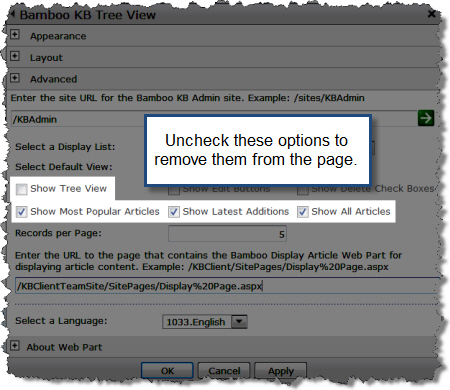
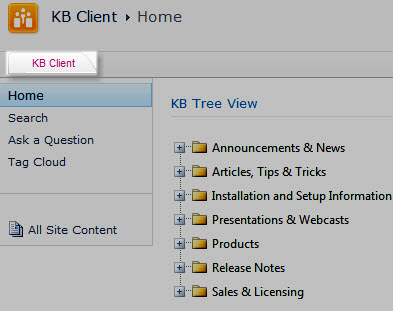
| 6. | Configure the KB Tree View Web Part | You need to configure this web part to suit your environment. |
| 7. | Configure the KB Ask a Question Web Part | This is the web part that holds questions submitted by end users. |
| 8. | Configure the KB Answer Questions Web Part | Answer Questions is a data view of the questions that end users have submitted. It shows the number of replies for each question, the answer status for the question, whether or not the question needs to be turned into a KB, and a list of available actions, such as Answer Question, Mark as Answered and Edit. |
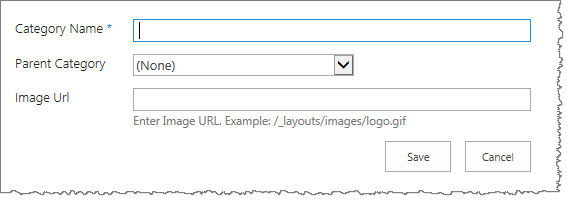
| 9. | Category Control | Each question and article can be categorized based on your environment; this list houses the categories. |
| 10. | Manage Pending Questions | Pending Questions displays the Bamboo Article Questions and Answers List, which contains questions that end users have submitted to Knowledge Base Administrators. |
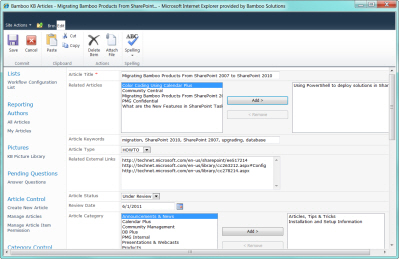
| 11. | Create an Article | Before you can use the KB Client site, you must create articles in the KB Admin site. |
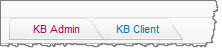
The KB Admin and KB Client sites are linked in Navigator Tabs located in the same site for easy, centralized access. These tabs are can be displayed at the top of both sites.
Also see:
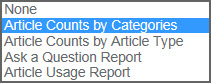 The KB Admin site’s Reporting feature allows Knowledge Base administrator to view data about Knowledge Base articles via charts, including each report below. Just click a report to see a description of the report and how to configure the tool pane to get what you want from it.
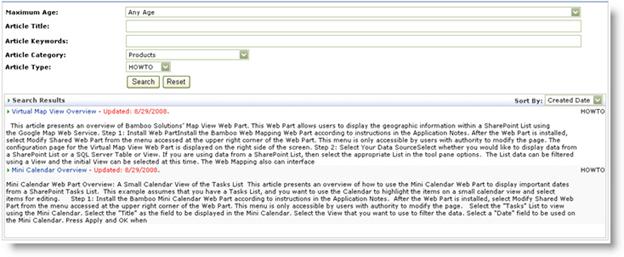
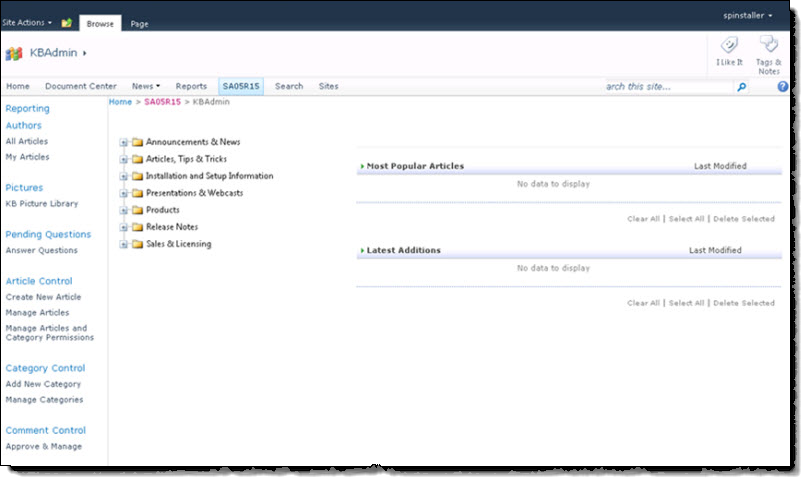
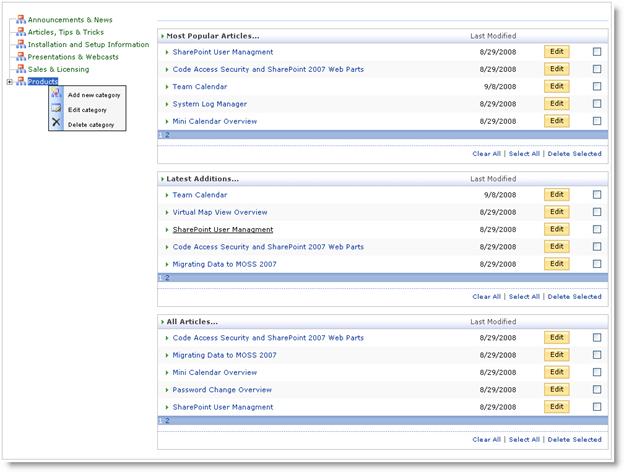 Use the navigation sidebar in the KBSA Admin Site to create and manage articles, answer users’ questions, manage article images, approve and manage users’ comments, and create and manage Knowledge Base categories.
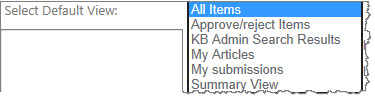
 The Authors feature lists all articles or articles written by the logged-in user along with data view/grid view. Administrators can sort, filter and edit in datasheet view.
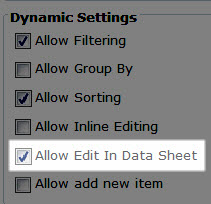 Using the view, you can sort, filter, and make changes in datasheet view by selecting the Edit in Data Sheet option in the tool pane.
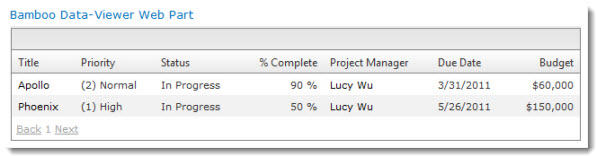 This example shows Data-Viewer configured to display data from a SharePoint list, without other dynamic or conditional formatting.
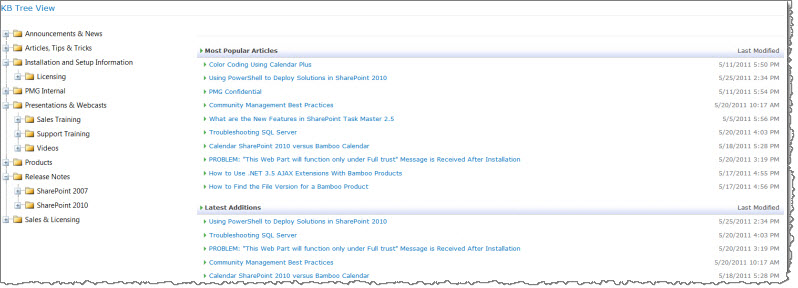

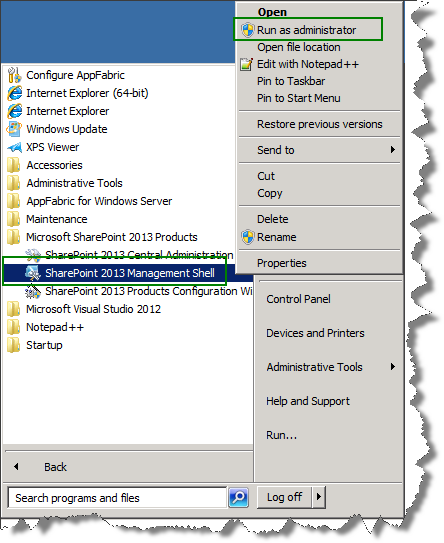
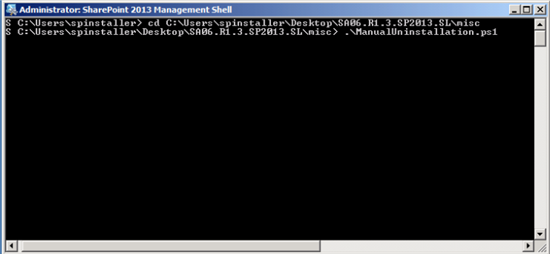
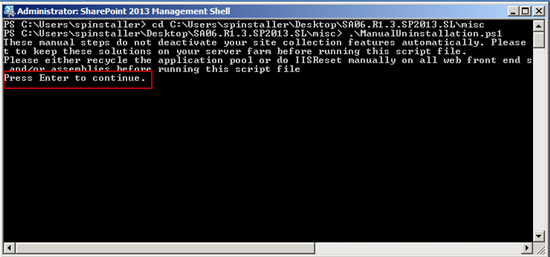
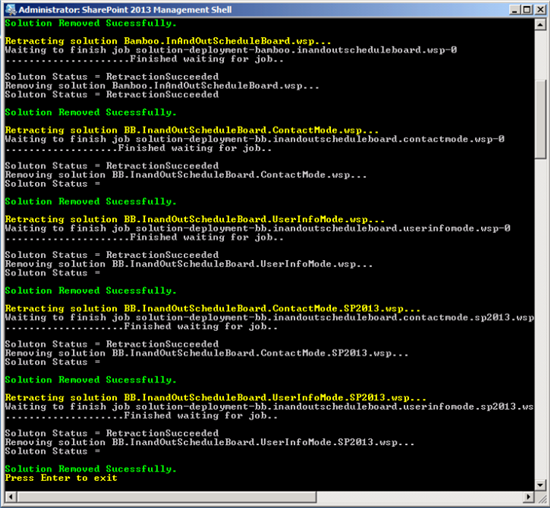
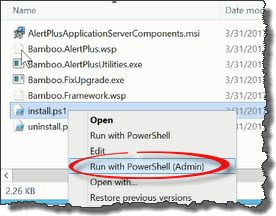 Run the Install.ps1 from a WFE server in PowerShell as an admin.
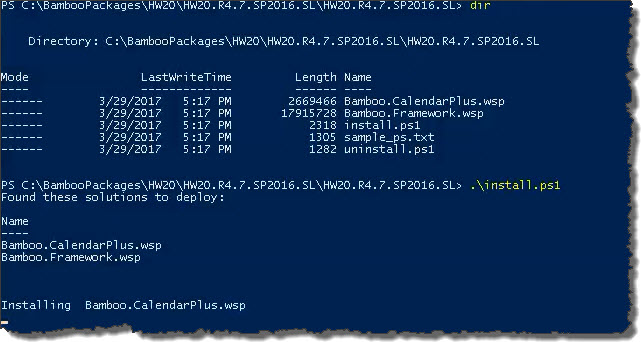 The script will look for WSPs in the install folder and list those found. It will install them in alpha order.


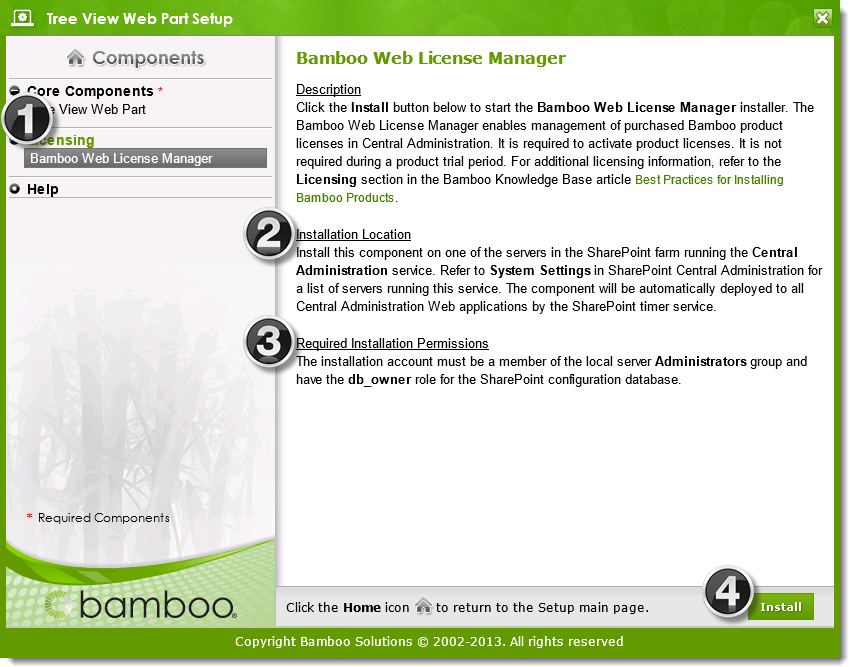
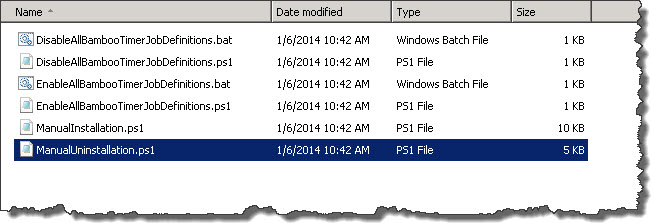
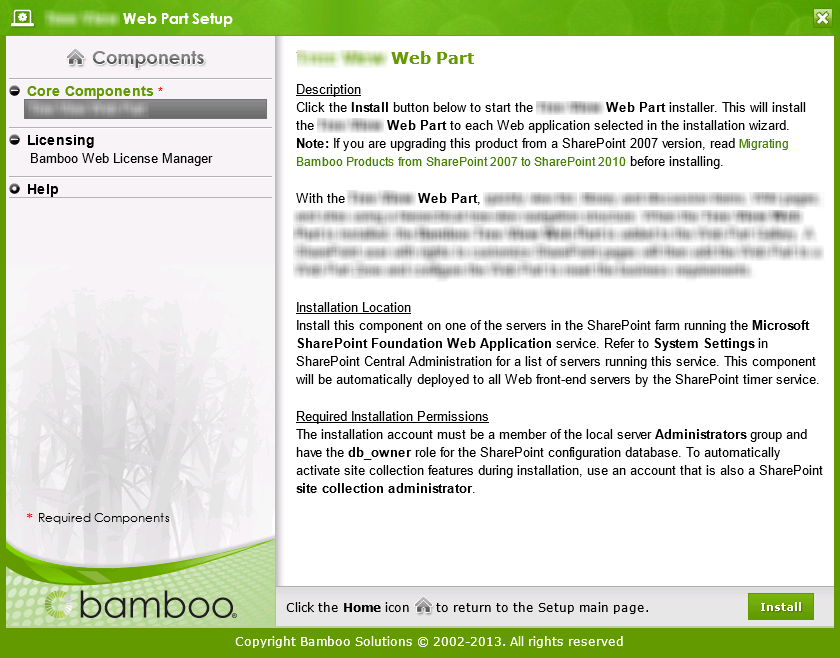 Double-click the product EXE file to extract the contents of the product download.
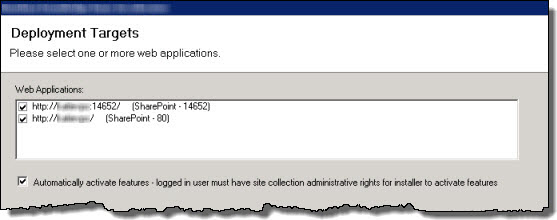

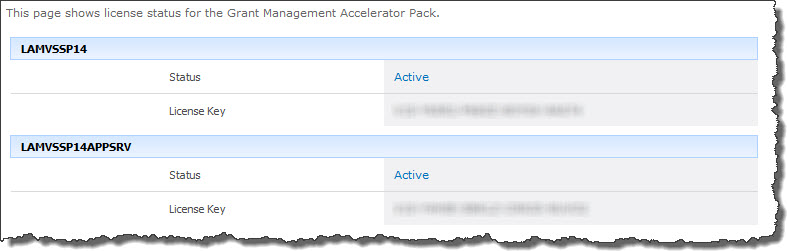
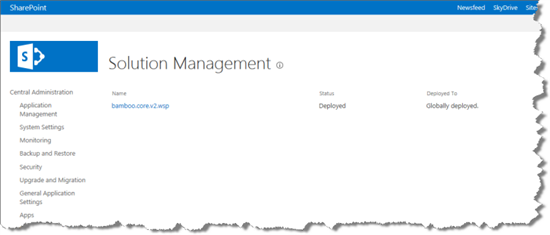


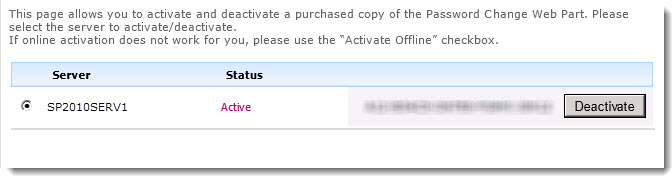
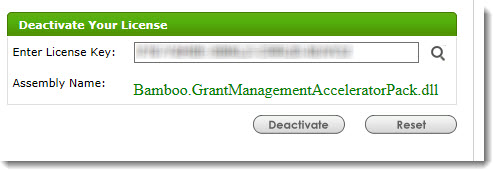
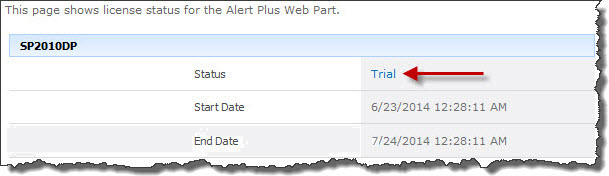
 ). The Assembly Name licensed with this key will be displayed. Ensure it is the product you expect and then click Deactivate.
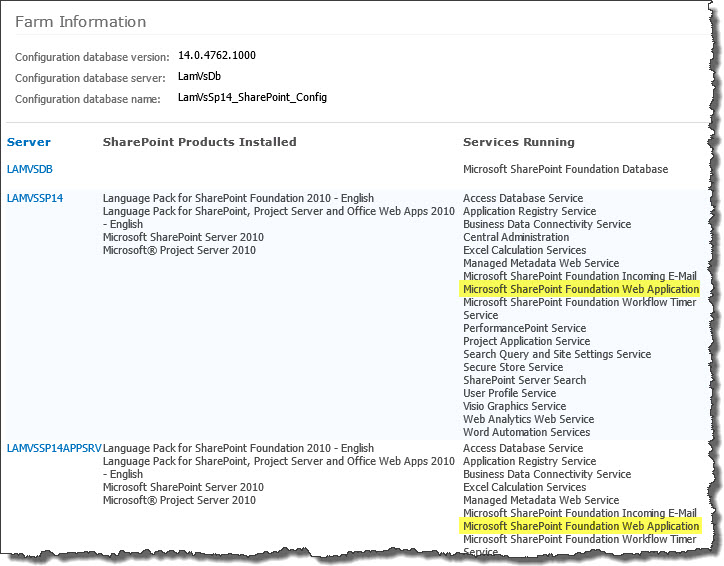 To determine which servers on the farm run these services, go to Central Administration > System Settings > and then Manage servers in this farm. If you are using WSSv3/MOSS, this page is accessed in Central Administration through Operations > Servers in Farm. In this example, there are two WFE servers on the farm.


 Knowledge Base: Share knowledge. Save time and costs through self service. More features. No code.

 SharePoint 2013:
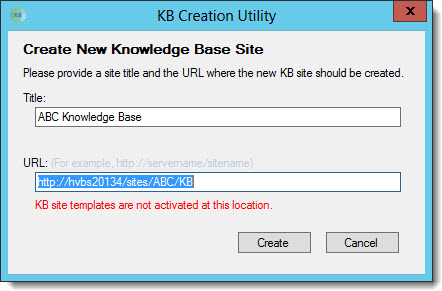 When you run the
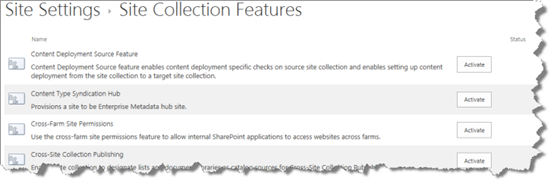
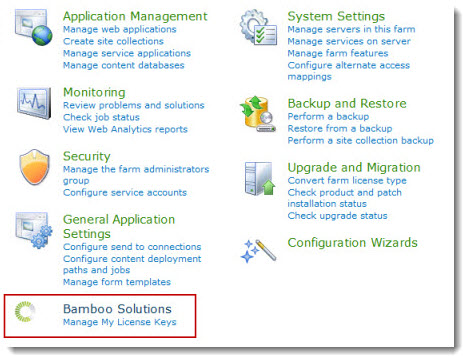
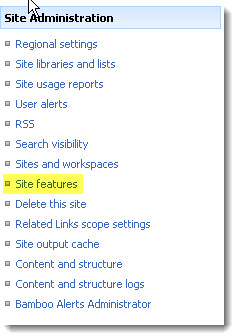
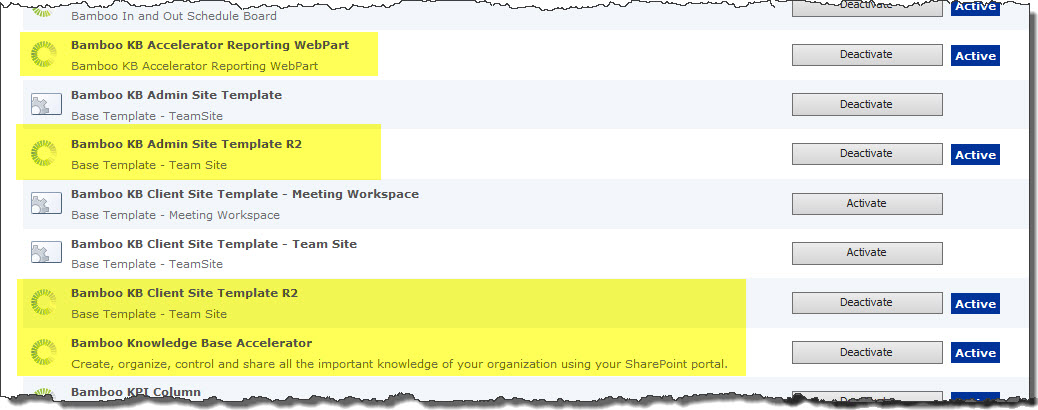
 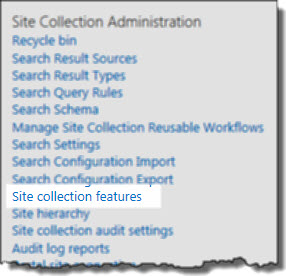 From the top level/root site of the site collection where you want to create the KB site, go to Site Settings and then Site collection features under the Site Collection Administration heading.
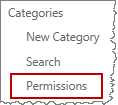
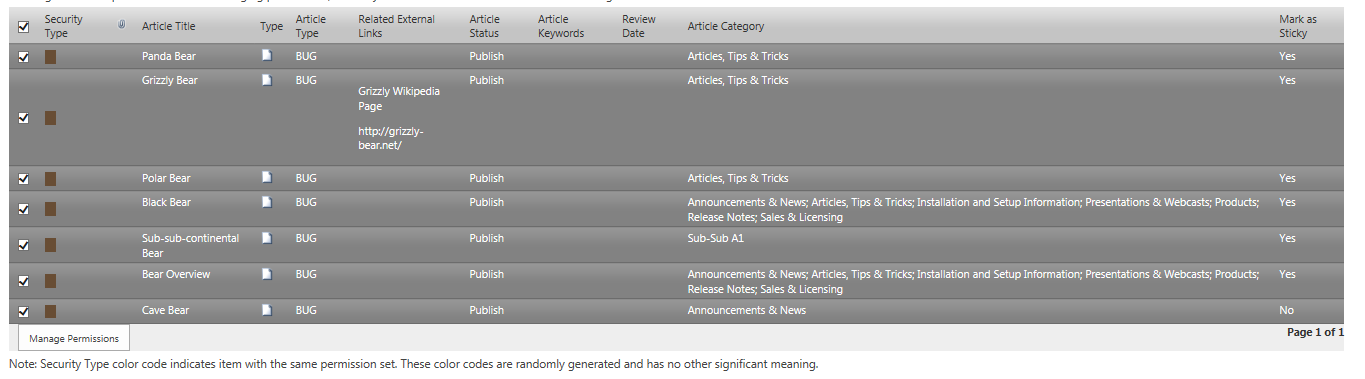
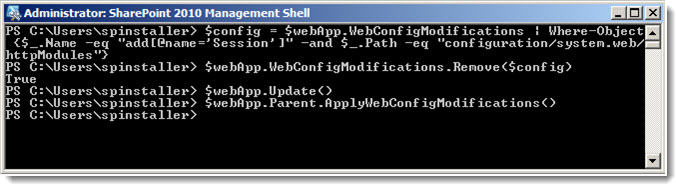
 SharePoint groups with Limited Access should already have access to the KB Client site’s Bamboo Navigators List. Administrators can remove this group’s permission to the KB Admin site by performing the steps below:
 Beyond what is visible to the end users in Knowledge Base, your KB administrator may want to control who has access to write the articles, review articles and publish them. These are the processes and business intelligence that go beyond the tool and are important considerations to think through before exposing a tool across the enterprise.
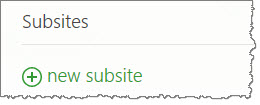
 SharePoint 2010