| Options for Installing |
|---|
IMPORTANT: As of April 2017, Bamboo no longer includes ManualInstallation.ps1 or DisableAllBambooTimerJobDefinitions.bat in product download packages. An updated uninstall script is included instead. Please seeOverview of the Updated Installation Process for Bamboo components and Uninstalling using the updated process for details.
Perform the actions below to manually install or repair a product.
NOTE: Pay close attention to where a command should be run. Some commands must be run on either ONE or ALL Web front-end servers (WFE). A WFE is a server running the Microsoft SharePoint Foundation Web Application service. Refer to the System Settings > Manage Servers on this farm page in Central Administration for a list of servers running this service.
| Step | Action |
|---|---|
| 1. |
Shut down the application pools for each Web application where you are installing the product. This will prevent other users from accessing sites and locking files that the installation script needs to update.
|
| 2. |
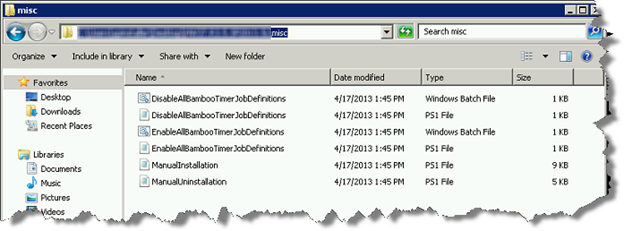
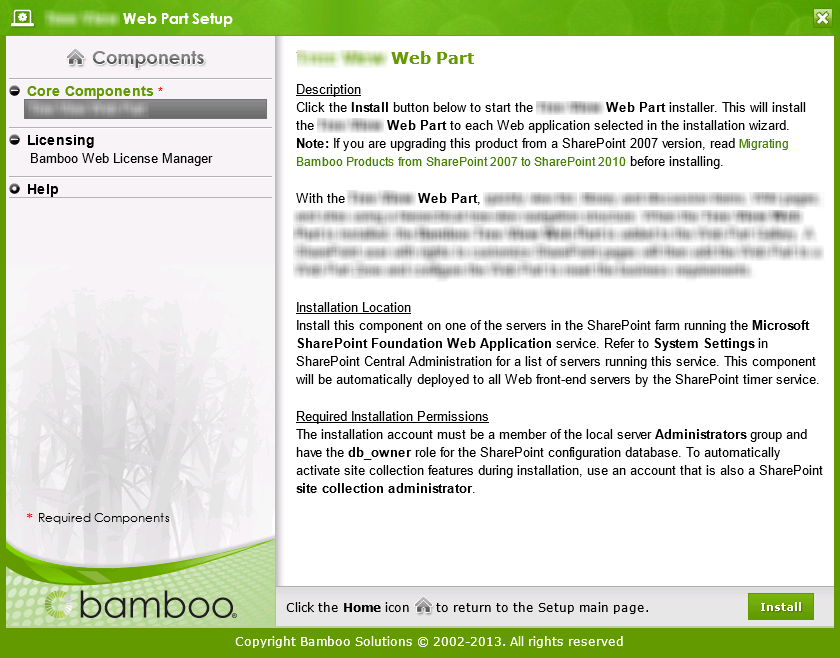
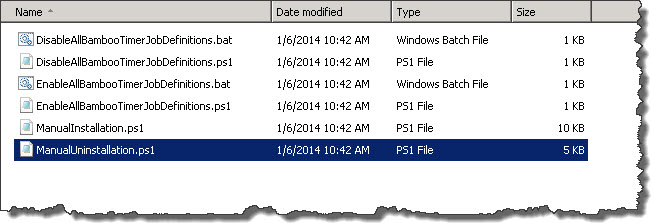
On one Web front-end server (WFE), run the product .EXE file to extract its installation files. Browse to the misc folder.
|
| 3. |
|
| 4. |
On all WFE servers in the farm, perform the following actions:
|
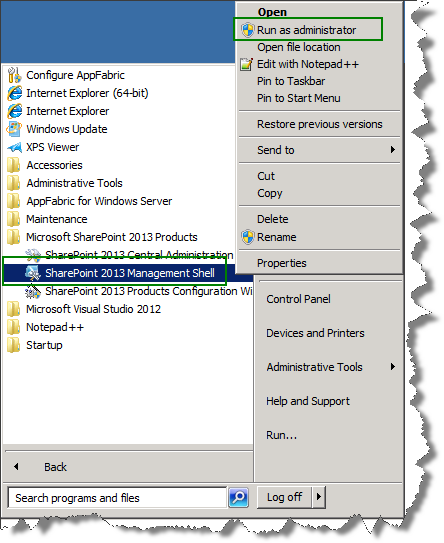
| 5. | 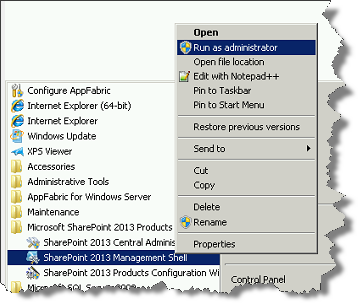 On the WFE where you extracted the product folders, right-click on the PowerShell application in the Start menu and choose Run as administrator. You can use Windows PowerShell or SharePoint 2013 Management Shell. On the WFE where you extracted the product folders, right-click on the PowerShell application in the Start menu and choose Run as administrator. You can use Windows PowerShell or SharePoint 2013 Management Shell. |
| 6. |
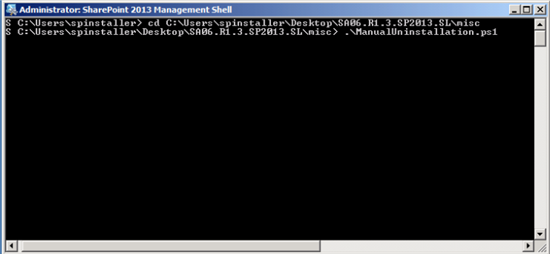
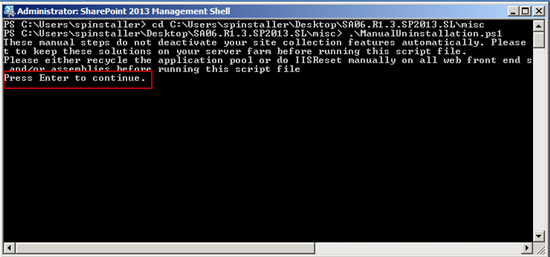
Change to the misc folder in the extracted product installation files and enter the following command to start the manual installation script:
|
| 7. |
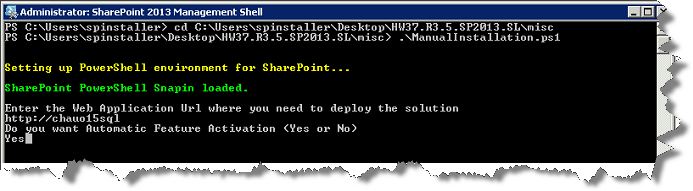
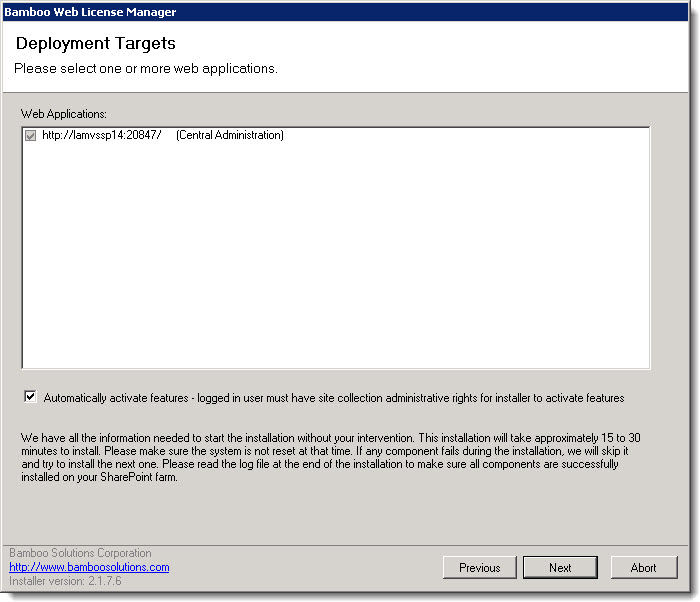
When prompted, enter the Web application URL and choose whether you want to automatically activate the product features in the site collection(s).
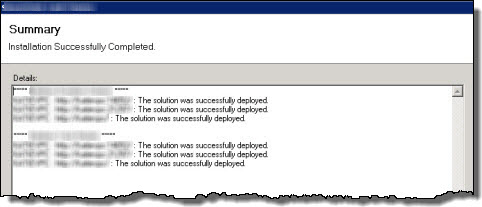
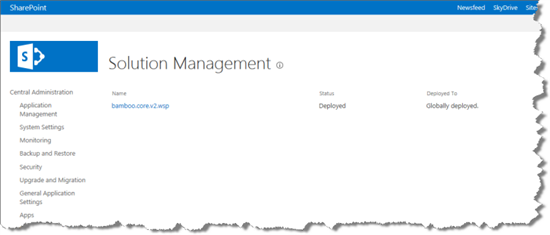
The script file installs Bamboo.Core.V2.wsp and Bamboo.Logging.V2.wsp, if they are not already in the solution store, and any required product components. |
| 8. |
|
| 9. | Re-start the Application pools. |
| 10. |
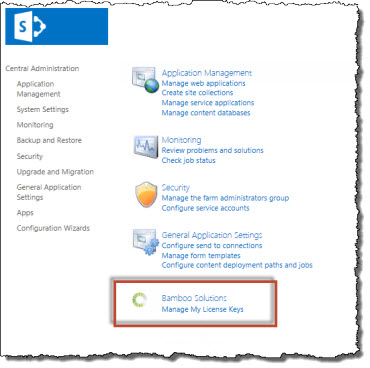
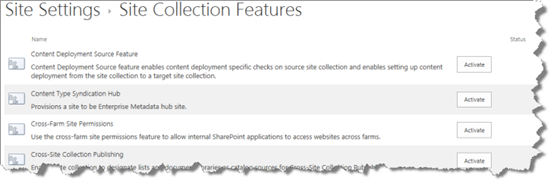
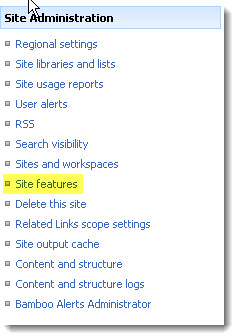
Manually Activate the Product Feature(s) in the appropriate Site Collection(s) If you didn’t choose to activate site collection features automatically in step 7 above, don’t forget to activate those features in the site collections where you want to use them. After a Bamboo product solution is deployed to a Web Application, it’s feature(s) must be activated in the site collection before it can be used. When you are ready to activate the site collection feature, please see Activating a Bamboo Site Collection Feature.
|
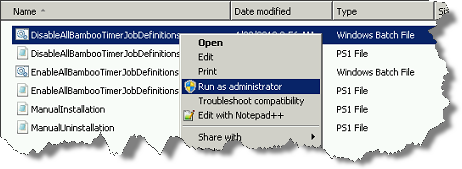 Right-click on the file DisableAllBambooTimerJobDefinitions.bat and choose Run as administrator. This script stops the timer job services for all Bamboo products installed on the farm, helping to put the farm in a quiescent state for the install.
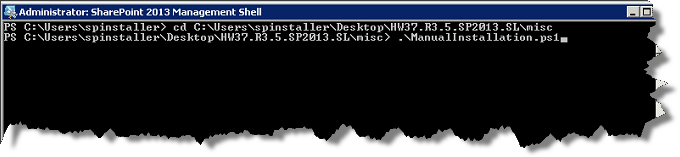

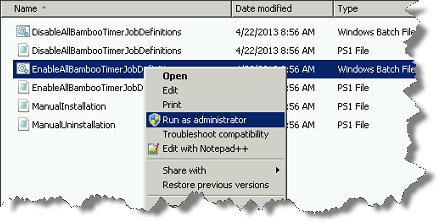 Return to the misc folder. Right-click on EnableAllBambooTimerJobDefinitions.bat and choose Run as administrator. This enables all Bamboo timer job services.
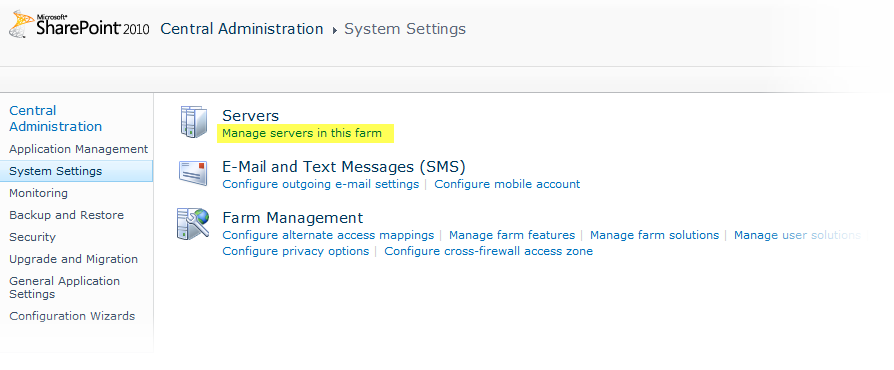


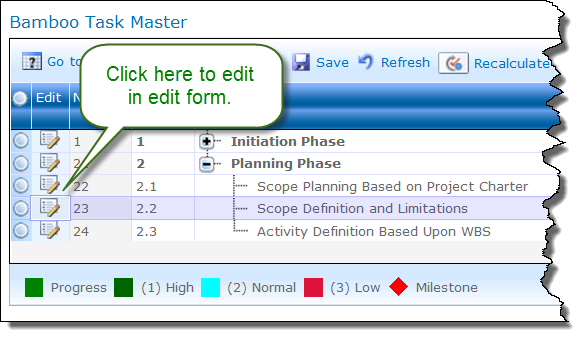
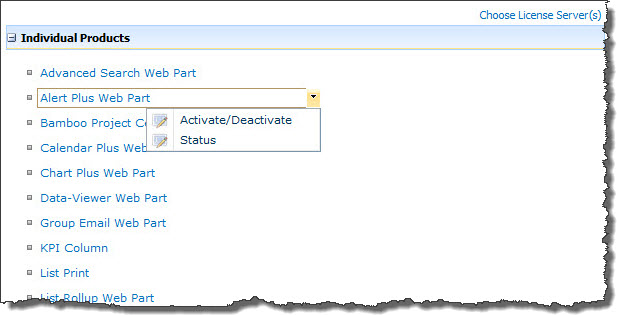
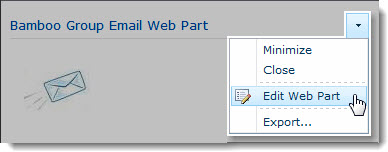 Click the edit drop-down menu on the Web Part title bar and select Edit Web Part (or Modify Shared Web Part if you are using SharePoint 2007). See the example from the Group Email Web Part.
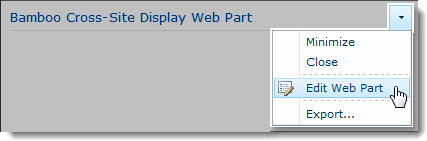 Click the edit drop-down menu on the Web Part title bar and select Edit Web Part (or Modify Shared Web Part if you are using SharePoint 2007).
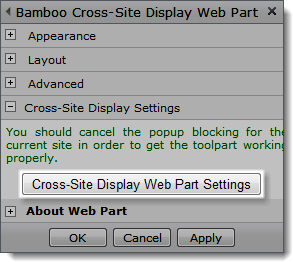 Click the [Product] Settings button in the Web Part tool pane.
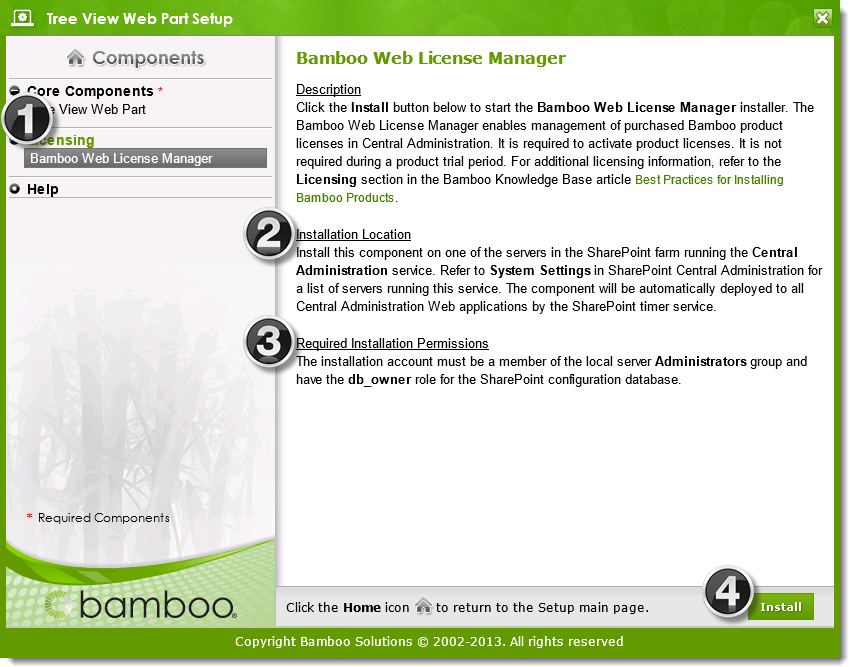
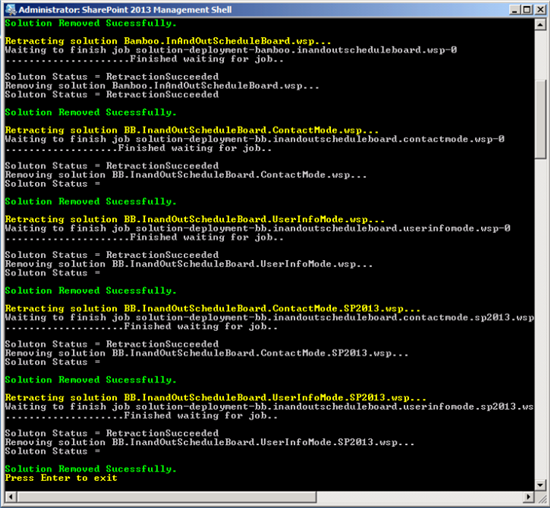
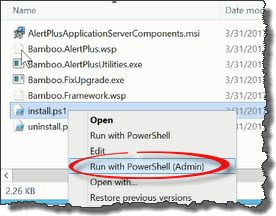 Run the Install.ps1 from a WFE server in PowerShell as an admin.
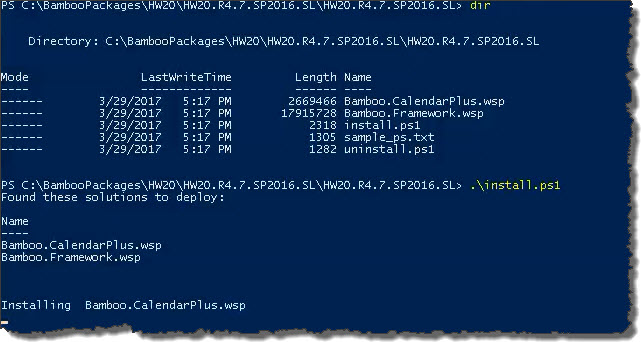 The script will look for WSPs in the install folder and list those found. It will install them in alpha order.

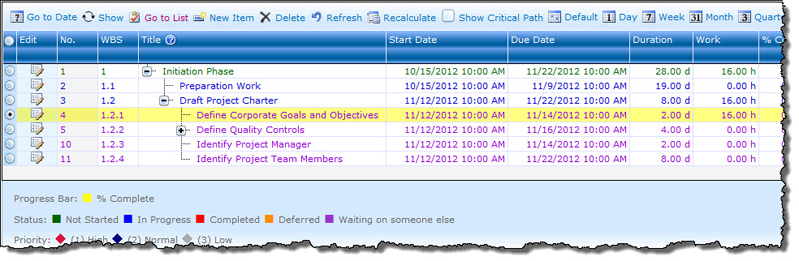


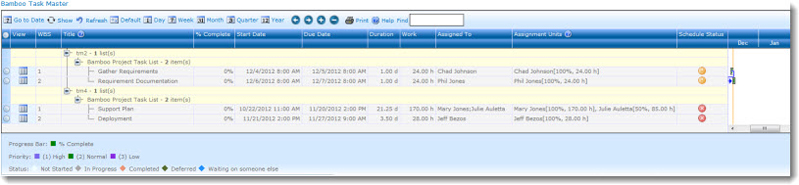
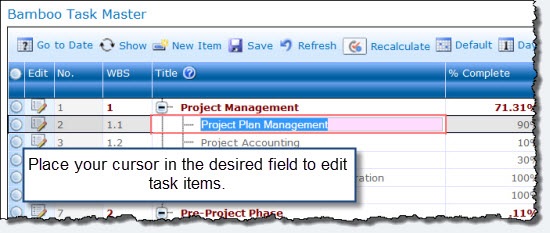
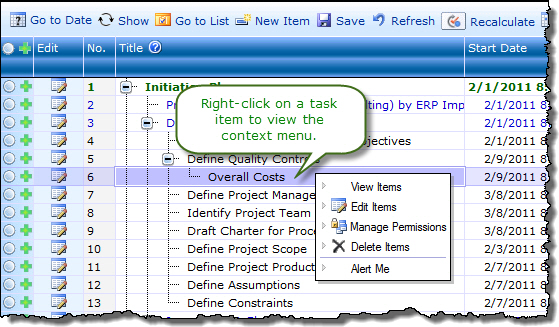
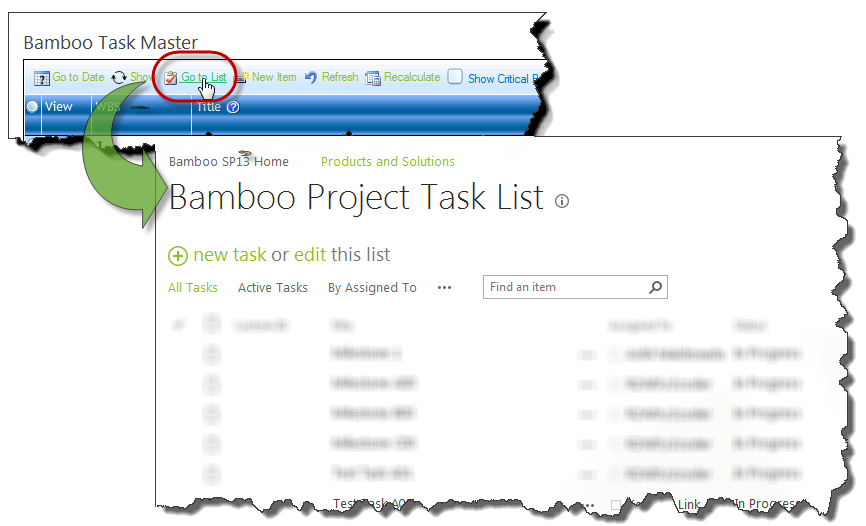 To view the task list in SharePoint list view instead of in Task Master, click the Go to List option in the Task Master toolbar menu.
 In Task Master Release 3.5 for SharePoint 2010 and SharePoint 2013, there is a new Find search function in the toolbar menu. This is helpful if you have a lot of tasks and want to quickly see a subset of tasks that are related.
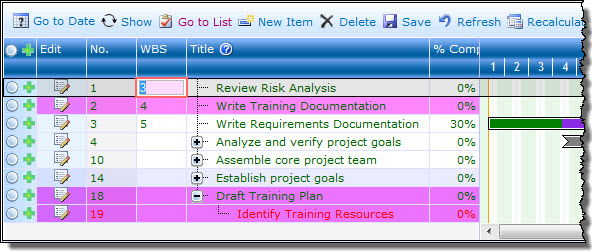
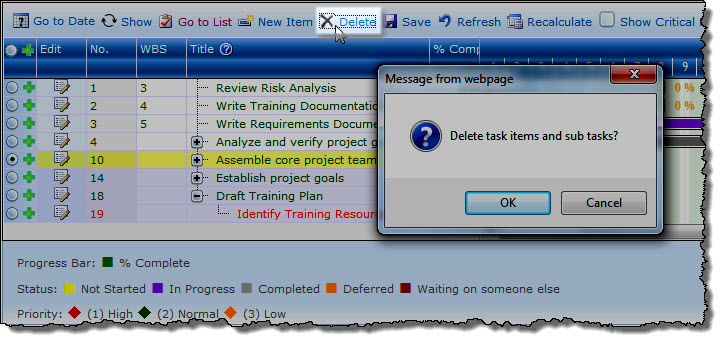
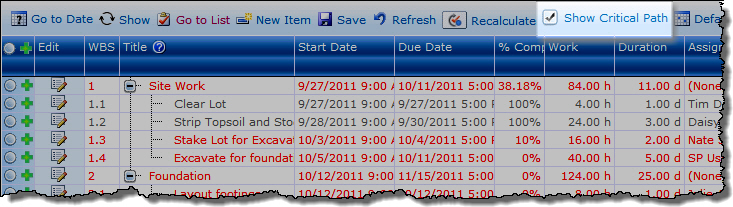 The Show Critical Path feature highlights all tasks in the critical path in red in the task grid and the Gantt chart. Tasks in the critical path are those tasks that cannot be delayed without affecting the project finish date: tasks in the critical path have zero slack. To return to the standard grid/Gantt view, uncheck the Show Critical Path option.
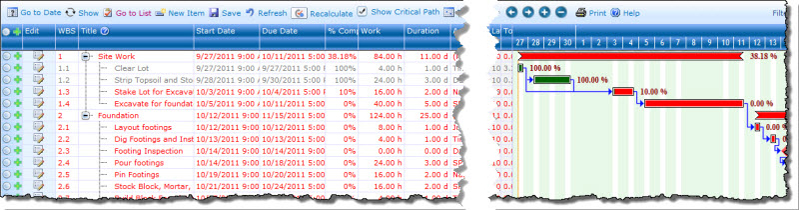
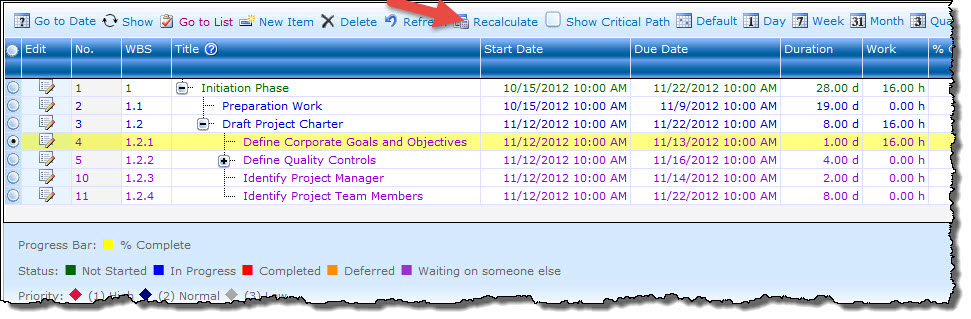
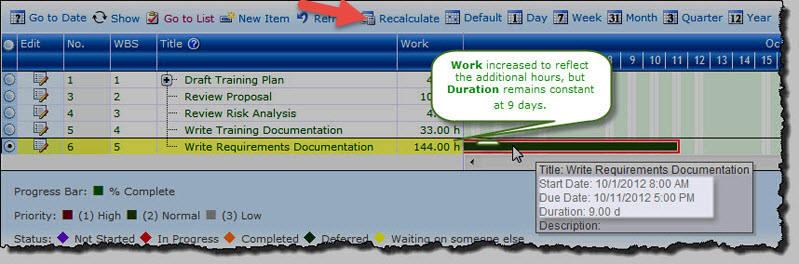
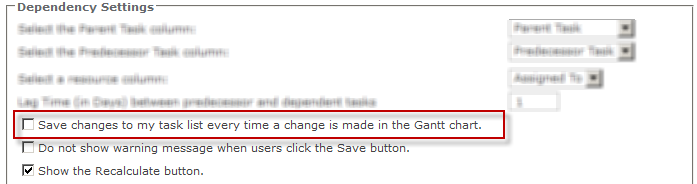
 You can undo recent changes that you have made to your task items using the Save and Refresh options located on the Task Master toolbar. Clicking Refresh will undo changes you have made since the last time you saved. The Refresh option saves you time because you do not have to manually edit one or multiple task items in order to undo changes that you no longer want or need.
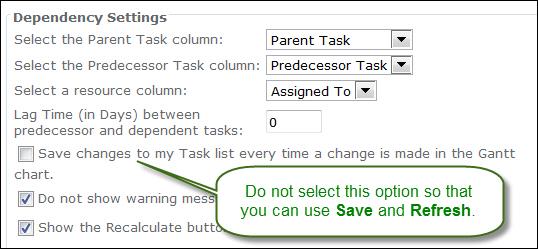


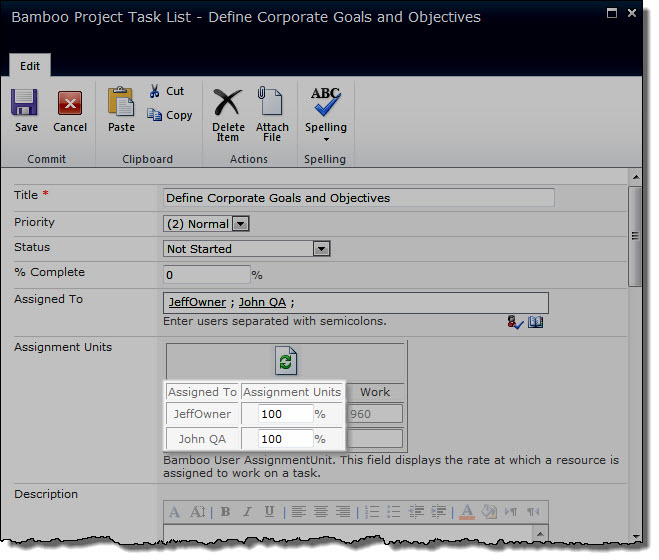
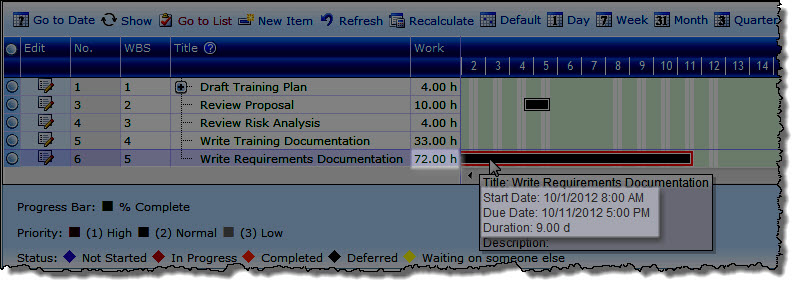
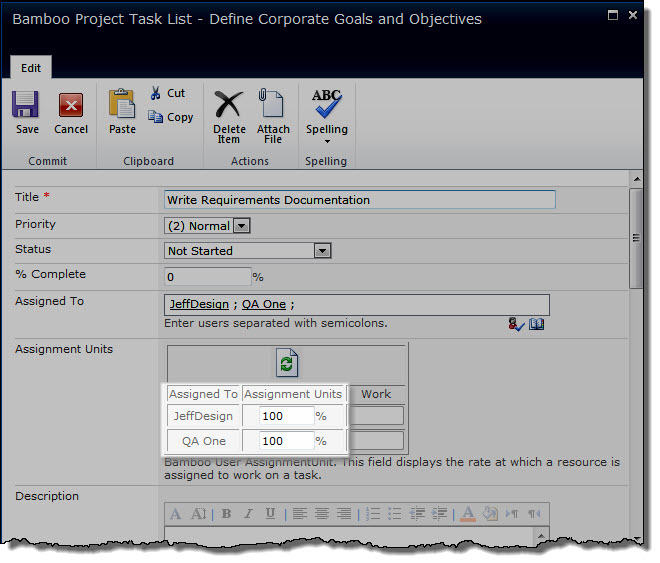
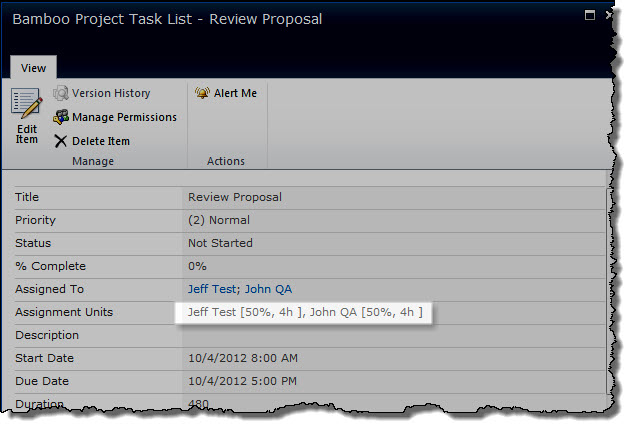
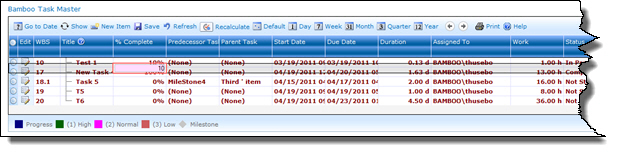
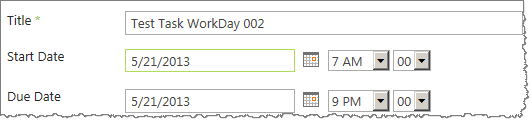
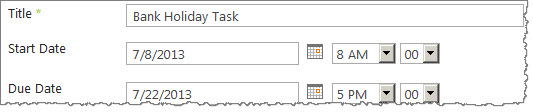
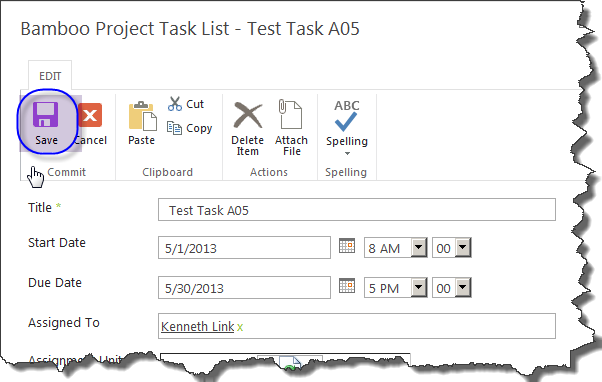 When creating a new task, Task Master will save only the data in fields that were completed and saved using the SAVE button in the new item form.
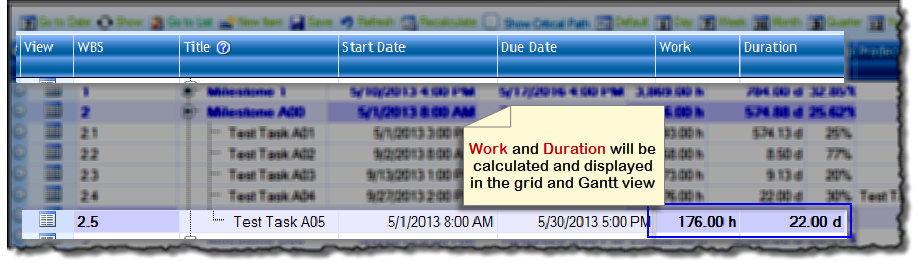 For example, if you create a new task item and enter values for Start Date, Due Date and Assigned To, the data will be saved when the SAVE button on the form is clicked. Task Master then calculates Duration and Work and displays them in the grid and Gantt views.
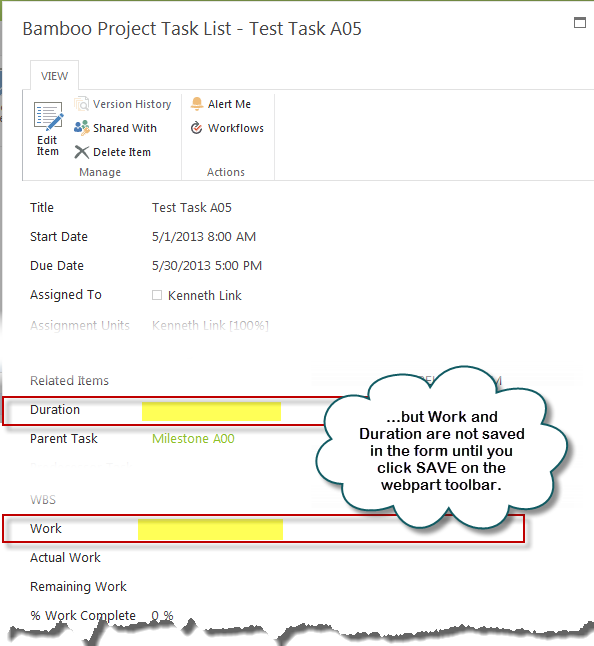

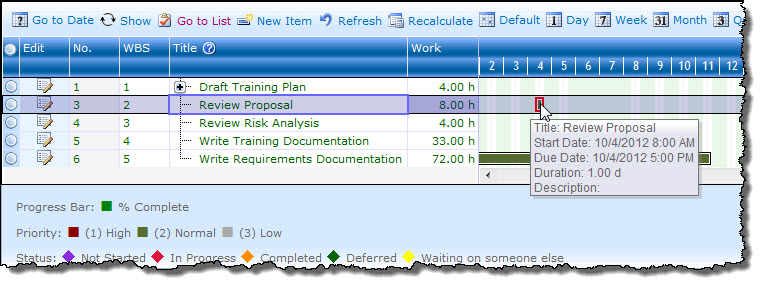
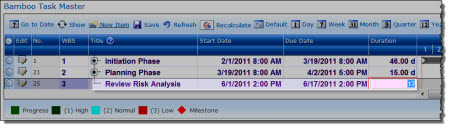
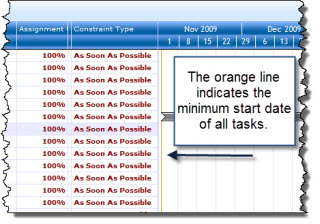 The Task Master Gantt view automatically displays an orange line to show the minimum start date of all tasks (the project start date) and the maximum end date of all tasks (the project finish date).
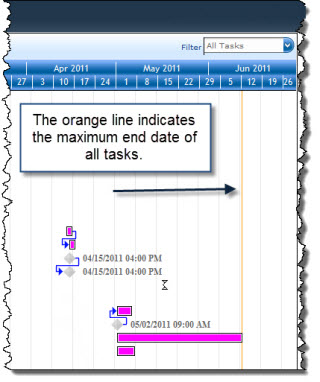
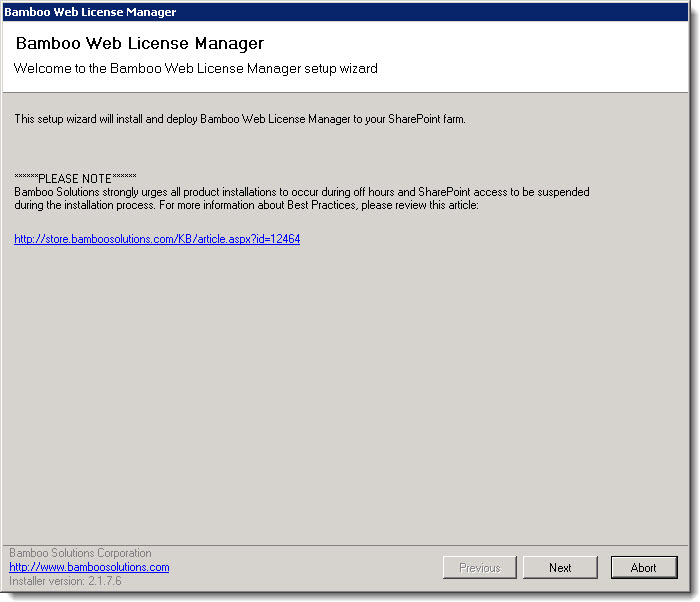
 Double-click the product EXE file to extract the contents of the product download.
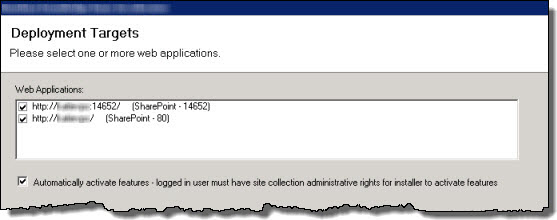

 in front of the existing task.
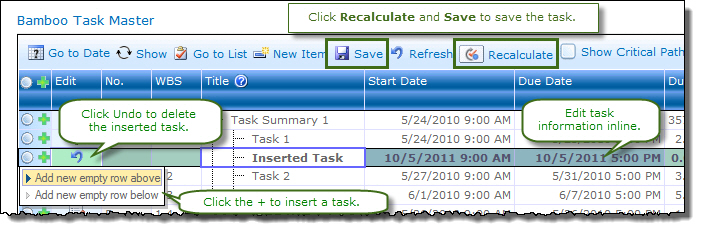

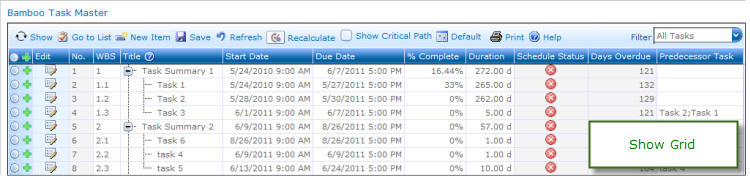 In Task Master, you can display tasks in grid view, Gantt view, or both. Change the Show Grid and/or Show Gantt options in the Display Settings section of the Web Part properties.
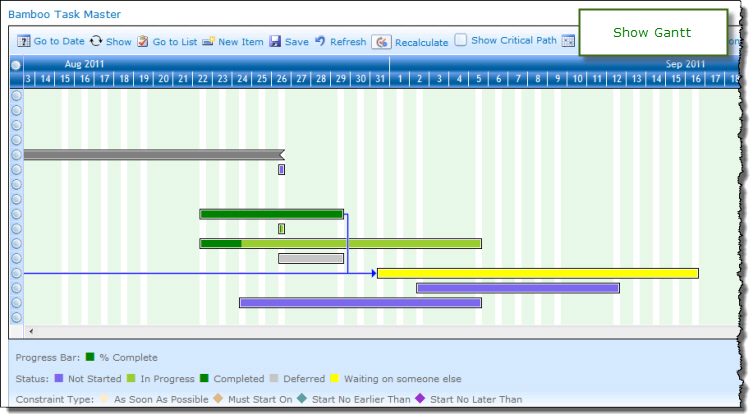

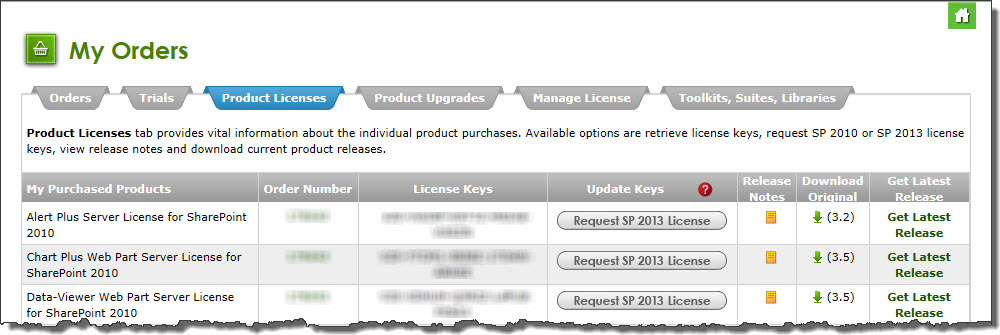
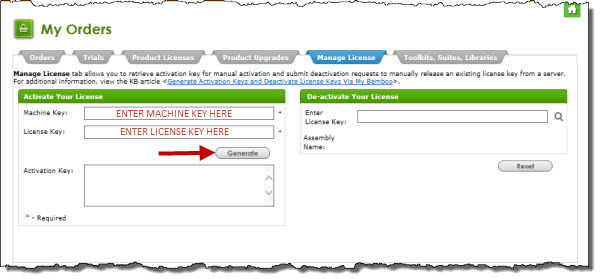
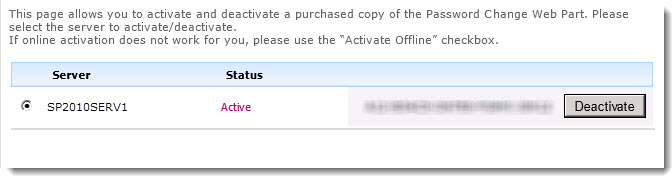
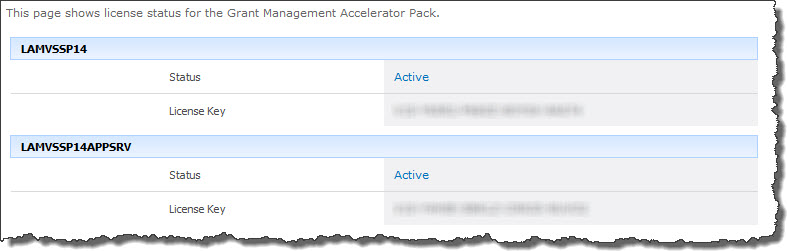
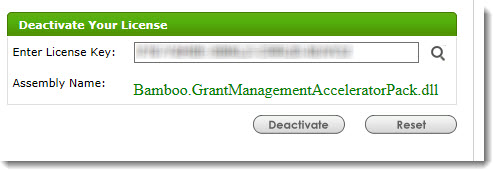
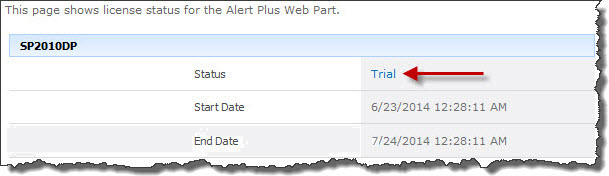
 ). The Assembly Name licensed with this key will be displayed. Ensure it is the product you expect and then click Deactivate.
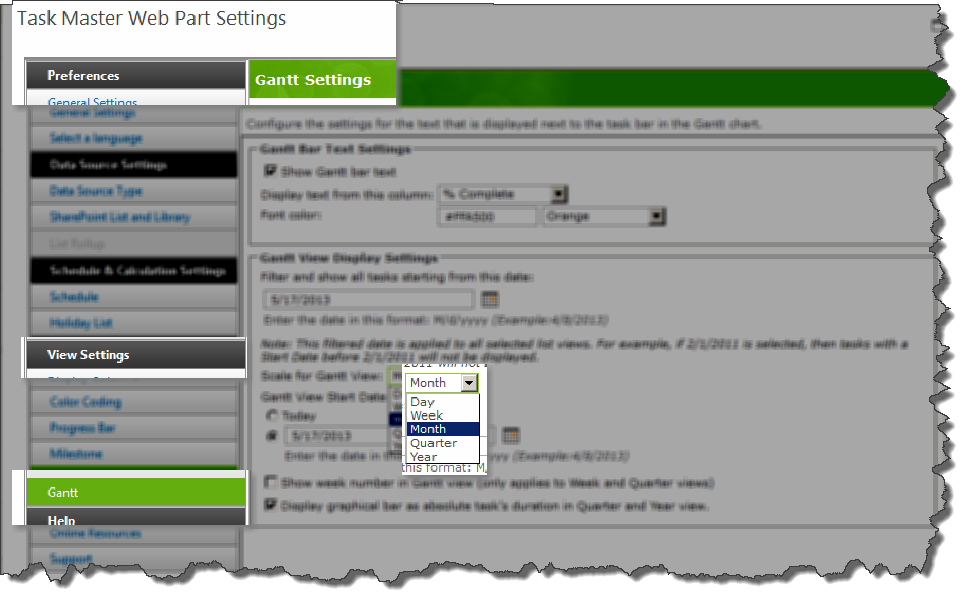 The Task Master Gantt view defaults to the current day, week, month, quarter or year view, depending on what is configured in the tool pane under Gantt View Display Settings > Scale for Gantt View.
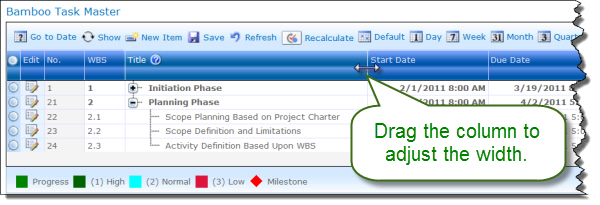 The columns displayed in the grid view of Task Master can be adjusted to the desired width.
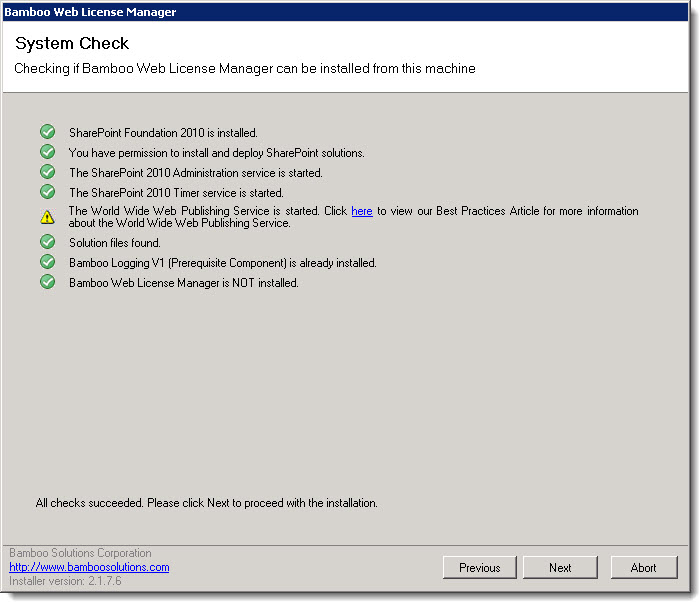
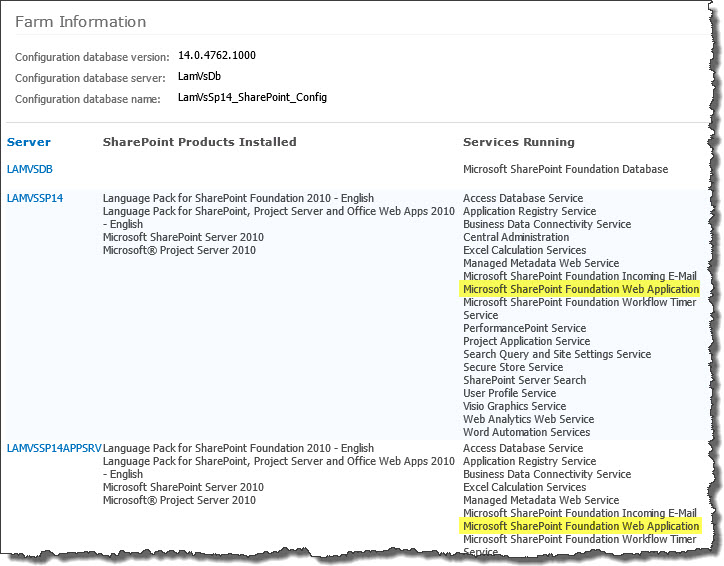 To determine which servers on the farm run these services, go to Central Administration > System Settings > and then Manage servers in this farm. If you are using WSSv3/MOSS, this page is accessed in Central Administration through Operations > Servers in Farm. In this example, there are two WFE servers on the farm.


 No more guessing when your projects will deliver.
 SharePoint 2013:
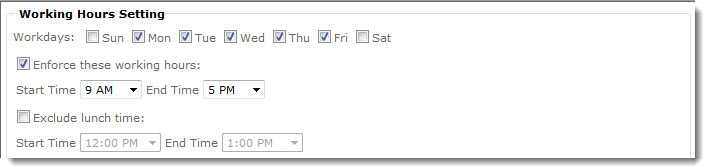

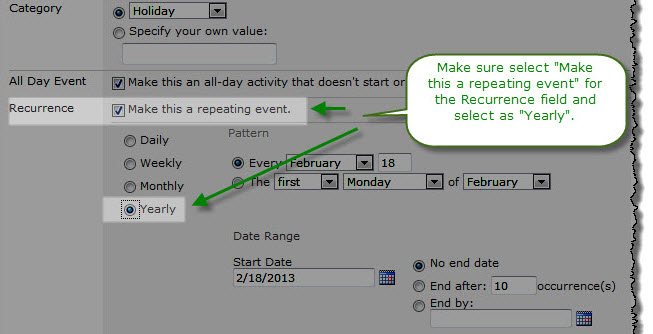 In Task Master R3.0 and higher, holidays can be excluded from task scheduling. To exclude holidays, first configure a SharePoint Calendar list with the holidays observed by your project team. Holidays must be configured as Yearly events; Task Master will ignore any other events on the Calendar.
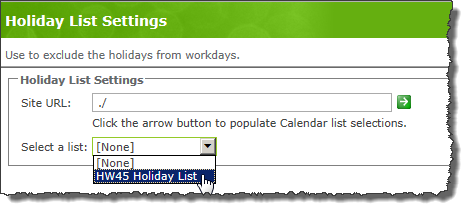

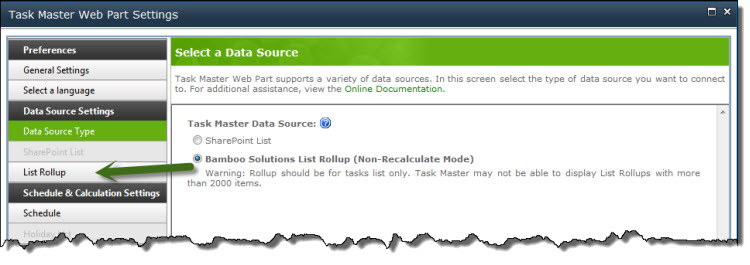 Task Master only works with version 6.0 of List Rollup and List Rollup Schema Designer. For more information about creating Data Views and Schemas, see the