Configure Cost Tracking for PMC
When you enable cost tracking in Time Tracking and Management (TTM), TTM uses the labor rates assigned to cost codes to calculate the cost of work submitted in timesheets for each task. You can configure labor rates in TTM, or you can use labor rates from PM Central. Read the topics below to learn how to track costs for PM Central tasks and resources.
- Select a data source for labor rates
- Enter labor rates for project tasks
- Enter labor rates for administrative tasks
- View actual cost in PM Central (opens new topic)
Select a data source for labor rates
When you enable cost tracking in TTM, you must select where to obtain the labor rates for cost calculations. You can obtain labor rates from the TTM Cost Tracking list or you can use the Standard Rate for each resource in the PM Central Enterprise Resource Pool (ERP).
- If you use the rates from the Cost Tracking list, you can define internal and billable rates to allow you to track the internal cost of labor vs. the billable cost.
- If you use the Standard Rate field from the ERP, the same rate is used for internal and billable cost calculations.
NOTE: Labor rates for tasks in the Administrative Time list are always obtained from the Cost Tracking list, no matter which labor rate source you use.
To use the Standard Rate from the PM Central ERP for project tasks, perform the configuration steps provided in the
Make sure to select the following options:
- In the Select Labor Rate Source section, select the Project Management Central option.
In the Copy Cost Data to PM Central section, check the option to Copy Actual Cost to the PM Central Tasks list. This setting is optional, but you must select it if you want to view actual cost in PM Central projects and reports later.
To define labor rates in the Cost Tracking list instead, perform the steps provided in the topic, but select Time Tracking and Management as the labor rate source.
Top
Enter labor rates for project tasks
Entering labor rates if your labor rate source is Project Management Central
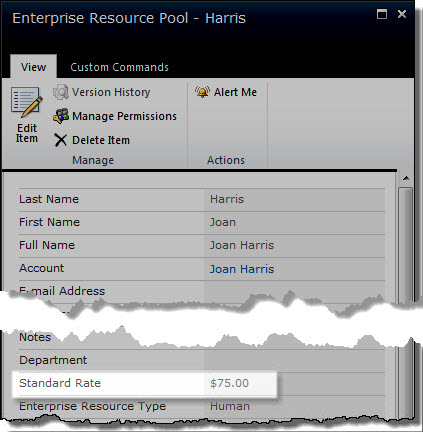 To use labor rates from PM Central, enter a Standard Rate for each resource in the PM Central Enterprise Resource Pool. This rate will be used for internal and billable cost calculations. The rate from the ERP will be used for all project tasks assigned to that resource in any project.
After entering a labor rate, you must configure and assign cost codes before the rate can be used for cost calculations. See the instructions provided in the Creating Cost Codesand Assigning Cost Codes to Resources documentation for more information.
Top
Enter labor rates for administrative tasks
No matter which data source you select for labor rates, the labor rates for tasks in the Administrative Time list always come from the Cost Tracking list. To assign labor rates for Administrative Time tasks, perform the steps below. If you do not want to track costs for administrative tasks, you can skip these steps. Administrative task costs are not copied to PM Central, but reports in the TTM Report Center include cost data for these tasks.
Create tasks in the Administrative Time list. Select the Billable option on each task that you want to track costs for. If you want to track costs for some tasks and not others, select the Billable option only for the tasks you want to track.
Create cost codes for administrative tasks using the instructions provided in Creating Cost Codes.
Enter labor rates for each administrative cost code using the instructions provided in Entering Labor Rates.
Assign cost codes to ERP resources using the instructions in the Assigning Cost Codes to PM Central ERP Resources section of Assigning Cost Codes to Resources.
Top
Entering labor rates if your labor rate source is Time Tracking and Management
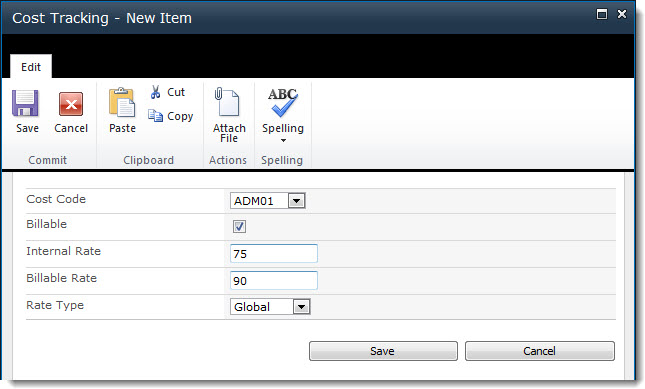 If you want to use the Cost Tracking list to define labor rates, add a list item for each cost code configured in the Cost Code list. For each item, enter an internal and billable labor rate to use for cost calculations. For detailed instructions about creating cost codes and entering items in the Cost Tracking list, see Creating Cost Codes and Entering Labor Rates. After you enter labor rates in the Cost Tracking list, assign cost codes to resources using the instructions provided in Assigning Cost Codes to Resources
NOTE: If you want to track costs for tasks in the Administrative Time list, you must use the Cost Tracking list no matter which labor rate source you use.
Top
 SharePoint 2010/2013
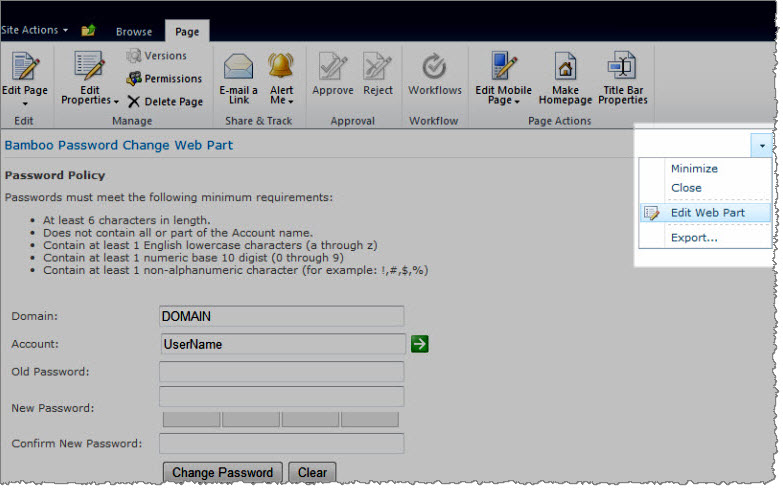 SharePoint 2007

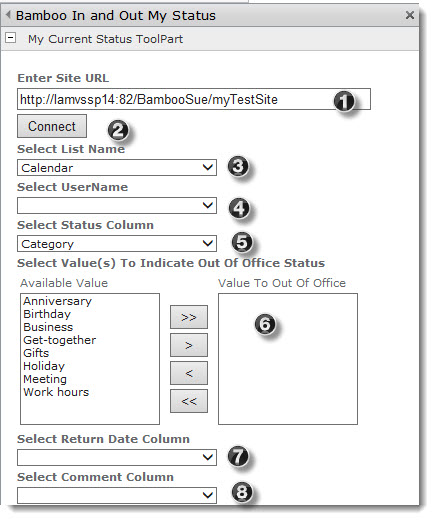 If you are adding the My Status web part to a SharePoint site outside of the In/Out Schedule Board site, it must be configured so it can read and update scheduling information from the site’s lists. To do so, use the following procedure to configure the Web Part from the tool pane.


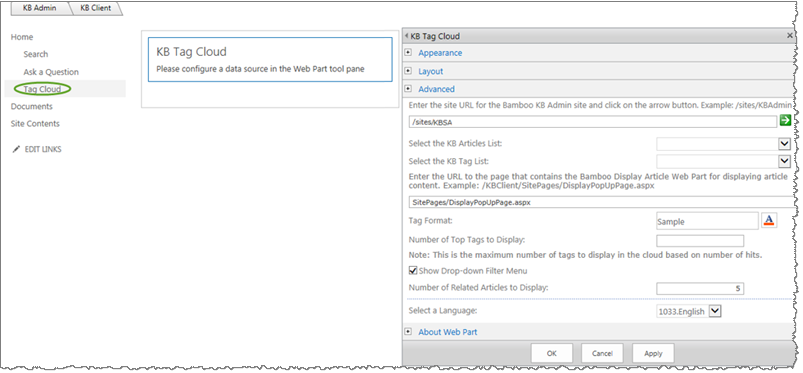


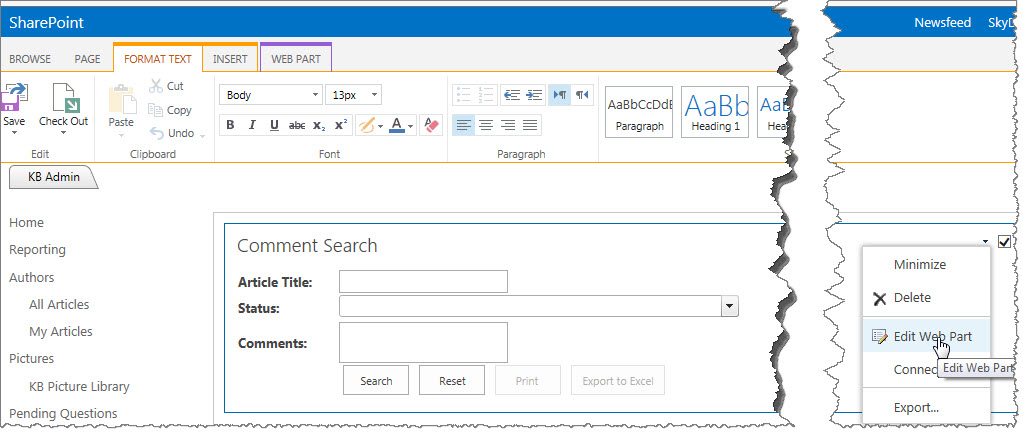

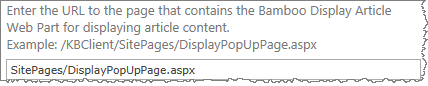
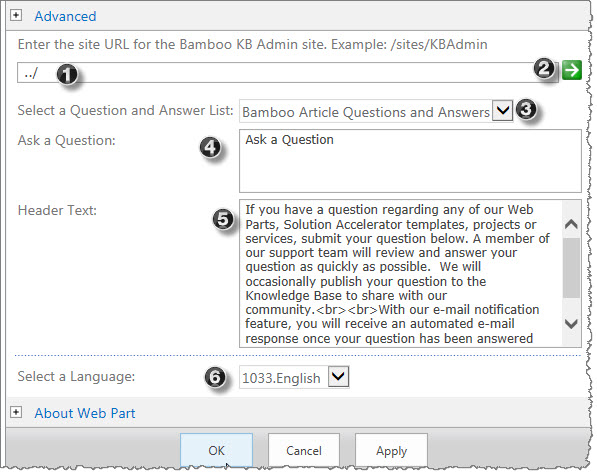 From within the KB Client site, edit the web part “KB Ask Question.” You will configure this web part to look for the appropriate site which houses the Bamboo Article Questions and Answers list.
 Before leaving the edit screen of this web part, scroll to the top and expand the Appearance section and change the title on the web part from KB Ask Question to something more meaningful to your organization, such as “Ask a Question” or whatever you think will help your end users when they see this web part.


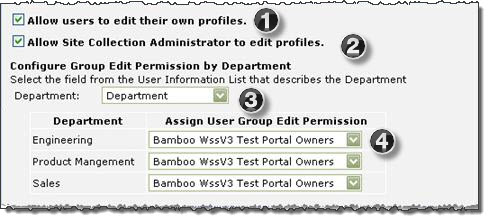
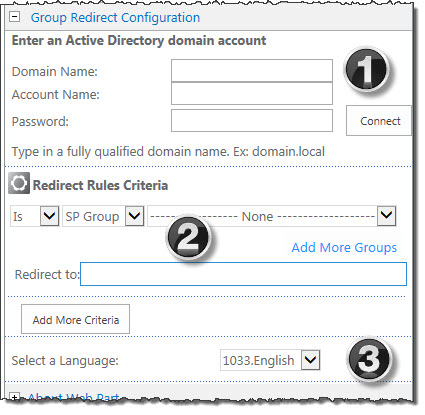 When you create a KB Admin site, Bamboo adds a hidden Group Redirect web part to the home page. You can configure this so that when users who do not have access to manage lists and libraries within the Admin site will be automatically redirected to the KB Client site. Configuring Group Redirect is optional. If you do not want to use Group Redirect, you can delete the web part from the page. Also note that if you are redirecting users based solely on their membership within a SharePoint group, you do not need to provide any Active Directory information. Group Redirect enables security trimming for the KB Admin site. This is an optional step that allows Knowledge Base Administrators to prevent end users from accessing the KB Admin site.
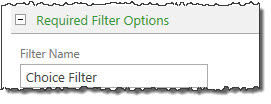

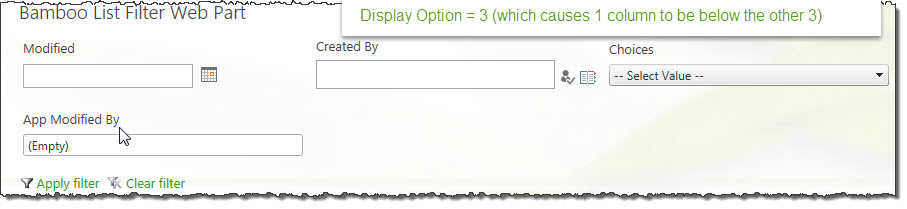
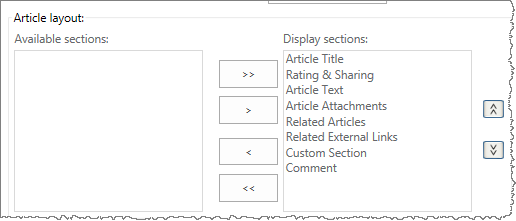
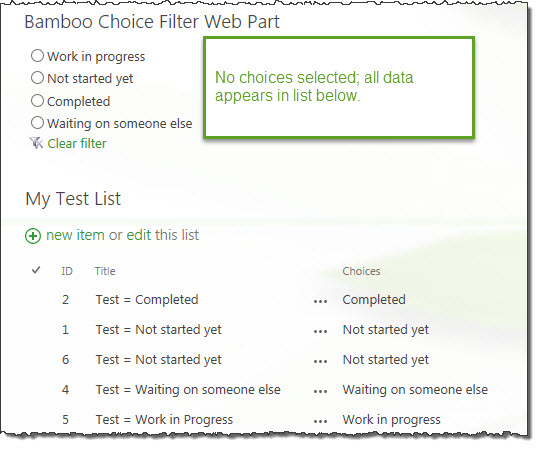 After you have completed your configuration, the page is ready for end users to interact with. In the examples below, the first screen shot shows no choices made in the Choice Filter web part.
 In the next screen shot, a choice was made using the Choice Filter web part and the list view shows data filtered by that choice.
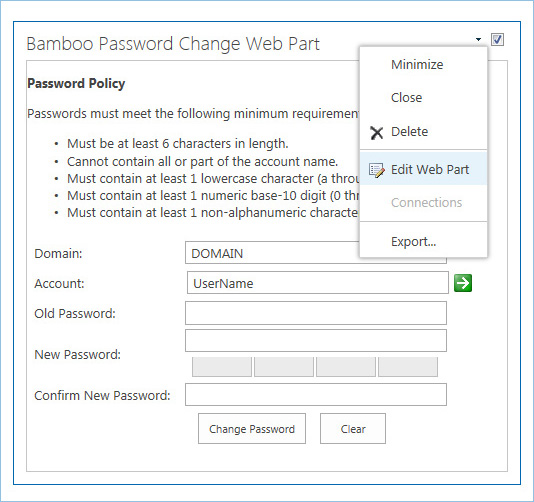
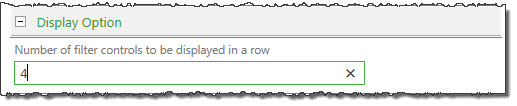
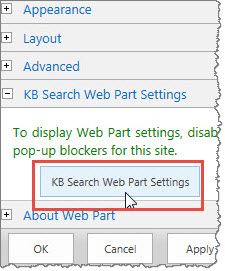
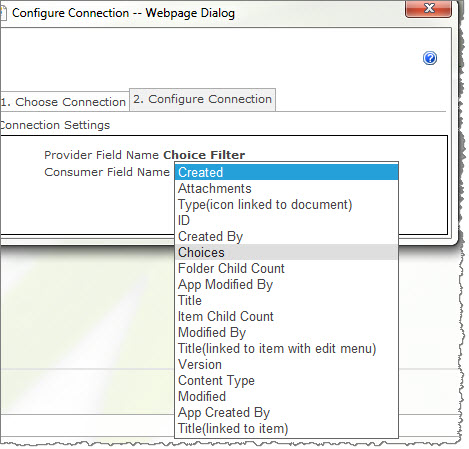
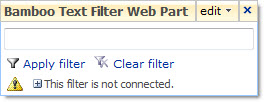
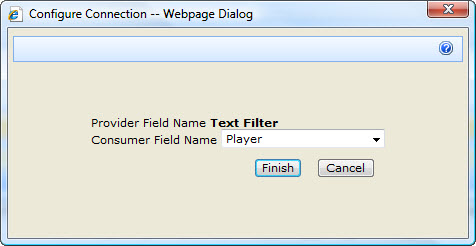
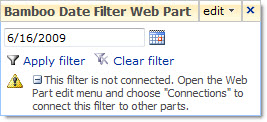
 When you first add the Text Filter web part to the page, it will indicate that it needs to be configured, as pictured here.
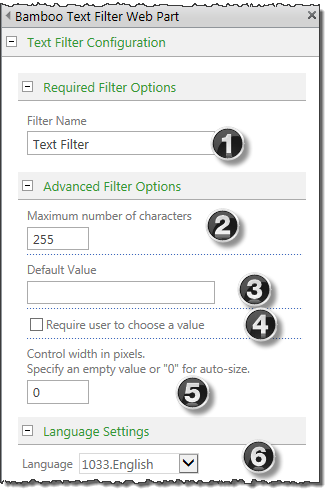
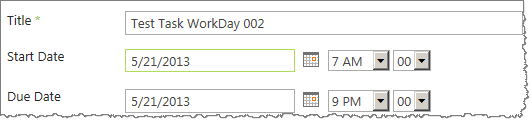
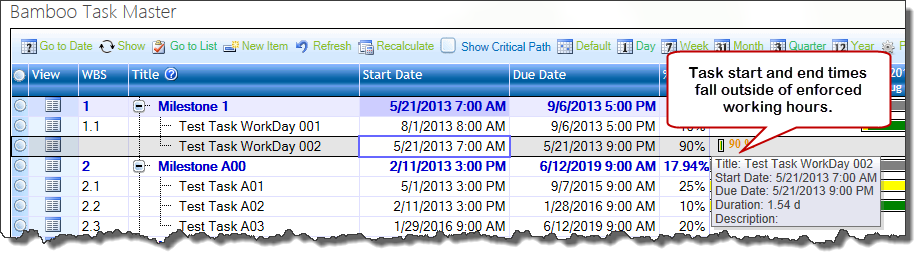
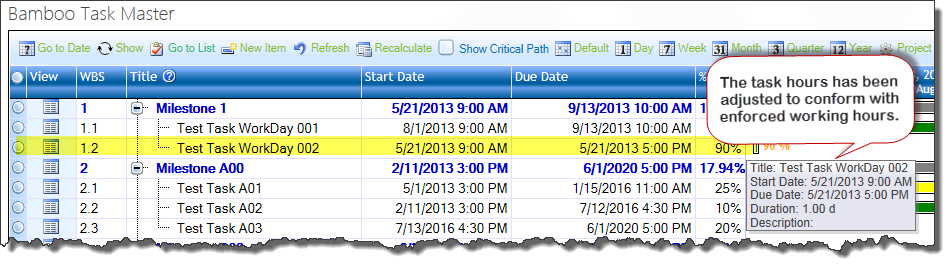
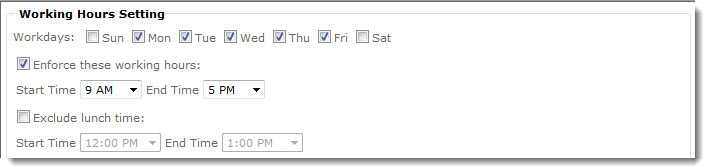

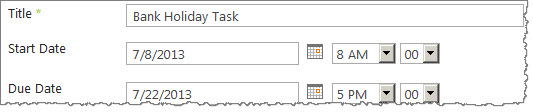
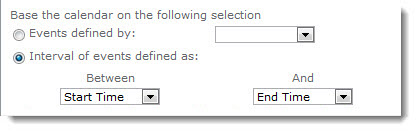
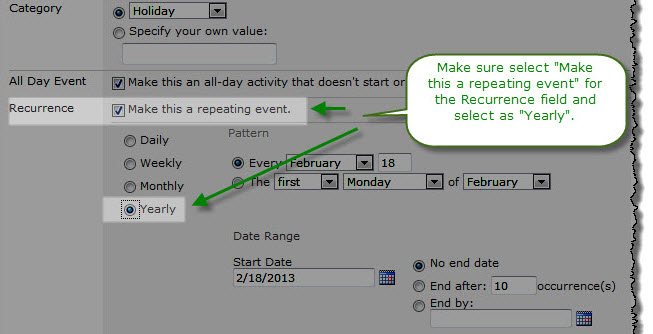 In Task Master R3.0 and higher, holidays can be excluded from task scheduling. To exclude holidays, first configure a SharePoint Calendar list with the holidays observed by your project team. Holidays must be configured as Yearly events; Task Master will ignore any other events on the Calendar.
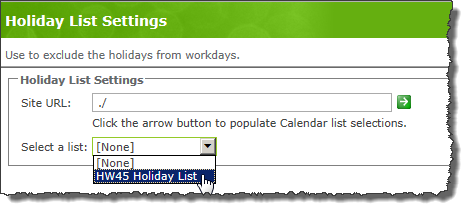


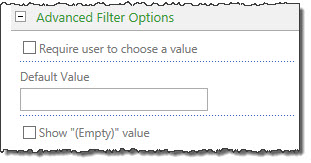
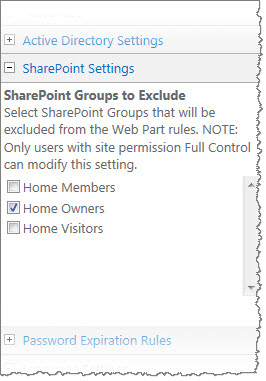 You can optionally select which SharePoint Groups to be excluded from the Password Expiration rules. The members of the excluded groups will never see the expiration notice for their passwords.
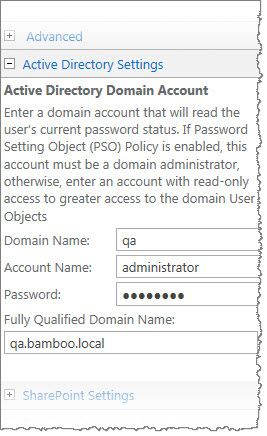 This section defines the account that accesses the user objects in the domain to determine their password status. The following settings can be specified:
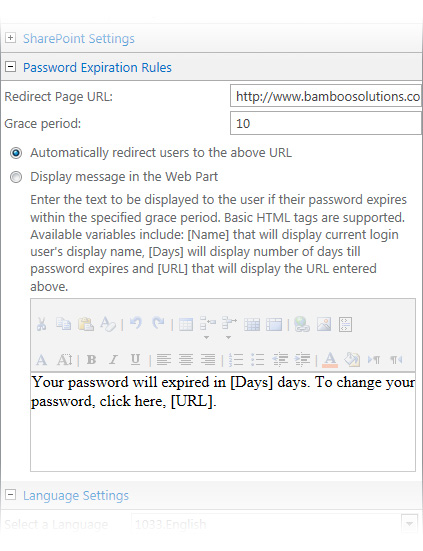 This section determines the behavior of the Password Expiration Web Part. For further details of the Web Part behavior, see Use Cases. You can configure the following settings:


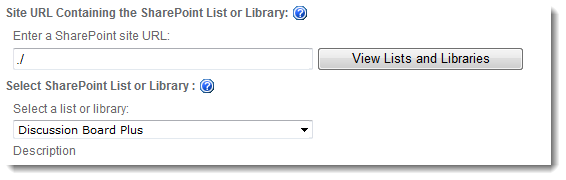
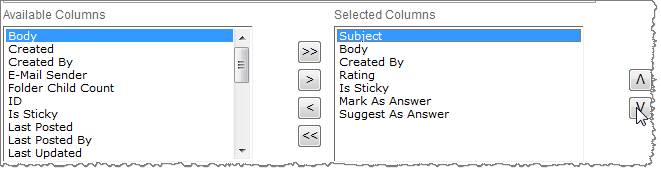
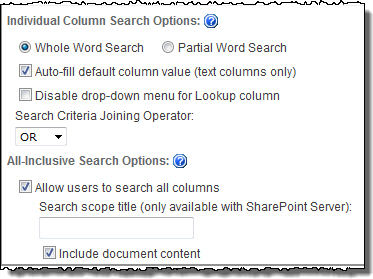
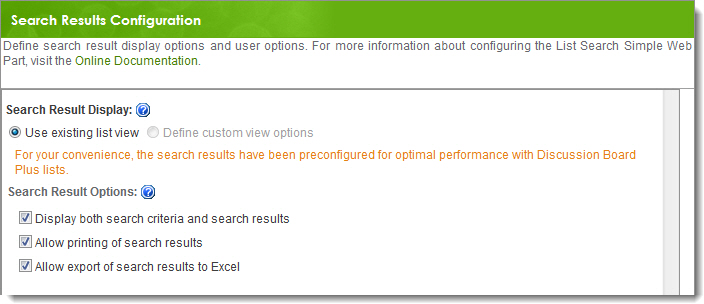
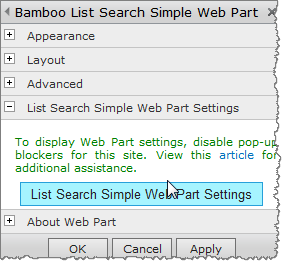 When you install Discussion Board Plus for SharePoint, List Search Simple is also installed. List Search Simple lets you configure a search page for your Discussion Board Plus list so users can search discussion board posts for relevant content. The search page is not created automatically. Follow these instructions to
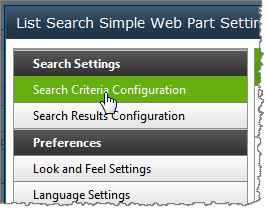
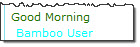
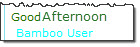
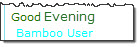
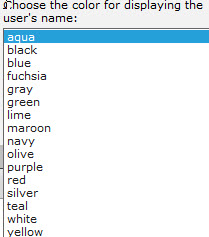
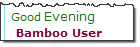
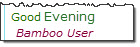
 Change the display message welcoming users to your SharePoint site according to the time of day (i.e., Good Morning, Good Afternoon, Good Evening).
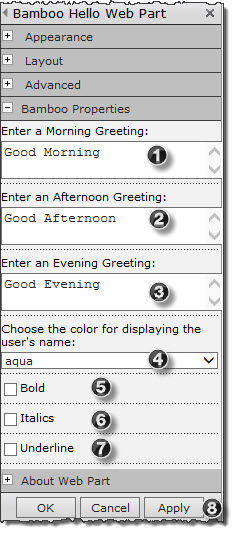


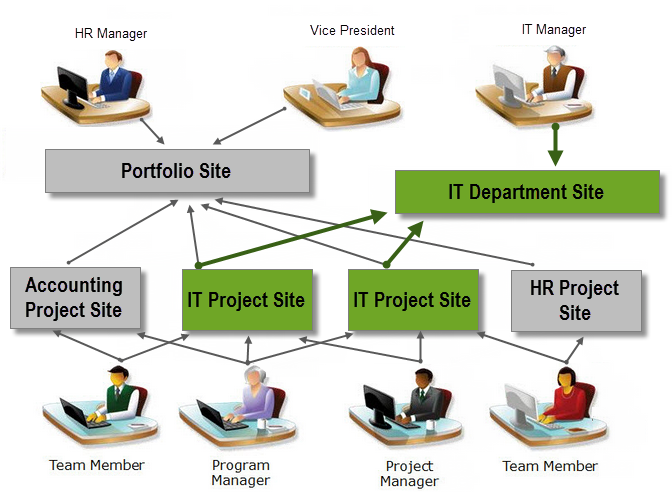 When working with Department sites keep in mind:
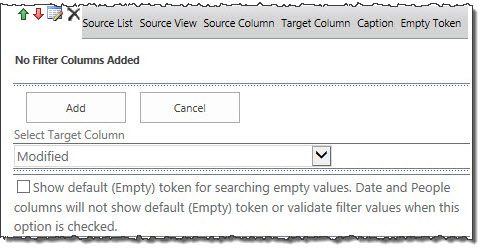
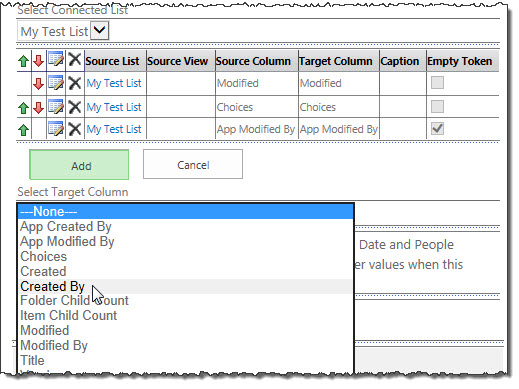
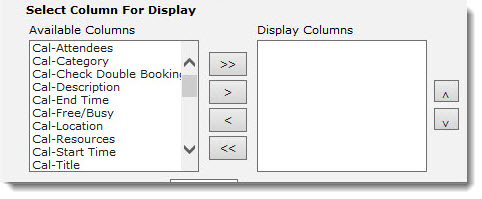
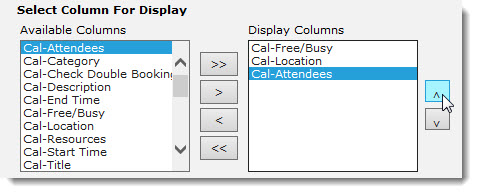
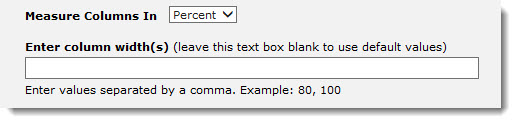
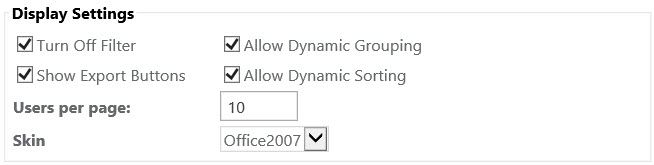
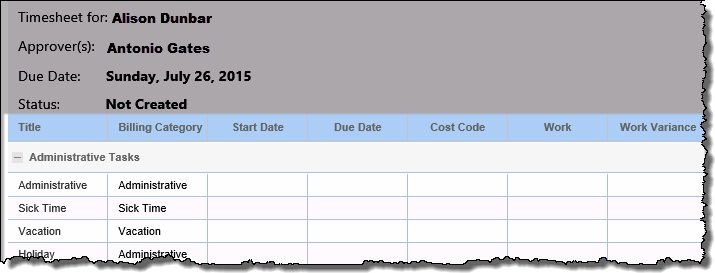 When configuring the Timesheet Entry Web Part in Time Tracking and Management (TTM) you will be able to select the columns that will visible to users in their timesheets.
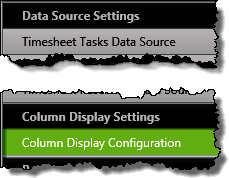
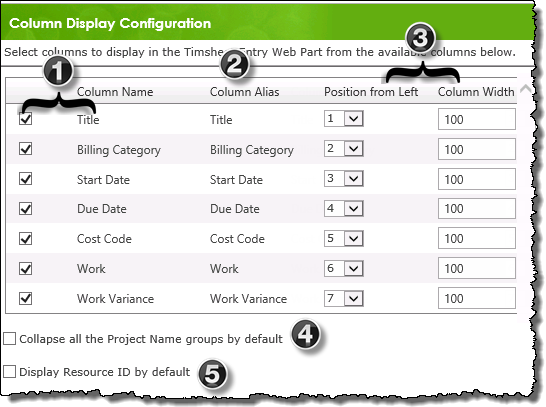
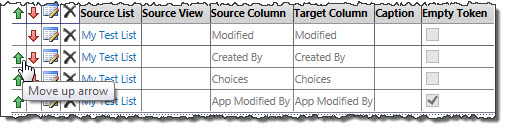
 You have now configured the columns displayed in the Timesheet Entry Web Part.
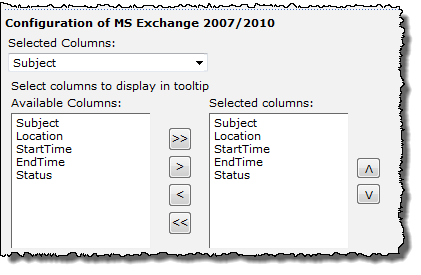

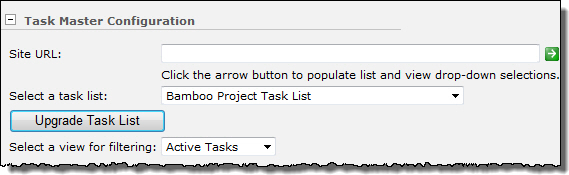 When you add Task Master to a page, it is automatically configured to use the default Bamboo Project Task List in the current site. If you want to use this list, you do not need to do anything else to select it. See
 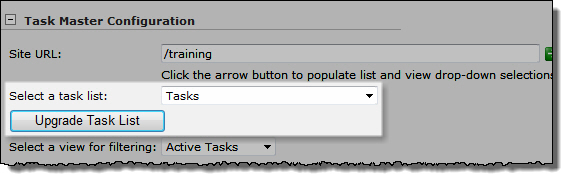 To use an existing task list in the current site, select it in the Select a task list drop-down list and click the Upgrade Task List button. Upgrading the task list adds the columns listed below to the list you selected, which enables Task Master to calculate task schedules properly. For a list of hidden columns that are also added, see
 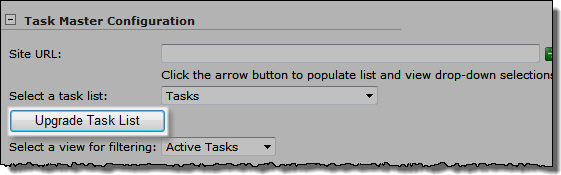 To upgrade an existing Task Master task list, click the Upgrade Task List button. You do not need to change your list or view. Any new columns included with the new version of Task Master will be added to the task list so you can take advantage of new features. See